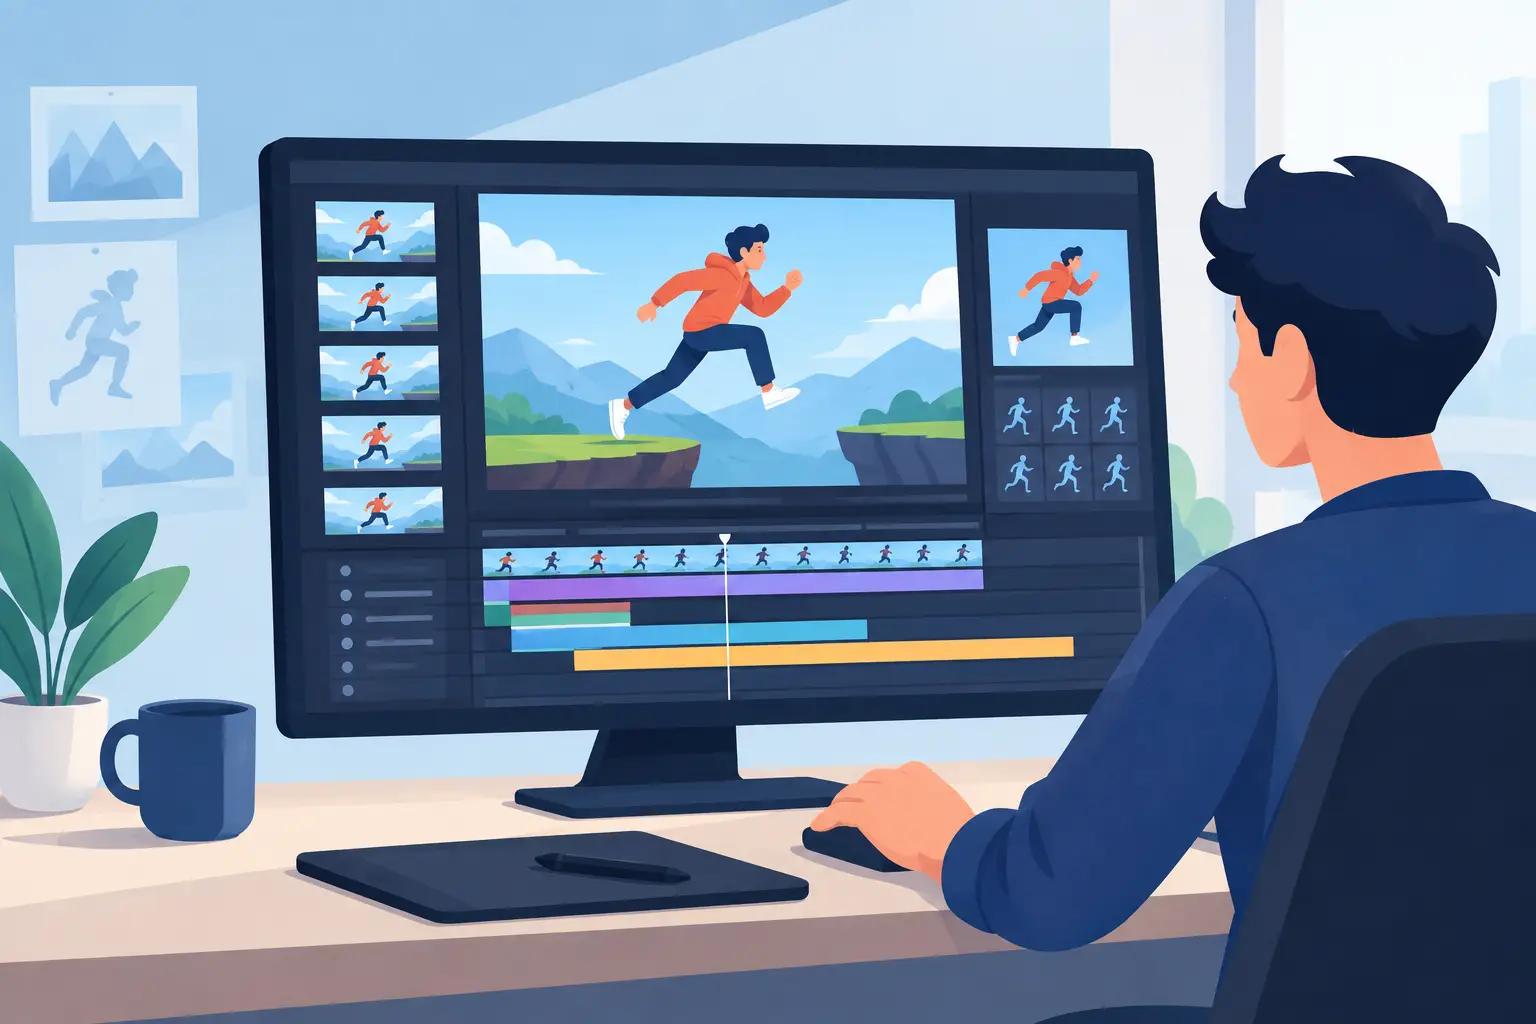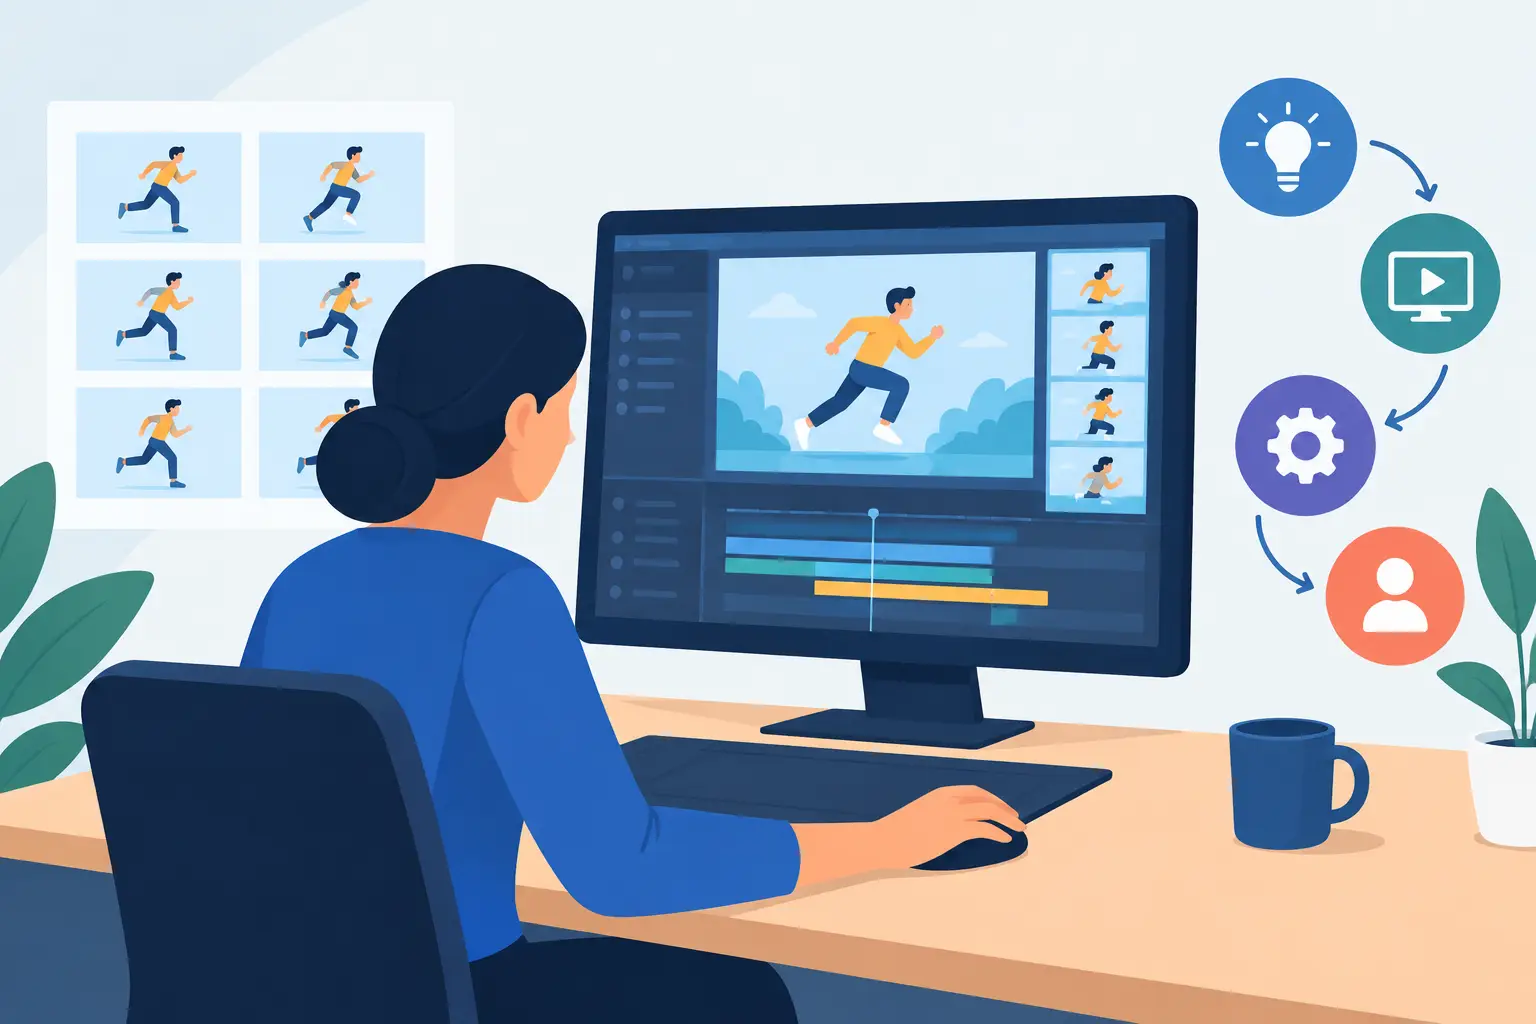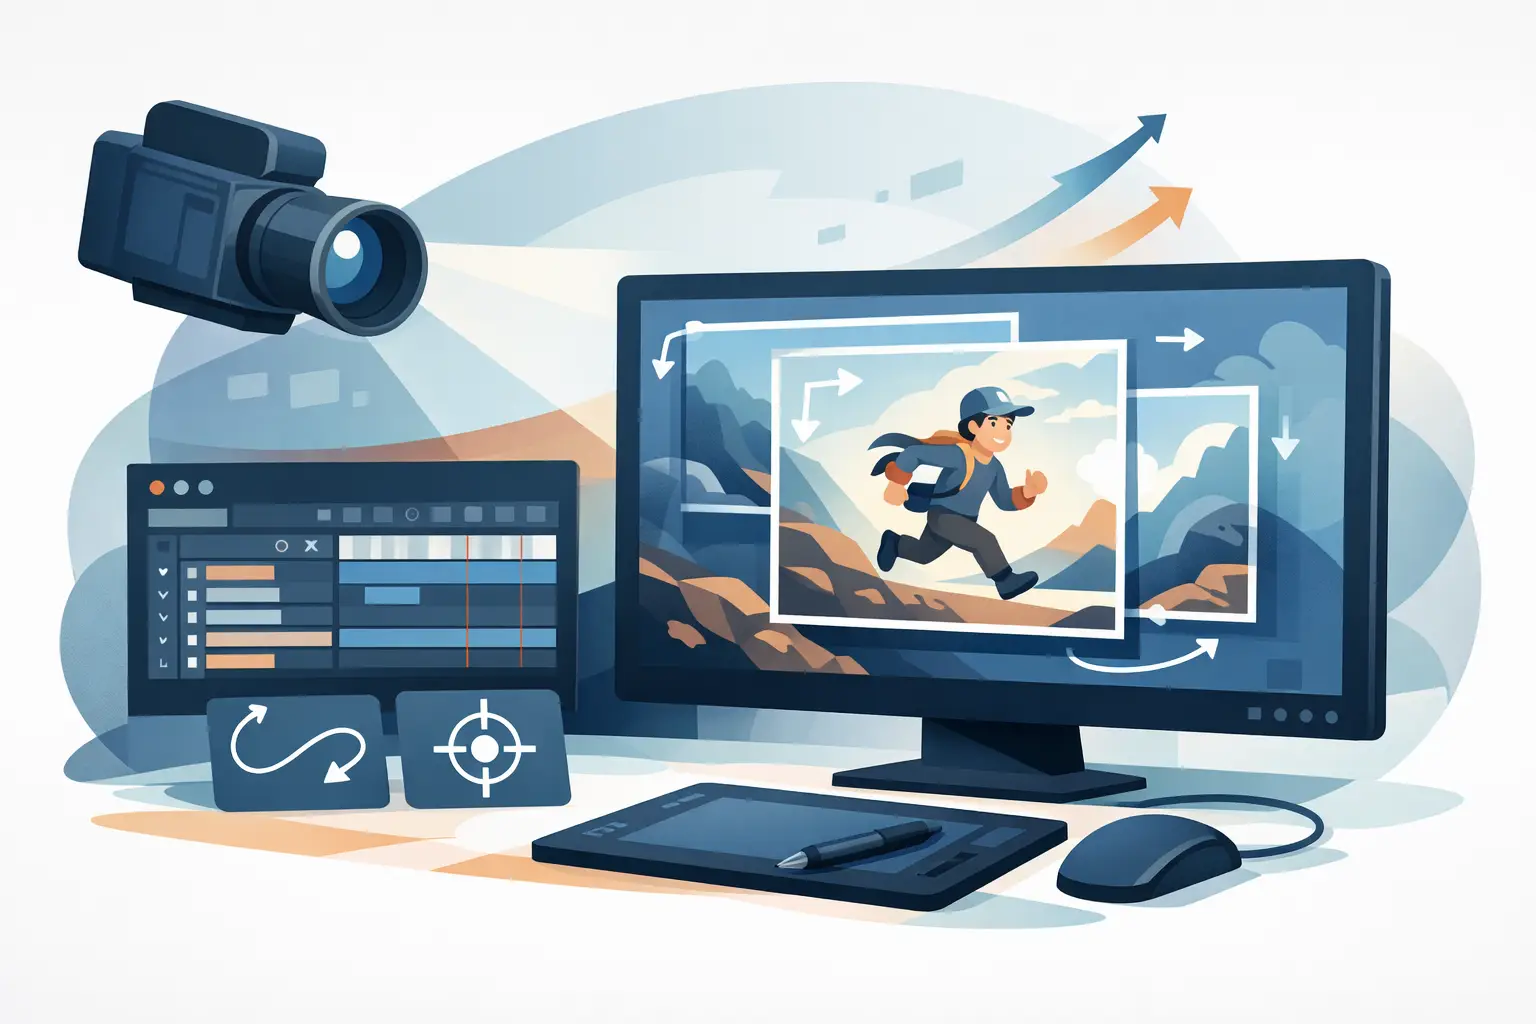
A camera move can turn a simple drawing into a shot with weight, scale, and direction. But learning how to add camera moves is not about making every scene slide or zoom. In traditional animation, the camera is part of the staging. It directs the audience’s eye, supports the action, and gives a sequence the feeling of being photographed rather than merely played back.
A good move is usually felt before it is noticed. If viewers are watching the zoom instead of the character’s decision, the move is doing too much. Start with the scene’s purpose, then choose the camera treatment that makes that purpose clearer.
Start With the Shot, Not the Effect
Before adding a pan, zoom, or rotation, ask what the audience needs to see and when they need to see it. A wide view may establish where a character is standing. A gradual push-in can increase pressure as that character realizes something is wrong. A quick pullback can reveal the cause of the problem or make a character suddenly appear small.
This planning matters because camera movement changes the timing of the shot. A pan across a background can slow the perceived pace, even if the character animation remains on the same exposure. A fast zoom adds urgency, but it can also make rough drawings, loose paint edges, and shaky line work more visible. The best choice depends on the dramatic job of the shot, not on how many effects the software offers.
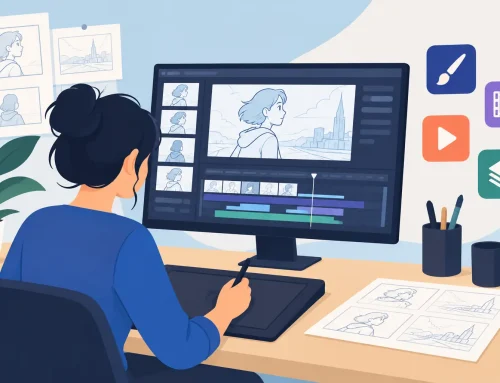
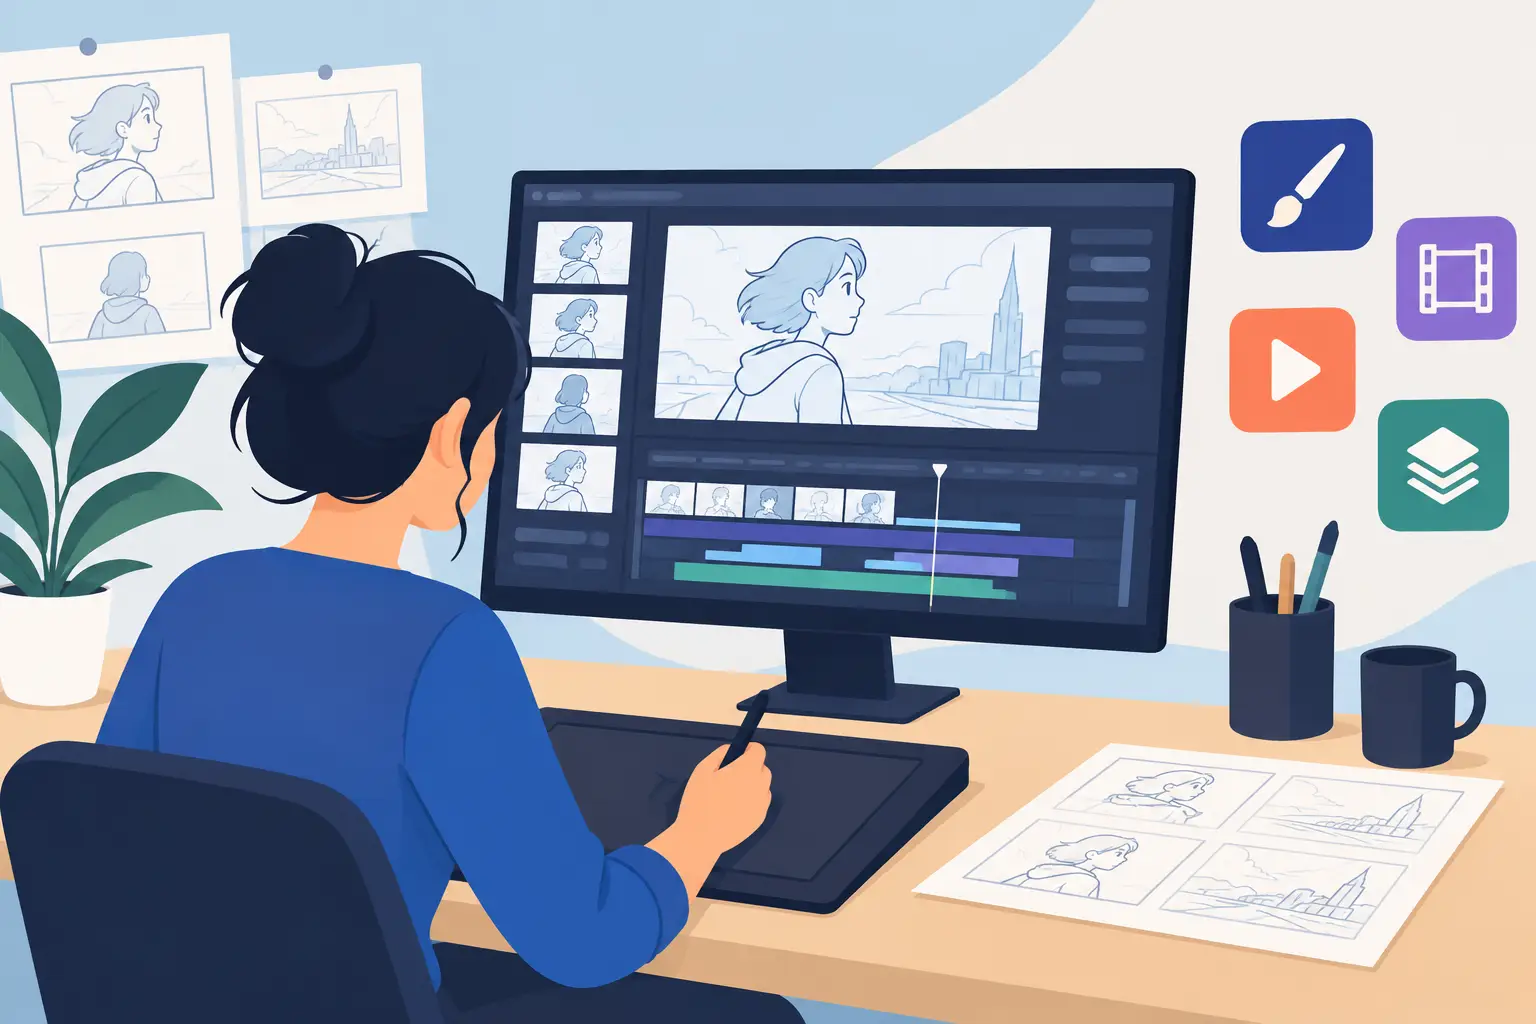
Thumbnail the move with an arrow directly on your storyboard or layout. Mark the first camera position, the final position, and the key beat where the move should begin. This prevents a common production mistake: animating a complete scene first, then adding a camera move that crops an important hand gesture, prop, or facial expression.
How to Add Camera Moves With Clear Staging
Think of the camera frame as another layer of composition. Your artwork may extend beyond the visible frame, but the audience only sees what the camera shows. That means you need enough drawing and background area outside the opening frame to support the move.
For a pan, build or draw the background wider or taller than the final screen area. If the camera travels left, the artwork must continue far enough to the right that the frame never exposes an empty edge. For a zoom in, make sure the area around the subject holds up when enlarged. A background that looks fine at full shot size may reveal thin lines, unfinished paint, or oversized texture when the camera closes in.
For a traditional hand-drawn scene, keep the camera move separate from the character performance whenever possible. Animate the character’s acting first. Then apply the move to the completed scene or to the appropriate group of layers. This preserves the animator’s control over arcs, spacing, and poses. It also makes revisions much easier when a director asks for a slower push-in or a later reveal.
Use pans to reveal information
A pan moves the audience through a setting. It works best when there is something worth discovering at the end of the travel. You might pan from a character’s uneasy expression to the open door behind them, or follow a running character across a long background.
Match the pan speed to the action. A slow pan is useful for suspense, atmosphere, or an establishing shot. A quicker pan can follow action, but if it moves too fast, painted backgrounds may strobe and the audience can lose its point of reference. If the character is walking while the camera pans, test whether the combined movement makes the character appear to drift, slide, or move at an unintended speed.
Use zooms to control emphasis
A zoom changes the relationship between the viewer and the drawing. A zoom in gives an object, expression, or detail more importance. A zoom out creates distance, reveals space, or resets the energy after a close moment.
Do not use a zoom in as a substitute for strong acting. If a character’s pose and expression do not communicate the beat, enlarging the drawing will not solve the problem. On the other hand, a restrained push-in on a well-animated reaction can make a quiet moment land with much more force.
Avoid abrupt speed changes unless they are intentional. A smooth move should ease out of the starting position, travel at a controlled rate, and ease into the final frame. A comedy take, impact, or surprise may call for a sharper move, but the suddenness should serve the gag or action.
Rotate only when the shot earns it
Rotation is powerful because it immediately changes the stability of the frame. A slight tilt can make a character’s world feel off balance. A larger rotation can sell a fall, a dizzy realization, or a deliberately graphic transition.
It is also easy to overuse. Rotating a hand-drawn scene can make background lines and horizon levels feel accidental rather than expressive. Keep an eye on the frame edges and on anything the viewer expects to be vertical, such as buildings, doors, or standing characters. If the scene is meant to feel grounded, a rotation may work against the staging.
Set the Timing While You Watch the Scene
Camera movement is timing. Do not judge it from a single frame or from a numeric setting alone. Play the scene repeatedly at the intended frame rate and watch the entire action, including the lead-in and the cut that follows it.
The start of a move is often more important than its duration. Begin too early and you announce the effect before the story beat arrives. Begin too late and the audience may miss the reason for the move. Let the character’s thought, turn, impact, or discovery trigger the camera whenever the scene allows it.
This is where real-time timing control earns its place in a production workflow. In FlipBook, you can adjust timing during playback, so you can judge the camera move against the acting instead of stopping, changing exposures, and guessing at the result. That keeps the focus on what animators actually need to solve: whether the scene reads.
When reviewing a move, look for three things. First, can the audience still read the character’s action? Second, does the move arrive on the intended beat? Third, does the scene feel more deliberate with the move than without it? If the answer to the last question is no, remove it. A locked-off camera is often the strongest choice.
Add Blur and Dissolve With Restraint
Blur and dissolve effects can help a camera move, but they should not cover weak animation or poor staging. Motion blur can soften a fast pan, reduce the harshness of quick travel, and suggest speed. Apply it lightly. Too much blur turns clean hand-drawn work into a smear and makes painted color difficult to read.
A dissolve is usually a transition between two images or scenes, not a camera move by itself. It can suggest passing time, a memory, a change of location, or an emotional connection between shots. If you dissolve while zooming or panning, test the combination carefully. Two separate visual changes can compete for attention unless the scene is designed for a more stylized treatment.
For action scenes, a cut is often stronger than a dissolve. For a quiet passage of time, a dissolve may be exactly right. The choice comes from the rhythm of the sequence.
Test at Full Speed and at Final Framing
A move that looks elegant while scrubbing can feel slow when played at full speed. The opposite is also true: a move that seems small in the timeline may be distracting in motion. Review it in context, with the correct shot order and any dialogue, music, or sound effects that affect the rhythm.
Also check the final framing on the intended delivery size. Fine background detail may disappear on a smaller display. A close zoom may crop too tightly when captions or titles are added later. Leave practical room when the production requires it, especially for independent films, classroom projects, and client work that may be delivered in more than one format.
A final useful test is to mute the scene. Without sound, can you still tell why the camera moves? If the answer is yes, the staging is probably doing its job. Then turn the sound back on and make the small timing adjustments that let the movement support the performance rather than compete with it.
The strongest camera moves are planned like animation: with a clear purpose, controlled spacing, and respect for the drawing. Give each move a reason to exist, and your audience will follow the shot exactly where you want it to go.