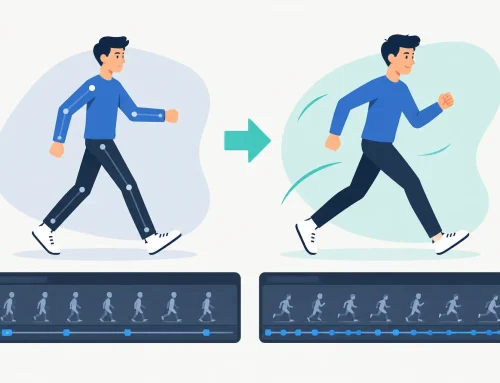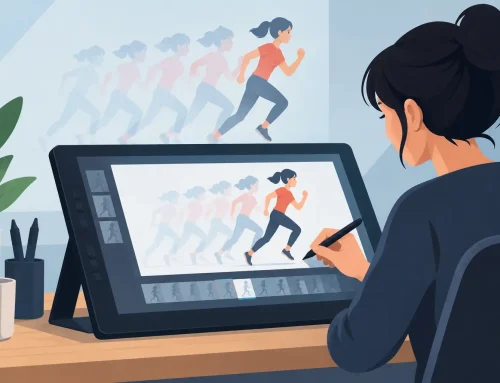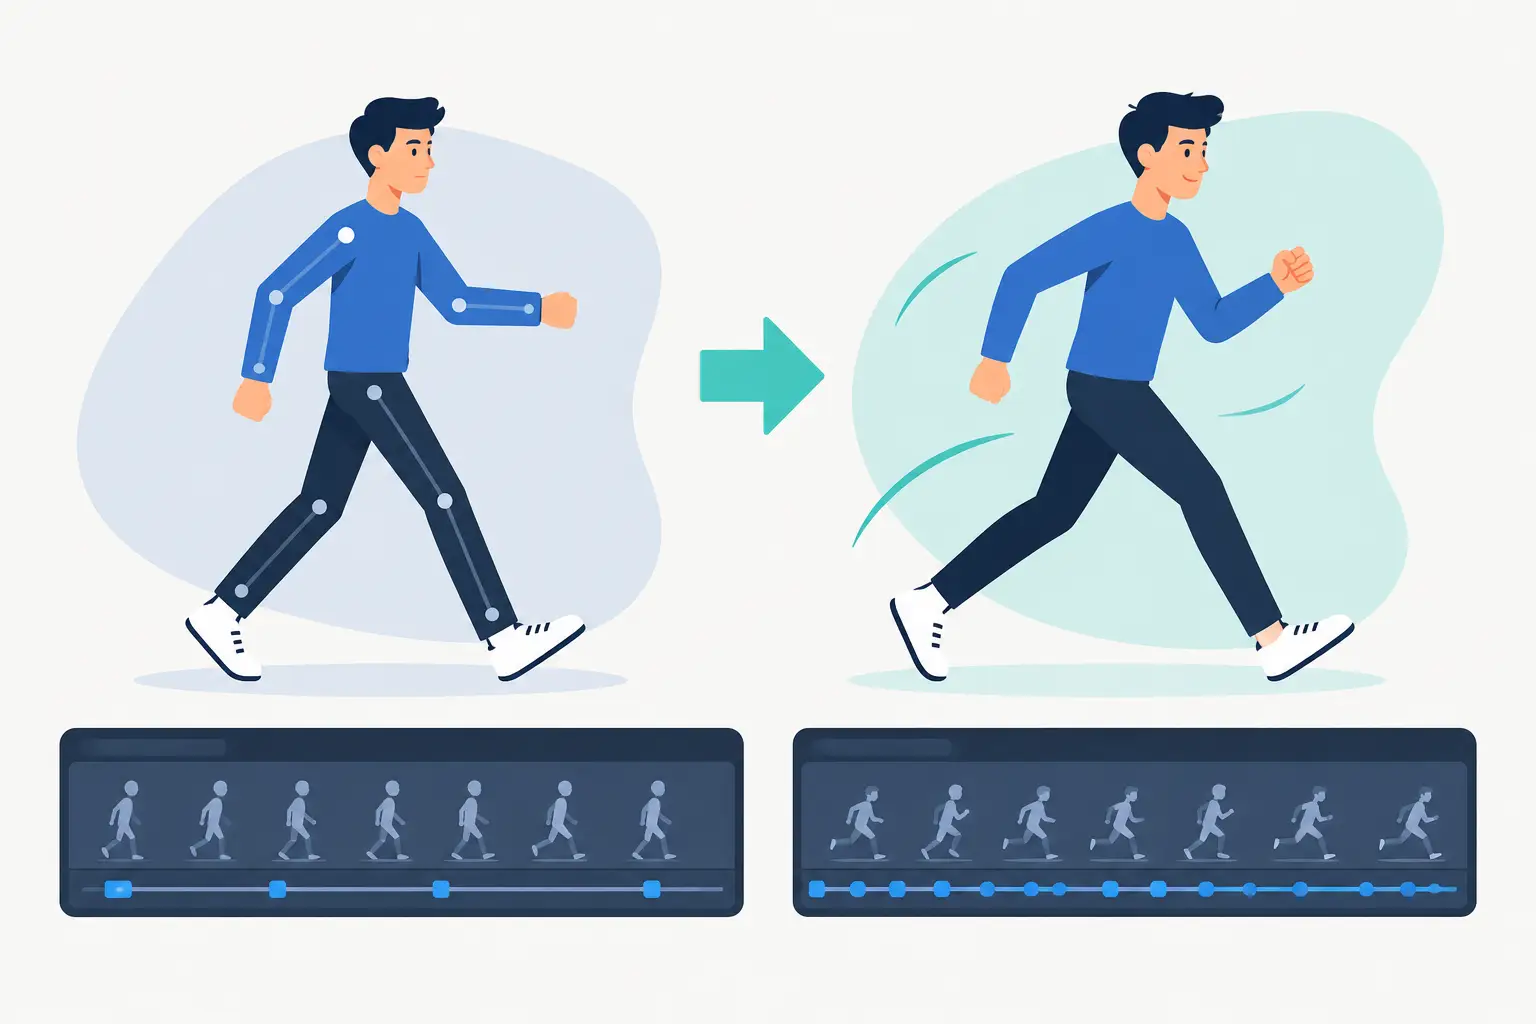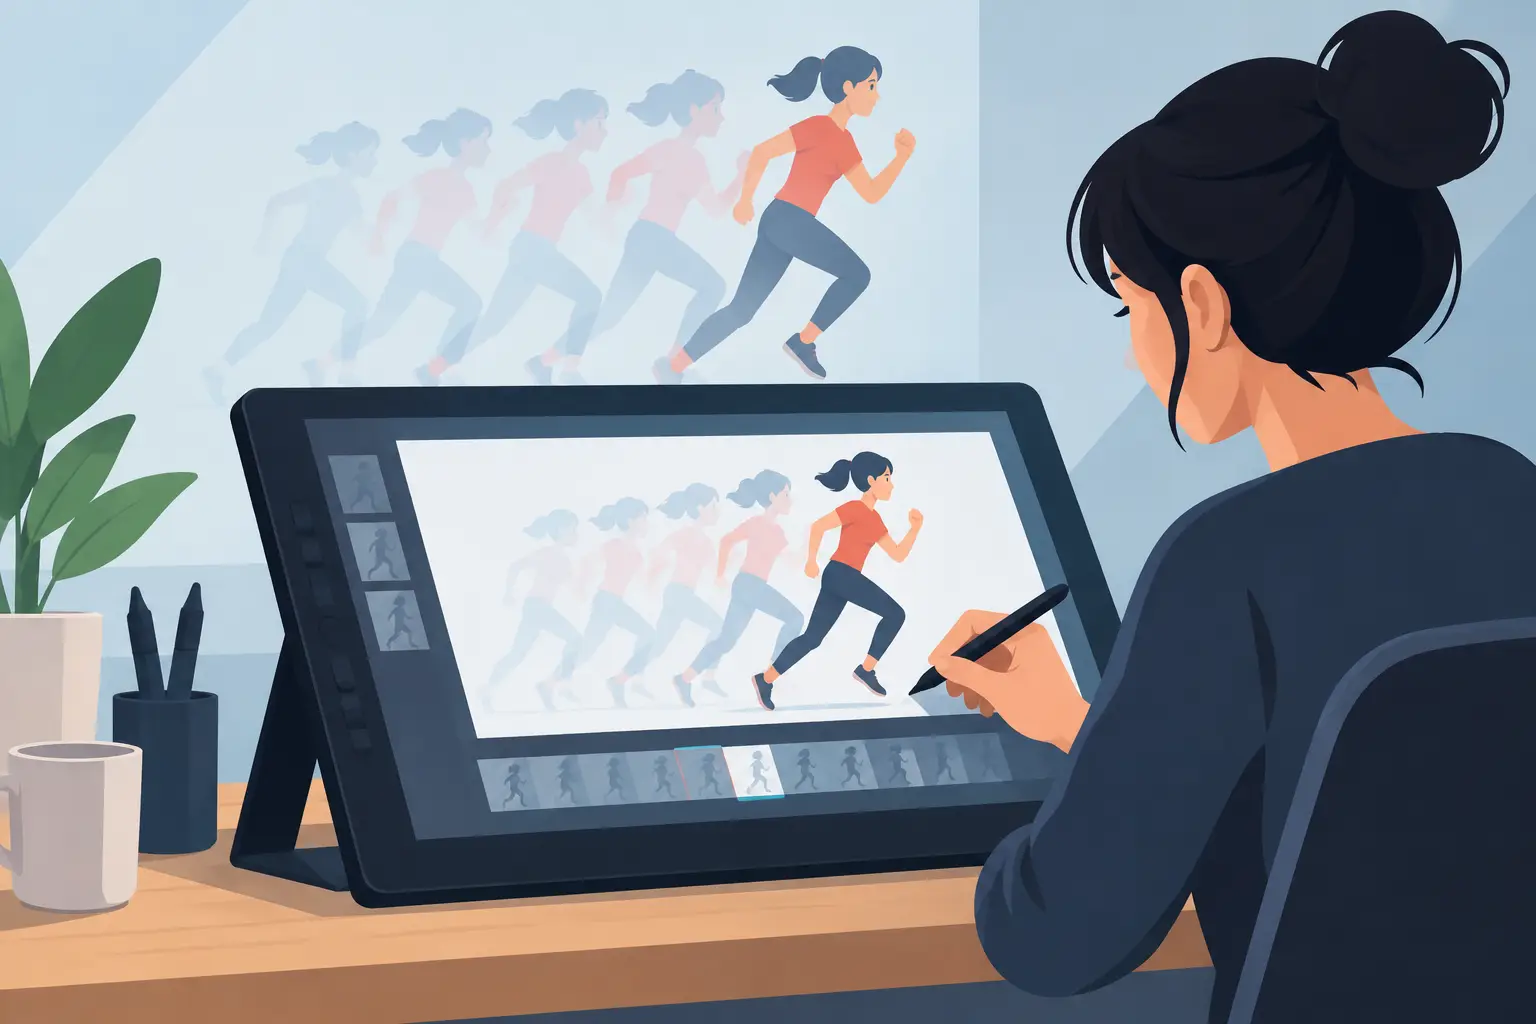
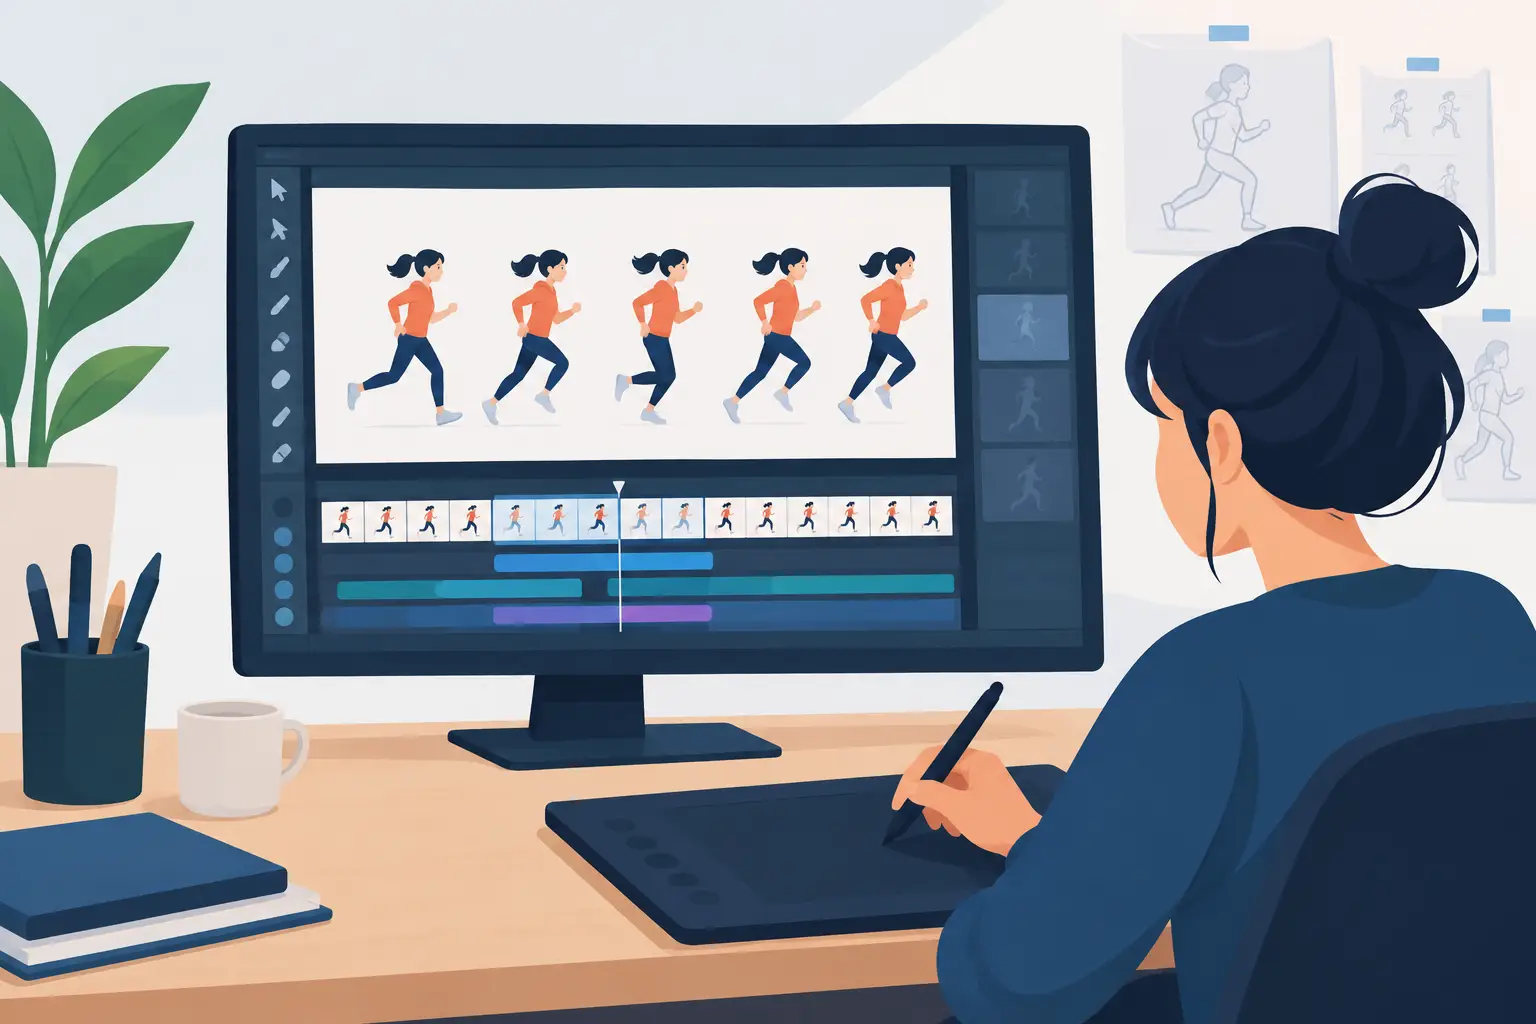
A good inbetween should feel inevitable. When an animator sees the two surrounding drawings, the path, spacing, volume, and intent should already be clear. The job is not to add more drawings just because software makes them easy to create. This digital inbetweening workflow guide keeps the traditional production discipline intact while using digital tools to move faster, check timing sooner, and paint without wasting a day on frame-by-frame cleanup.
Inbetweening is where a rough idea becomes motion the audience can believe. It can also become the stage where an otherwise strong shot loses its shape, slows down, or turns mechanical. A practical workflow protects the posing and timing decisions made in rough animation, then gives the inbetweener a clear process for carrying those decisions through clean-up and color.
Start With Keys, Not Empty Exposure Sheets
Before drawing an inbetween, inspect the keys and breakdowns at playback speed. Do not judge them only as still images. A pair of drawings can look perfectly clear on the screen and still create an unwanted pop, a soft hit, or a drifting silhouette when played.
Identify what each key is doing. One drawing may establish the anticipation, another may carry the action through its widest arc, and a later drawing may settle the character into a new pose. The inbetweener needs to know whether the spacing should accelerate, slow into a cushion, favor the beginning of the action, or hold longer at the end.
If the scene has no breakdown, make one before attempting a full set of inbetweens. The breakdown is not simply the drawing halfway between two keys. It defines the path of action, overlap, and attitude. In a turning head, for example, the breakdown tells you whether the features travel around the form or slide flatly across it. In an arm swing, it establishes the arc and whether the elbow leads or trails.
Label the keys and breakdowns clearly, then mark the intended exposure. Many shots are best animated on twos for much of the action, with ones used for fast moves, camera moves, or moments that need a particularly smooth result. More drawings are not automatically better animation. Correct spacing and a readable pose matter more than density.
Build a Digital Inbetweening Workflow That Preserves Timing
Digital animation gives you a major advantage over paper: you can play a scene, scrub it, adjust timing, and immediately see the result. Use that advantage before clean-up is complete, not after hours of drawing have already been committed.
Start with the rough keys and breakdowns on a dedicated layer or level. Add an inbetween layer above or below it according to the way you prefer to use onion skin. Keep the rough visible enough to guide construction, but light enough that it does not overpower your new line.
Work through the scene in short groups of drawings. For a simple movement, that may mean completing the inbetweens between two keys before moving forward. For a complex acting scene, it can be smarter to rough all major inbetweens first, play the entire shot, and correct the timing as a whole. The right choice depends on what is carrying the scene. Broad action benefits from early full-shot playback. Delicate facial acting often benefits from close attention to each transition.
As you add drawings, play the shot repeatedly. Watch for the actual things that matter in motion:
- Does the character arrive at the pose on the intended frame?
- Do arcs stay clean through the action?
- Does spacing show weight, force, and deceleration?
- Are the hands, eyes, and facial features tracking with the head rather than drifting?
If a drawing is in the wrong place, correct it while the construction is still rough. Do not clean a mistake because you are reluctant to redraw it. Traditional animation has always depended on correction. Digital tools make those corrections less expensive, but they do not remove the need for an animator’s judgment.
A timing tool that lets you adjust exposure while playing is especially useful here. Instead of stopping, changing a frame duration, returning to the start, and replaying the scene, you can feel the rhythm of the action and make the adjustment in context. That keeps timing where it belongs: in the animator’s hands.
Use Onion Skin for Construction, Not Guesswork
Onion skin is the digital equivalent of flipping drawings, but it can become misleading if every surrounding frame is visible at equal strength. Limit what you see. Usually the previous drawing, the next drawing, and the primary key or breakdown are enough.
Check the major landmarks first: head centerline, shoulder angle, hips, planted feet, hand position, and the main line of action. Then check volume. A character should not inflate and collapse from frame to frame simply because the inbetween was traced from an overlapping silhouette.
For rotations, draw through forms. Even if part of the drawing will be hidden by clothing or another body part, a light construction pass helps maintain the solidity of the turn. For actions with fast overlap, use arcs and directional guides rather than trying to copy every contour from the surrounding frames.
Space Drawings for the Motion You Want
Timing answers how long an action takes. Spacing answers how the action travels through that time. Inbetweeners need to read both.
Even spacing creates a steady, mechanical travel. That may be correct for a conveyor belt, a deliberately robotic character, or a held camera pan. Most character action needs variation. Drawings close together indicate slower motion; drawings farther apart indicate faster motion. The pattern should reflect the force behind the action, not a mathematical midpoint.
Consider a character lifting a heavy box. The body may anticipate quickly, then struggle through the lift with tighter spacing and a slight settle at the top. A tossed ball behaves differently: it moves rapidly near the middle of its arc and slows close to the apex. If every inbetween is evenly distributed, both actions will lose their character.
Do not treat all parts of a character as if they move at the same rate. The torso may lead, the head may follow a fraction later, and loose hair or clothing may settle after the body stops. This overlap is often where a shot gains life. It also requires restraint. Secondary action should support the main action, not turn a clear pose into a busy one.
Clean Up Only After the Rough Motion Holds
Clean-up should clarify the animation, not disguise weak planning. Once rough inbetweens play correctly, establish the clean line with consistent volume, line weight, and model details. Keep a model sheet or approved clean key nearby, especially for faces, hands, and costume details that can drift over a long scene.
Work from large forms to small details. Clean the head shape, body mass, and limbs before committing to eyelashes, wrinkles, buttons, or texture. If the character is off-model at the large-form stage, detailed linework only makes the correction slower.
A useful production habit is to compare each clean drawing against the keys at normal playback speed. A clean line can create a new problem by subtly changing a contour that was working in rough. The silhouette remains the quickest test. If the character’s action cannot be read in silhouette, the interior details will not save it.
For scenes with several animators, agree on line conventions before production starts. Decide how thick exterior lines should be, whether features overlap contours, how hands are simplified, and which details may be omitted during fast action. Consistency reduces the number of cleanup notes and prevents a shot from looking assembled by different artists.
Paint With a Plan, Not a Bucket-Fill Marathon
Painting often becomes the slowest stage when line gaps, inconsistent layer order, and last-minute color decisions are allowed to pile up. Prepare the scene first. Confirm that clean lines are closed where they need to be, name the color areas consistently, and decide whether shadows, highlights, and effects will be separate from flat color.
Paint flats before chasing subtle rendering. Play the colored scene early to catch flicker, missed fills, and colors that read differently in motion than they do on a single frame. A tiny unpainted edge can flash loudly during playback.
Efficient painting tools matter because repetitive filling is production work, not a test of patience. In FlipBook, painters can move quickly through frames while keeping the hand-drawn workflow intact, which is exactly what a traditional 2D scene needs. Save the detailed effects for after the flats are stable and the timing has been approved.
Check the Shot at Three Speeds
Before handing off a scene, inspect it three ways: frame by frame for drawing errors, at normal speed for acting and timing, and in a wider sequence for continuity. Each view reveals different problems.
Frame-by-frame inspection catches broken contours, accidental line intersections, color leaks, and volume changes. Normal playback shows whether the action feels right. Sequence playback reveals whether the character’s screen direction, scale, palette, and energy match the surrounding shots.
Pay special attention to cuts. An inbetween may work perfectly inside its own shot but create a jarring rhythm when placed between neighboring scenes. Sometimes the answer is a timing adjustment. Sometimes it is a new hold, a stronger settle, or a simpler final inbetween before the cut.
The best digital workflow does not replace the discipline of classical animation. It gives that discipline faster feedback. Keep the keys clear, let breakdowns define the action, make spacing serve the performance, and test timing while the drawings are still easy to change. When the scene finally plays without calling attention to the inbetweens, the drawings have done their job: they have made the motion feel alive.