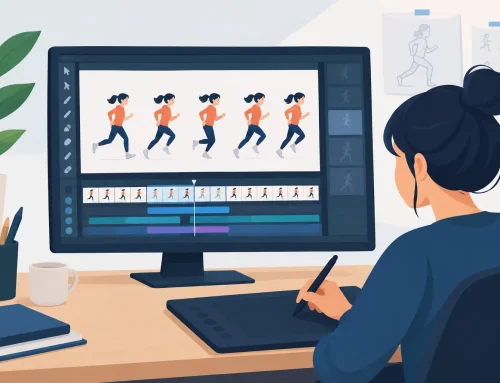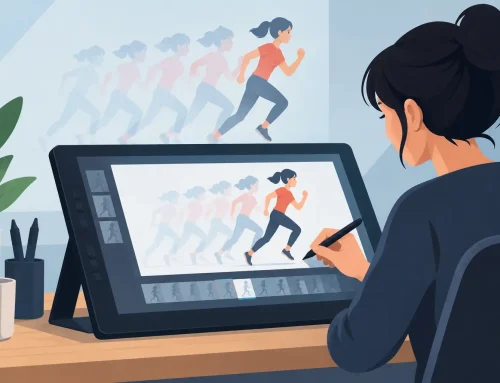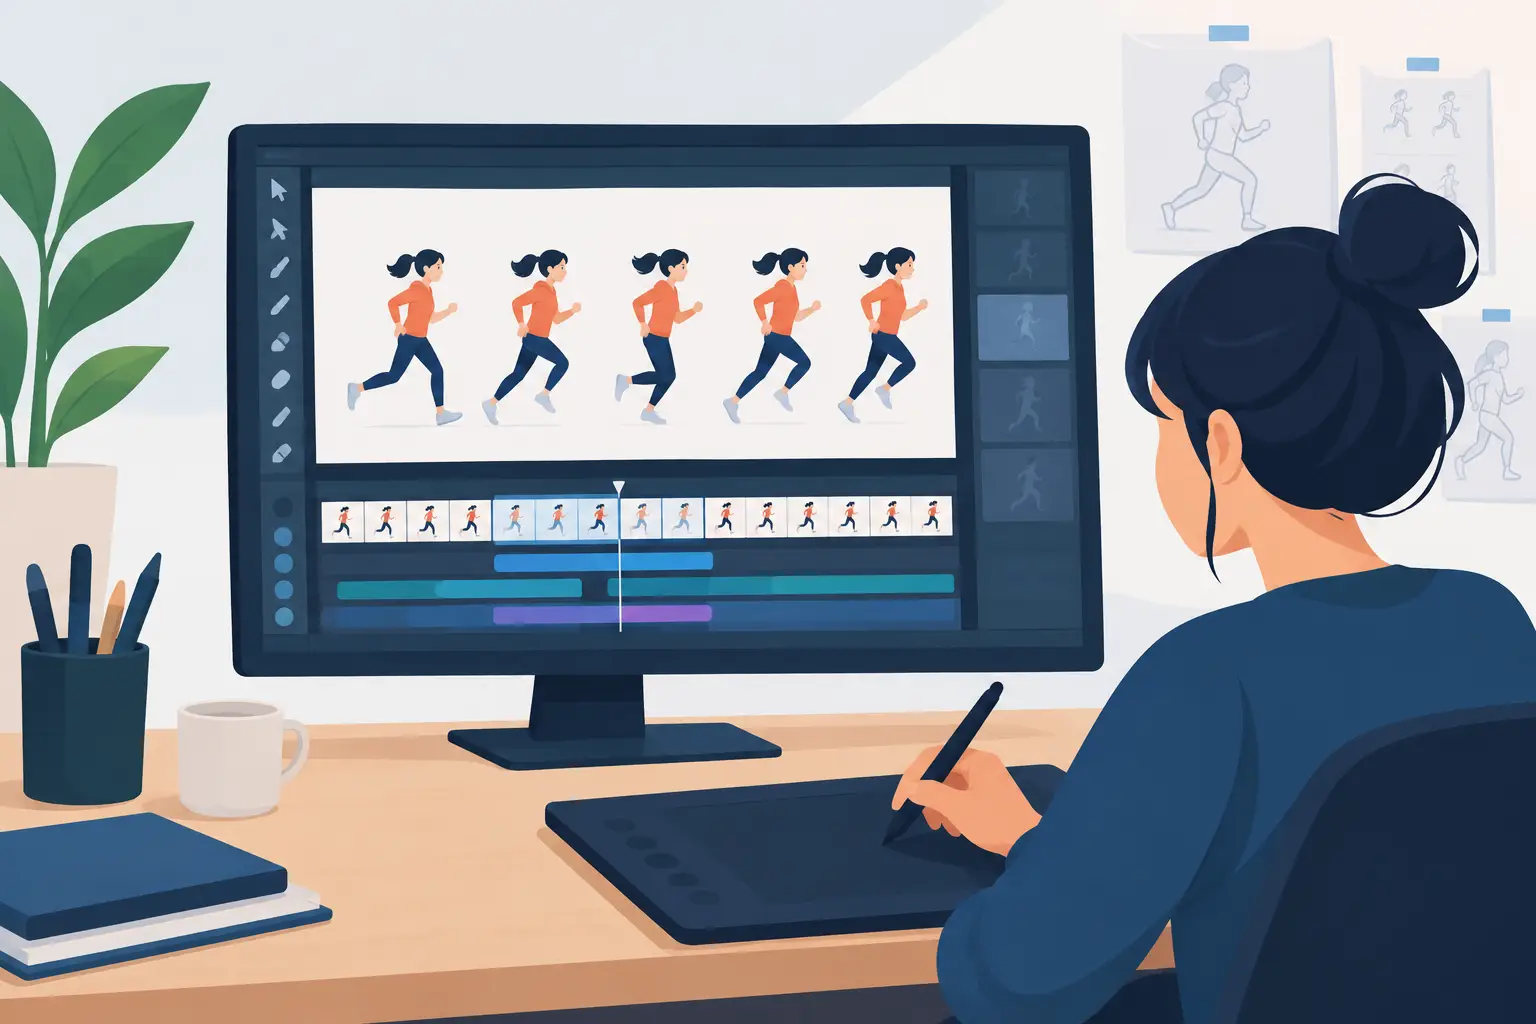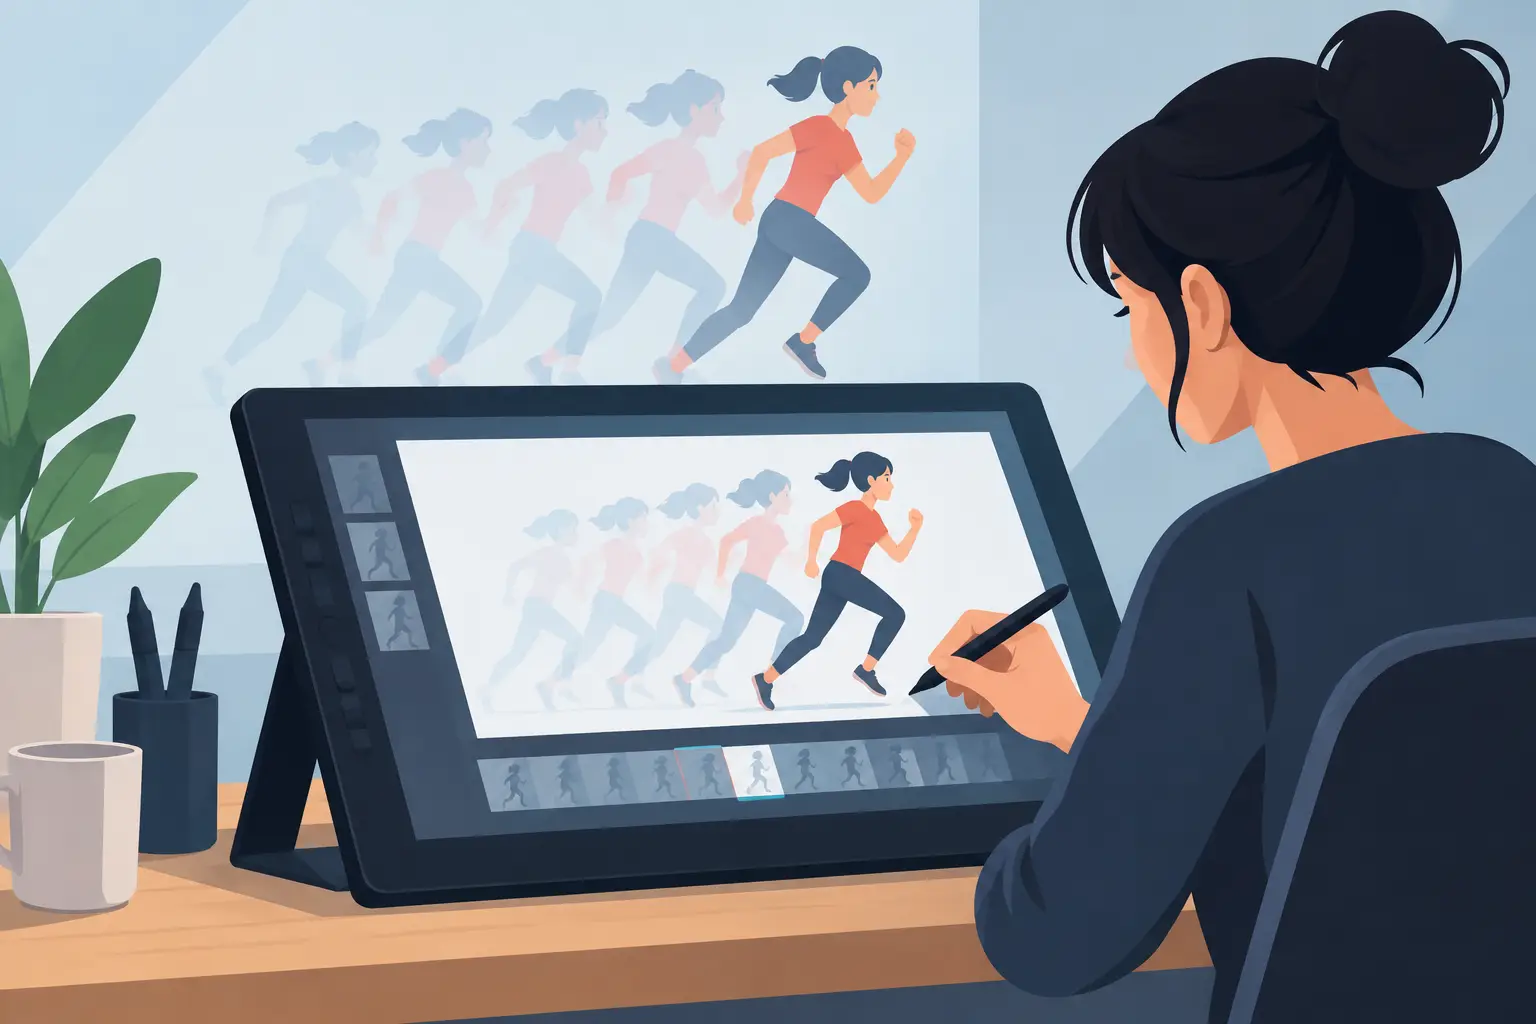
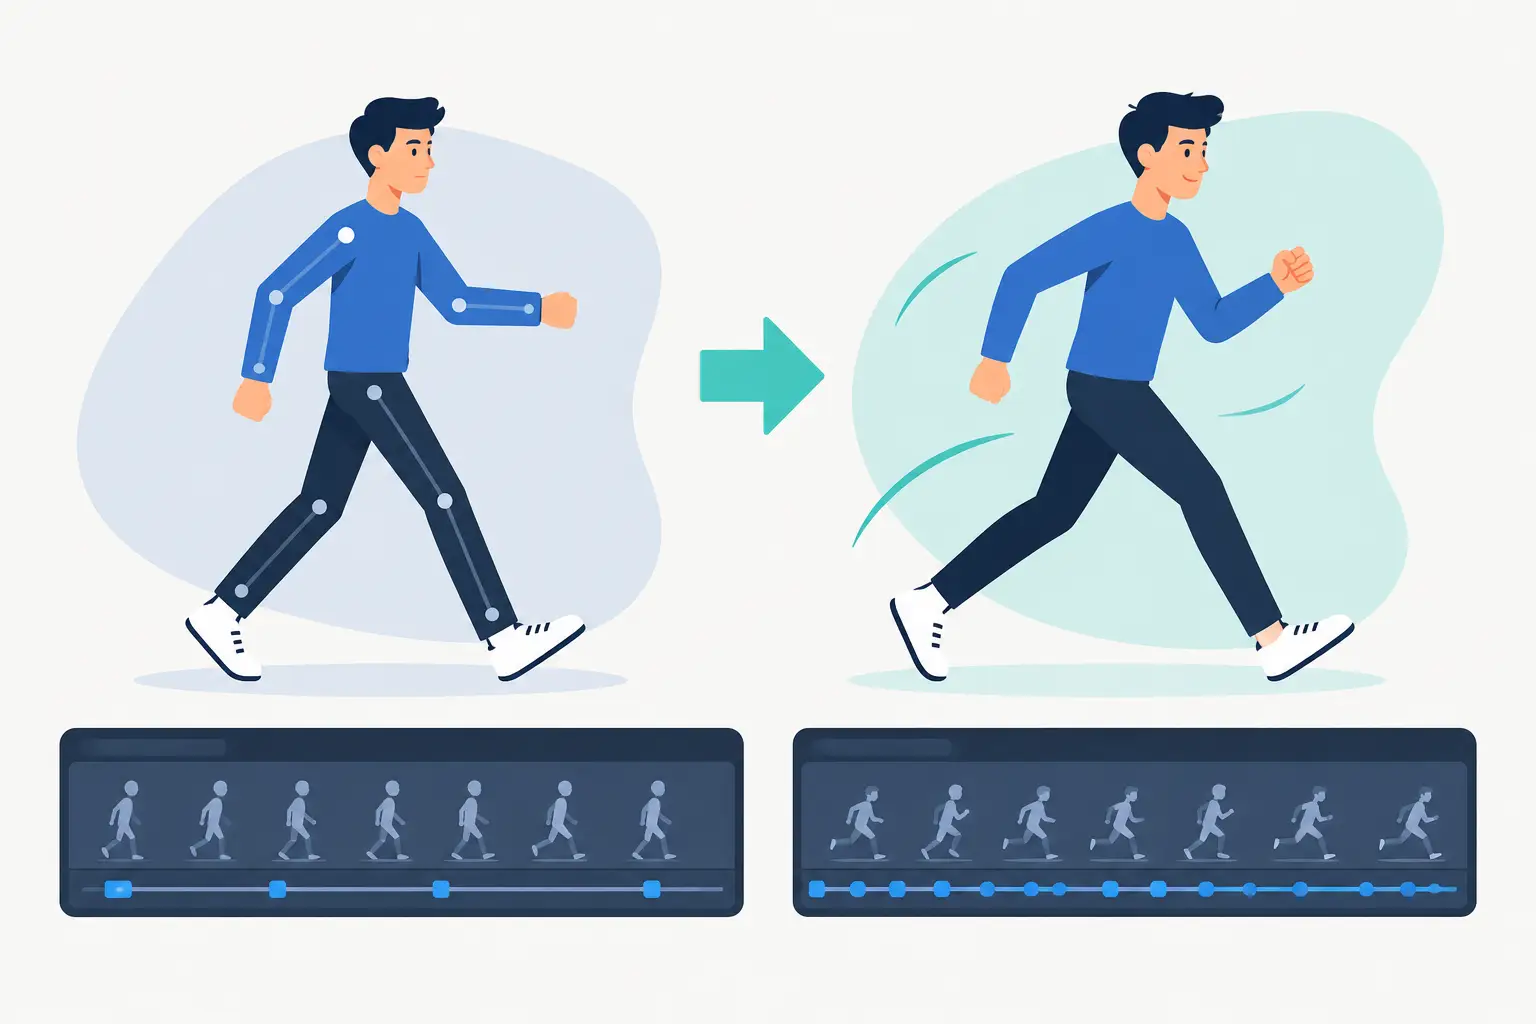
A character can have clean drawings, appealing design, and perfect color, yet still move like a cardboard cutout. If you are asking, why does animation look stiff, the answer is usually not a lack of drawing skill. Stiffness comes from motion decisions: poses that do not communicate force, spacing that stays too even, timing that never changes, and transitions that skip the physical logic between one drawing and the next.
Traditional animators solve this at the rough stage, before clean-up and paint make a problem expensive to fix. The good news is that stiff animation is rarely a mystery. Once you know what to look for, you can identify the weak point in a scene and make your drawings come alive with fewer, better changes.
Why Does Animation Look Stiff in the First Place?
Animation needs change, but not every change creates life. A figure can move from point A to point B and still feel frozen if every part travels at the same rate, follows the same path, and lands in the same rigid relationship to the body.
The most common cause is that the animator is thinking about positions instead of actions. A hand is moved upward because the next pose requires it, but the character is not clearly reaching, waving, lifting, recoiling, or protecting. When the action is vague, the in-betweens become mechanical.
Stiffness also appears when an animator draws each frame as a separate illustration. In production, every drawing has a job. It either establishes a pose, carries momentum, slows an action, shows a reaction, or prepares the audience for what happens next. If all drawings have equal importance, the result feels evenly paced and lifeless.
Start With Stronger Story Poses
A good key pose should read without the drawings around it. Turn off your in-betweens and scrub through the keys. Can you tell what the character wants, where the weight is, and what force is acting on the body? If not, adding more frames will not solve the shot.
Clear posing begins with the line of action. A character lifting a heavy box should not stand in a straight vertical stack. The spine may curve, the hips may shift back, and the shoulders may resist the load. A character about to run needs a compressed, directional pose that stores energy before the push-off.
Avoid placing the head, shoulders, hips, knees, and feet in neat parallel arrangements unless the rigidity is intentional. Parallel lines and symmetrical limbs flatten energy. Offset the body parts, change the angles, and give the pose a dominant direction.
Check the Weight Before You Add Detail
Weight is one of the fastest tests for stiffness. In a standing pose, the body weight must be supported by a foot, a prop, or another character. If the hips are centered between both feet while one leg is supposed to carry the body, the character will look as though it is floating.
Use a simple balance test: draw a vertical line down from the character’s center of mass. For a stable pose, that line should land over the supporting foot or within a believable base of support. For an unstable pose, the character should visibly be correcting, falling, or preparing to step.
Fix Timing Before Polishing Drawings
Many stiff scenes are timed on ones or twos with no real variation. The animation may be smooth, but smooth is not the same as alive. A heavy action needs time to build and settle. A quick reaction may happen in only a few frames. A thought may require a hold before the character moves at all.
Timing tells the audience what matters. Hold a strong anticipation long enough for the viewer to read it, then move quickly through the action if speed is the point. Let a character settle after a landing instead of stopping dead on the contact drawing. These contrasts create force and intention.
Do not assume that more drawings produce better motion. Extra in-betweens can drain a pose of its snap, especially in a broad cartoony action. On the other hand, a realistic or delicate motion may need more gradual changes. It depends on the action, the character, and the style, but the timing should always serve the idea.
A practical workflow is to test your keys and breakdowns before committing to clean-up. Play the scene repeatedly at speed. Better still, adjust exposure while the scene plays so you can feel the rhythm immediately rather than stopping, changing a setting, and previewing again. Real-time timing control helps you judge the action as an audience sees it.
Give Spacing a Purpose
Timing is how long an action takes. Spacing is how far the object moves from drawing to drawing. Confusing the two is a common reason animation looks stiff.
Even spacing creates a constant speed. It has its uses, such as a machine moving at a steady rate, but human and animal movement rarely behaves that way. A ball thrown through the air accelerates as it falls. A character’s arm may start slowly, whip through the middle of the action, and ease into the final pose.
Look at the distance between repeated features, such as a hand, nose, or shoe, across consecutive drawings. If those distances are identical throughout the action, ask whether the motion is supposed to be mechanical. If it is not, revise the spacing.
For a basic ease-out, place drawings closer together near the starting pose and farther apart as the action gains speed. For an ease-in, reverse that pattern as the action approaches the destination. This is not a formula to apply everywhere. A sudden impact may deliberately break the pattern, jumping into a sharp pose before settling with smaller spacing.
Use Breakdowns to Describe the Action
The breakdown is where stiffness often begins or ends. It explains how the character gets from one key pose to another. If you simply average the first and last drawings, you may create a technically smooth but dull transition.
A strong breakdown favors the action. In a head turn, the nose, jaw, and eyes may lead or lag in different ways. In a throw, the shoulder begins the rotation, the elbow follows, and the wrist and hand finish the action. That sequence creates overlap and makes the motion feel connected instead of assembled.
Think about what leads and what follows. The torso may initiate a turn, while the head delays for a frame. A ponytail, sleeve, or loose jacket should continue moving after the body changes direction. You do not need secondary motion in every shot, but when all parts start and stop together, the audience reads the character as rigid.
Preserve Arcs Where They Belong
Most natural limb movements travel in arcs, not straight lines. A wrist, foot, or head that drifts through a series of accidental corners can make an otherwise solid scene feel awkward. Track the path of a selected point through the drawings and look for unwanted wobble.
Arcs are not sacred rules. A robot may move in direct lines. A character can hit a sharp angular pose for comedy or impact. The point is to choose the path. If the action is meant to feel organic, design the arc rather than letting it happen by accident.
Stop Moving Everything at Once
Beginning animators often animate every feature in every frame. The result can feel busy and stiff at the same time because nothing has a clear priority. The eyes shift, the fingers twitch, the torso bobs, and the head rotates, but the main action gets lost.
Choose the primary action first. If the character is listening, perhaps the head turn and a slight change of weight carry the shot. The eyes and hands should support that idea, not compete with it. A held drawing is not dead time when the pose is alive and the audience can read the thought.
Selective movement also saves production time. Animate what communicates the performance. Then add secondary details only when they improve the shot. This is especially valuable during rough animation, where fast decisions matter more than polished lines.
A Reliable Pass for Stiff Scenes
When a shot feels wrong, do not redraw the whole thing immediately. Make a focused diagnostic pass. First, watch it without sound and identify the exact frame where the action loses energy. Then check the keys alone for clarity and weight. Check the breakdowns for a meaningful path, then inspect timing and spacing at the problem area.
After that, look for synchronized starts and stops. Separate the body parts that should overlap. Add a settle after an impact, remove unnecessary in-betweens, or strengthen an anticipation. One decisive change often does more than twenty small corrections.
Working frame by frame does not have to mean working slowly. FlipBook is built around the traditional rough-to-clean-up process, with responsive drawing, efficient painting, and playback controls that let you adjust timing while you watch the scene. That keeps your attention on performance and rhythm instead of on a stop-adjust-preview routine.
Stiff animation is not a verdict on your ability. It is a useful signal: the action needs a clearer decision. Return to the roughs, make the pose say more, and let timing and spacing carry the force of the movement.