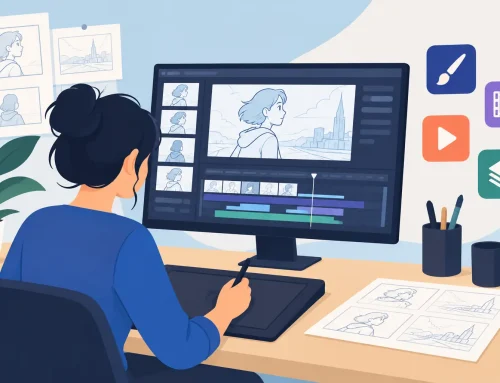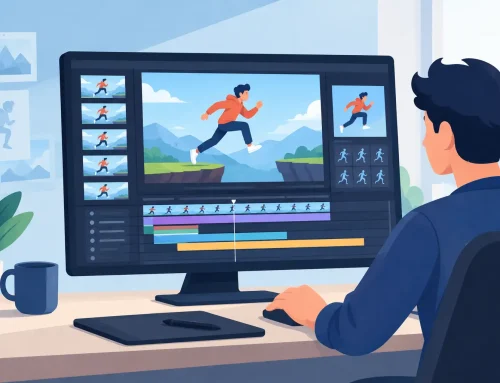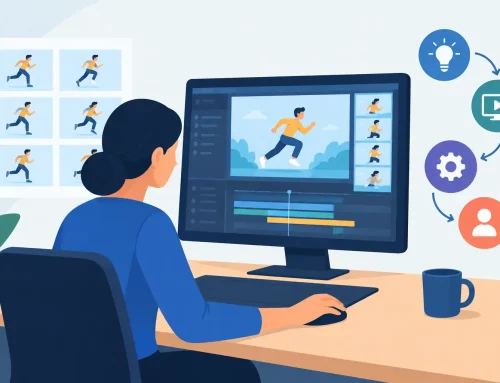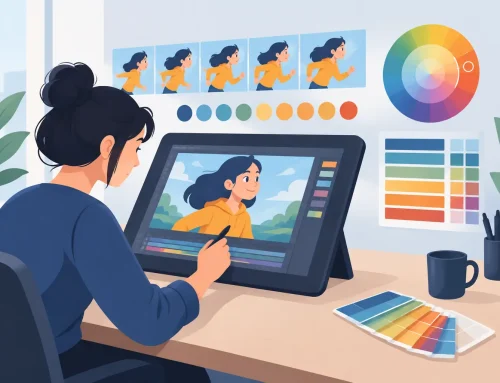
A student hand drawn animation workflow succeeds when it protects the part of the process that matters most: getting drawings on screen, seeing them move, and correcting them before a small problem becomes 200 bad frames. Students do not need a complicated production pipeline. They need a clear order of operations, reliable feedback, and tools that let them work like animators rather than file managers.
The best student films are rarely the ones with the most elaborate designs. They are the ones with readable posing, deliberate timing, clean staging, and enough finish to make the idea land. Start there. A short, well-animated action teaches more than a two-minute project that never gets past rough drawings.
Start With an Action You Can Actually Finish
Choose one action with a beginning, a change, and a clear ending. A character lifting a heavy box, missing a bus, reacting to a noise, or trying to open a stuck jar gives you a complete acting problem without requiring a cast of characters or painted backgrounds.
Keep the first scene between three and 10 seconds. That limit is not a restriction on ambition. It is production discipline. At 24 frames per second, even a five-second shot contains 120 frames of screen time. If you animate on twos, that may still mean roughly 60 drawings before holds, breakdowns, corrections, cleanup, and color.
Before drawing, write a single sentence that describes the beat: “The character is confident, then realizes the jar will not open.” That sentence helps you judge every pose and timing decision. If a drawing does not support the beat, it is probably extra work.
Plan the Scene Before You Animate
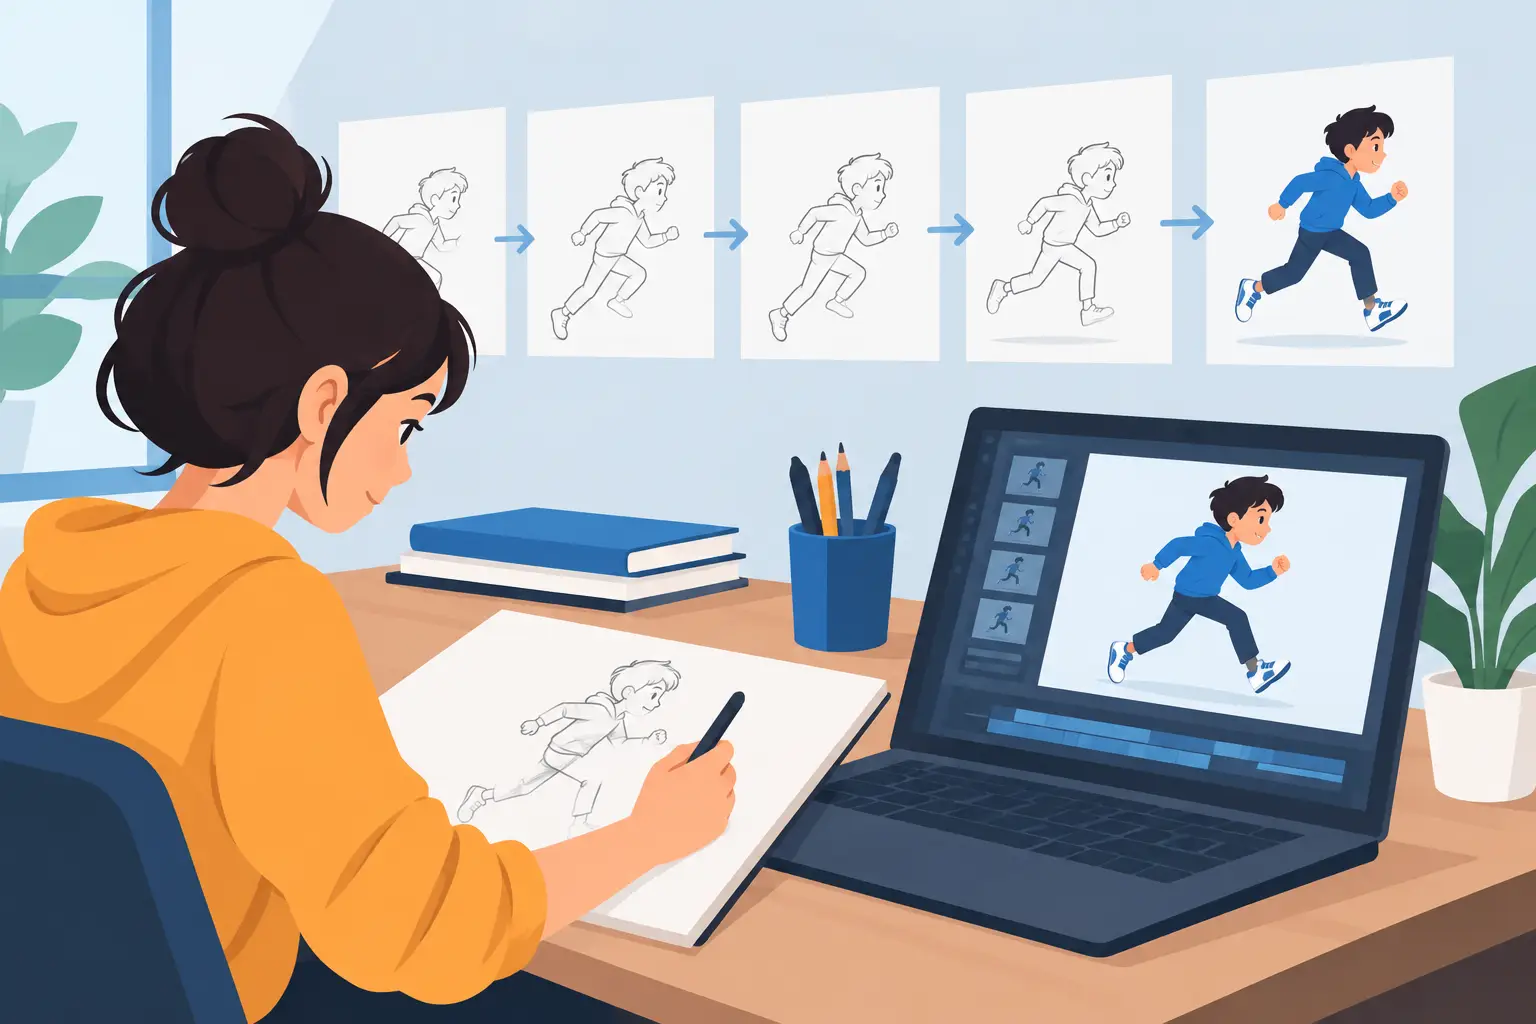
Traditional animation is built on decisions made before cleanup. Thumbnail the important storytelling poses first: the starting attitude, the strongest anticipation, the main action, and the reaction. These are your key poses. They establish the character’s intent and give the shot a rhythm before you commit to in-betweens.
A simple exposure plan is useful even for a student exercise. Mark where each drawing holds and where the action accelerates or slows. A surprised reaction might snap into one strong pose, hold for recognition, then ease into a smaller recovery. The exposure sheet can be informal, but the thinking cannot be skipped.
This is also the time to decide whether the scene belongs on ones or twos. Animate on twos for most dialogue, broad movement, and student exercises where you need manageable drawing counts. Use ones when a fast move, a sharp turn, or a subtle change needs more visual information. There is no virtue in animating everything on ones if the result is harder to control and less clear.
Build a Workable File Setup
Organize the shot so rough animation, cleanup, color, and background elements remain separate. Name the scene immediately and save versions as the work changes. A practical naming system such as `jar_scene_v01`, `v02`, and `v03` prevents the painful question of which file contains the good timing.
Set the frame rate, scene length, and canvas size before serious drawing begins. Changing these late can create unnecessary export problems. Students should also leave enough room around the character for any planned camera move. A pan or zoom is easy to add later only if the drawing was not framed too tightly from the start.
Rough Animation Is Where the Shot Is Made
Roughs should be quick, direct, and disposable. Use a loose brush or pencil-like tool. Draw the keys first, then play the scene repeatedly. Do not judge a pose only as a still image. Animation lives in the change from one drawing to the next.
Watch for three things: whether the action reads at normal speed, whether the spacing supports the force of the movement, and whether the character’s volumes stay believable. A heavy object needs slower spacing at the start and a clear sense of resistance. A quick head turn needs clean arcs and a strong final position, not a pile of tiny adjustments.
Make timing corrections while the action is playing. This is where many digital programs interrupt the animator: stop, open a timing control, change an exposure, play again, and repeat. That breaks concentration. A better workflow lets you adjust timing during playback so you can feel the rhythm as you edit it. FlipBook is built around this kind of real-time timing control, which is especially valuable when students are learning to recognize a shot’s rhythm by eye.
Do not clean up a scene that has not been tested. Show the rough pencil test to a classmate, instructor, or someone who has not seen the planning. Ask what they think happened, not whether they like it. If they misread the action, solve the storytelling issue before adding polished lines.
Add Breakdowns and In-Betweens With Purpose
Once the key poses work, add breakdowns that explain the path between them. A breakdown is not merely a drawing halfway through the action. It defines the arc, the twist, the squash, the overlap, or the changing balance that makes the movement feel intentional.
Then add in-betweens only where the eye needs them. More drawings do not automatically create better animation. Overdrawing can make an action floaty, stiff, or strangely even. Let spacing tell the viewer where the force is. Wider spacing suggests speed; tighter spacing suggests slower movement or a change in direction.
Keep flipping between drawings and playing the full scene. Flipping reveals construction and volume problems. Playback reveals timing problems. You need both. Students who rely on only one of these checks often create drawings that look attractive individually but do not move convincingly.
Clean Up Without Erasing the Performance
Cleanup is not tracing for its own sake. Its job is to preserve the rough animator’s performance while making the drawing clear enough to reproduce, paint, and watch without distraction. Use the rough drawing as a guide, but do not become enslaved to every wobble. Preserve the gesture, the silhouette, and the key construction decisions.
Work one area at a time when necessary, but play the scene often. A perfectly clean head that changes size from frame to frame is still a problem. Watch line weight, eye placement, hand size, and the character’s overall proportions. Model sheets help, yet the shot’s movement matters more than mechanical adherence to a turnaround.
For student work, decide what level of cleanup the project truly needs. A portfolio test may need polished linework. A timing assignment may only need legible roughs. Spending six hours refining a shot whose timing is still weak is the wrong trade-off.
Paint Efficiently and Keep Colors Under Control
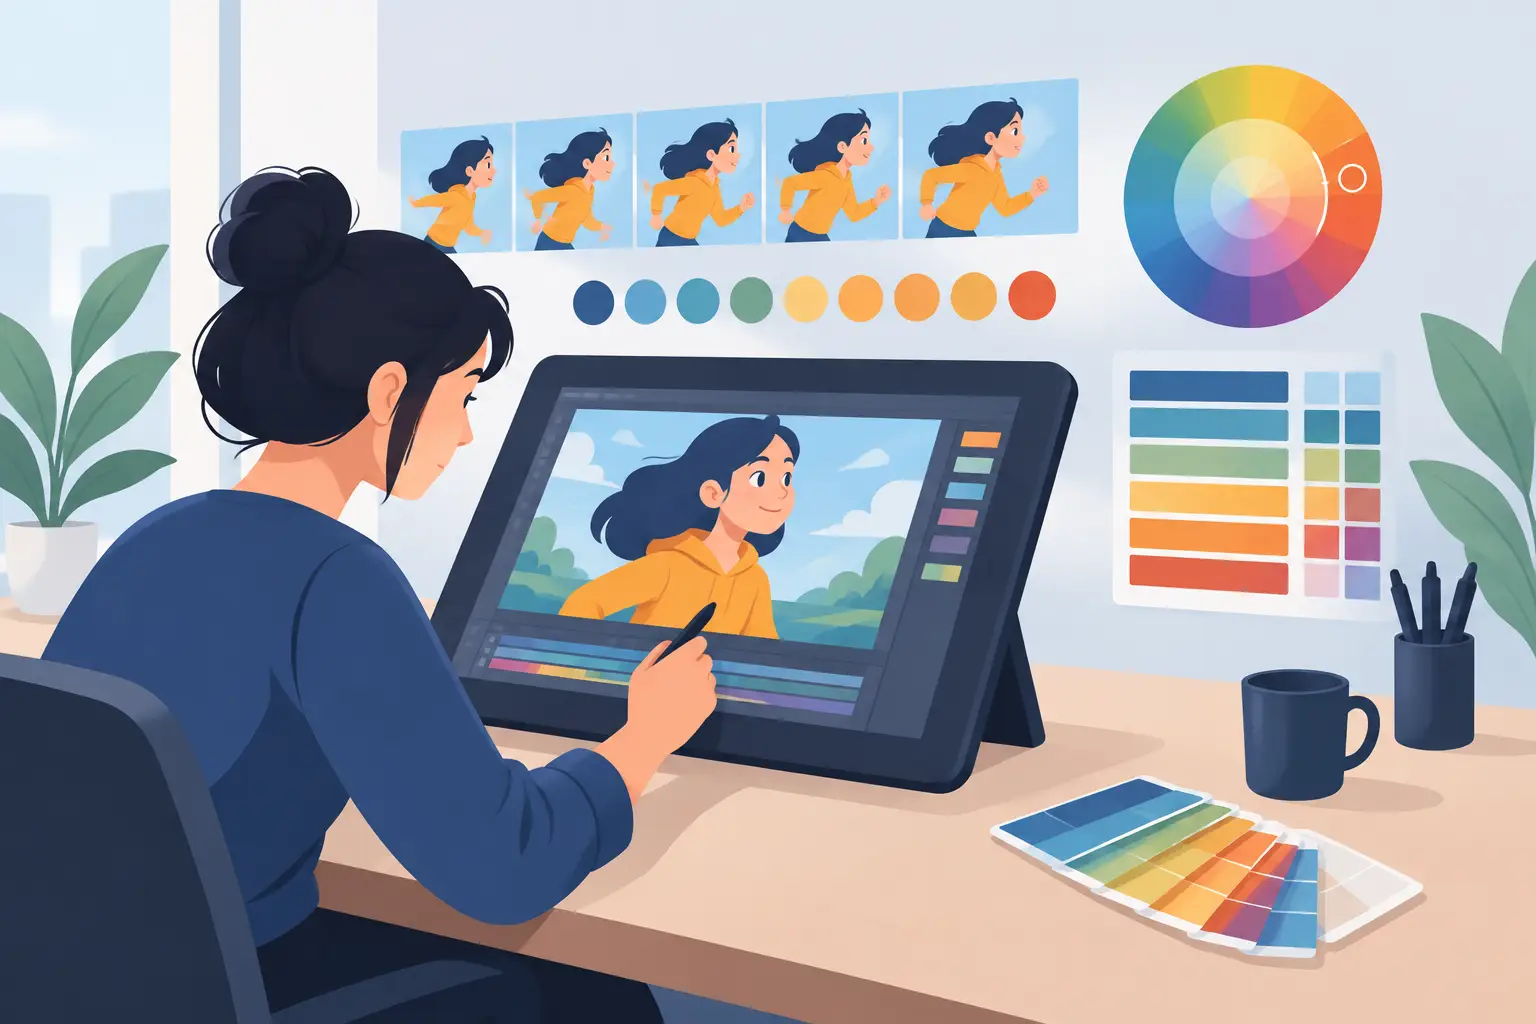
Use a limited palette. Flat color with one shadow tone can look deliberate and professional when the animation is solid. Complex rendering multiplies the work on every frame and exposes small registration errors.
Before painting the full scene, test the color choices on a few representative frames. Make sure the character separates from the background and that important facial features remain readable. Then establish a repeatable paint order, such as base color first, then shadows, then small details. Consistency matters more than decorative complexity.
Fast paint tools are more than a convenience when deadlines are close. They give students time to review the actual animation instead of spending every available hour filling enclosed shapes. If a color area repeatedly leaks, fix the cleanup gap rather than correcting the same mistake frame after frame.
Treat Camera Moves as Storytelling Choices
A digital camera pan, zoom, rotate, blur, or dissolve can improve a scene, but it cannot repair unclear animation. Add these effects after the character action works. A slow push-in can emphasize a realization. A dissolve can show a change of time or place. A blur can support a fast movement. Each should have a reason tied to the scene.
Preview the finished shot at its intended output size. Fine linework and subtle spacing can disappear on a smaller screen. Check that the background supports the action rather than competing with it, and listen for any sound cue that changes the timing of the performance.
Build a Review Habit That Produces Better Work
At the end of each work session, export or play the latest version from beginning to end. Write down three specific notes for the next pass. “Fix the animation” is not a note. “Hold the reaction two more frames,” “move the hand arc outward,” and “reduce the head size in frames 32 through 40” are notes you can act on.
A dependable student hand drawn animation workflow leaves room for revision because revision is where animation improves. Finish a short scene, learn exactly where your timing or drawing broke down, and make the next one stronger. That is how a student project becomes the beginning of professional practice.