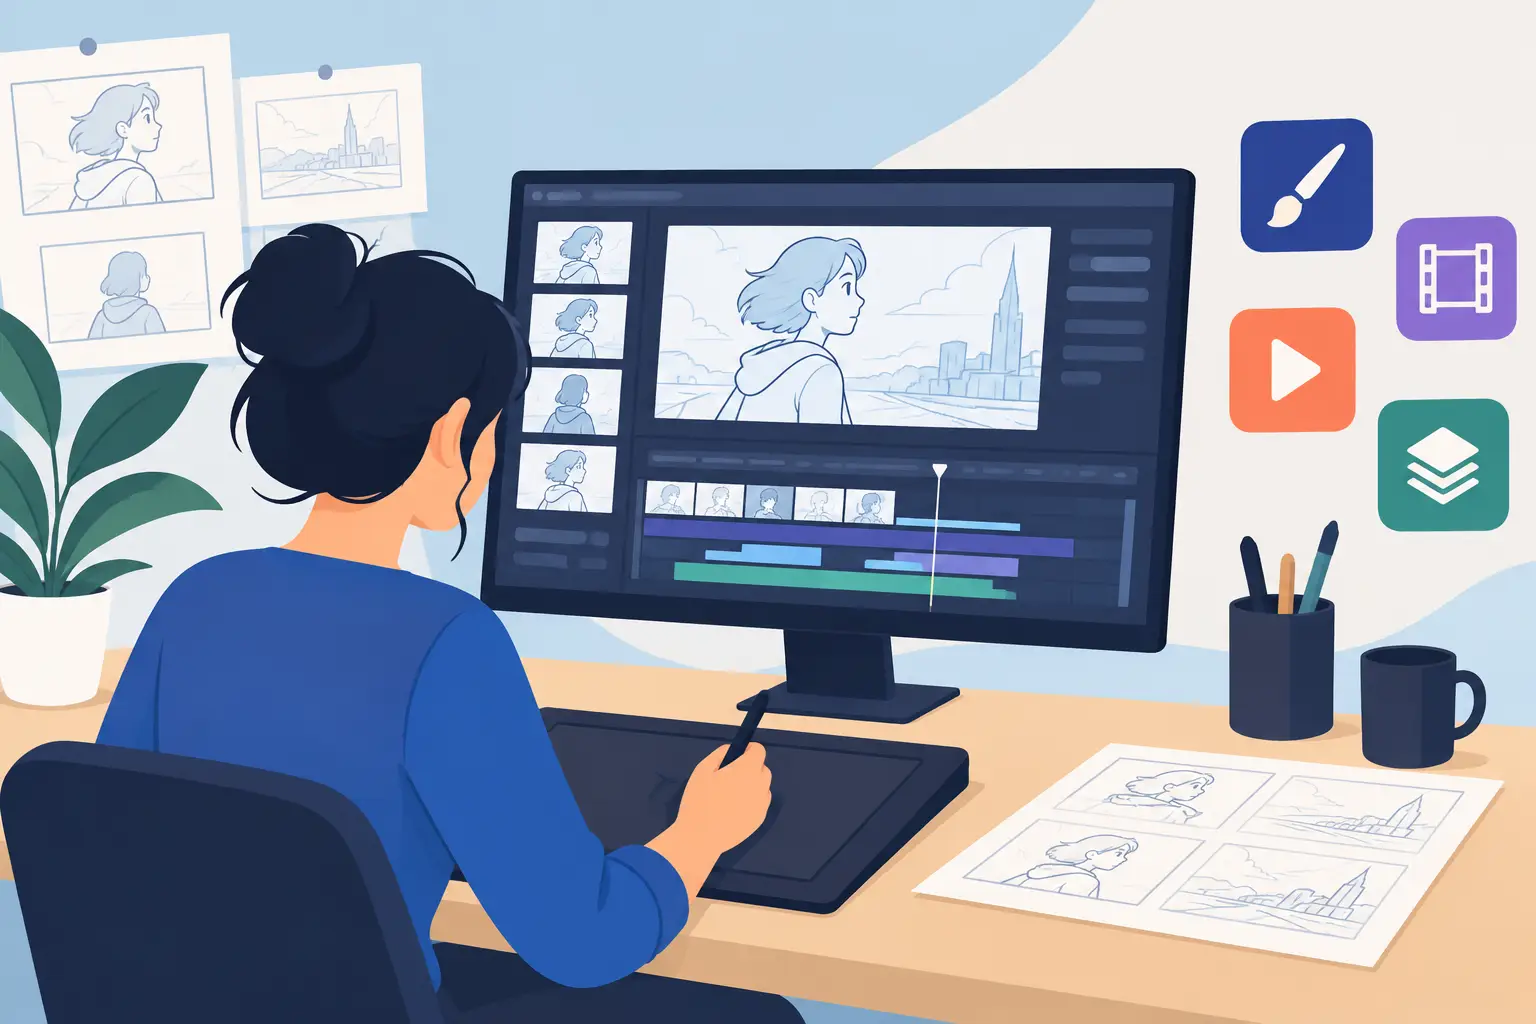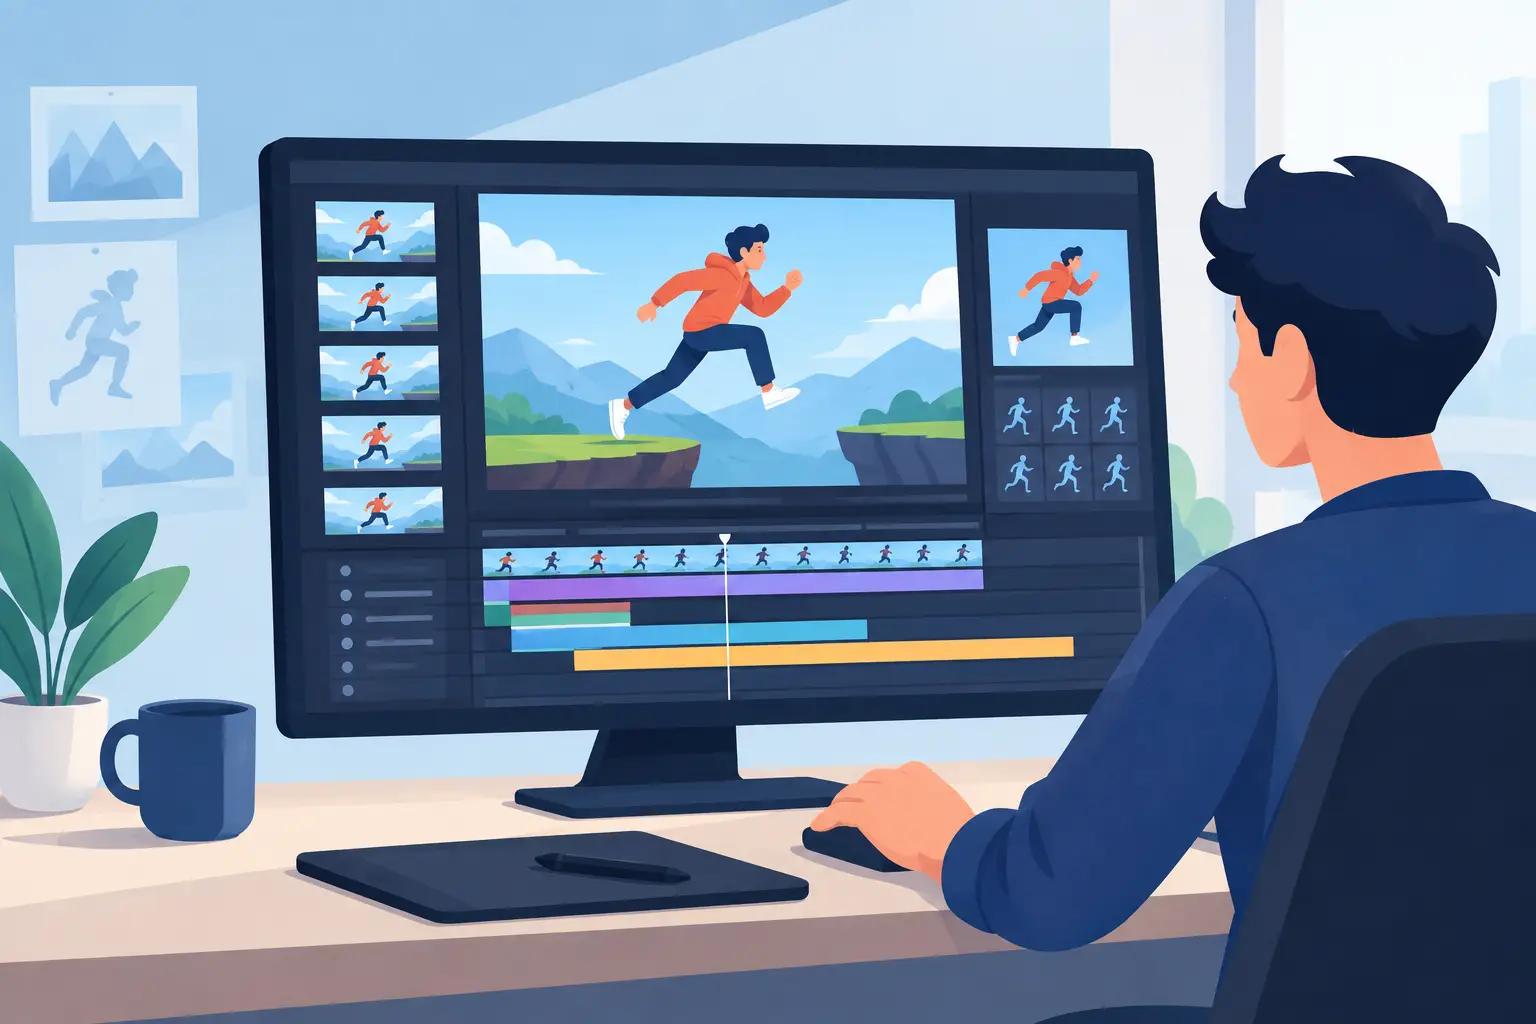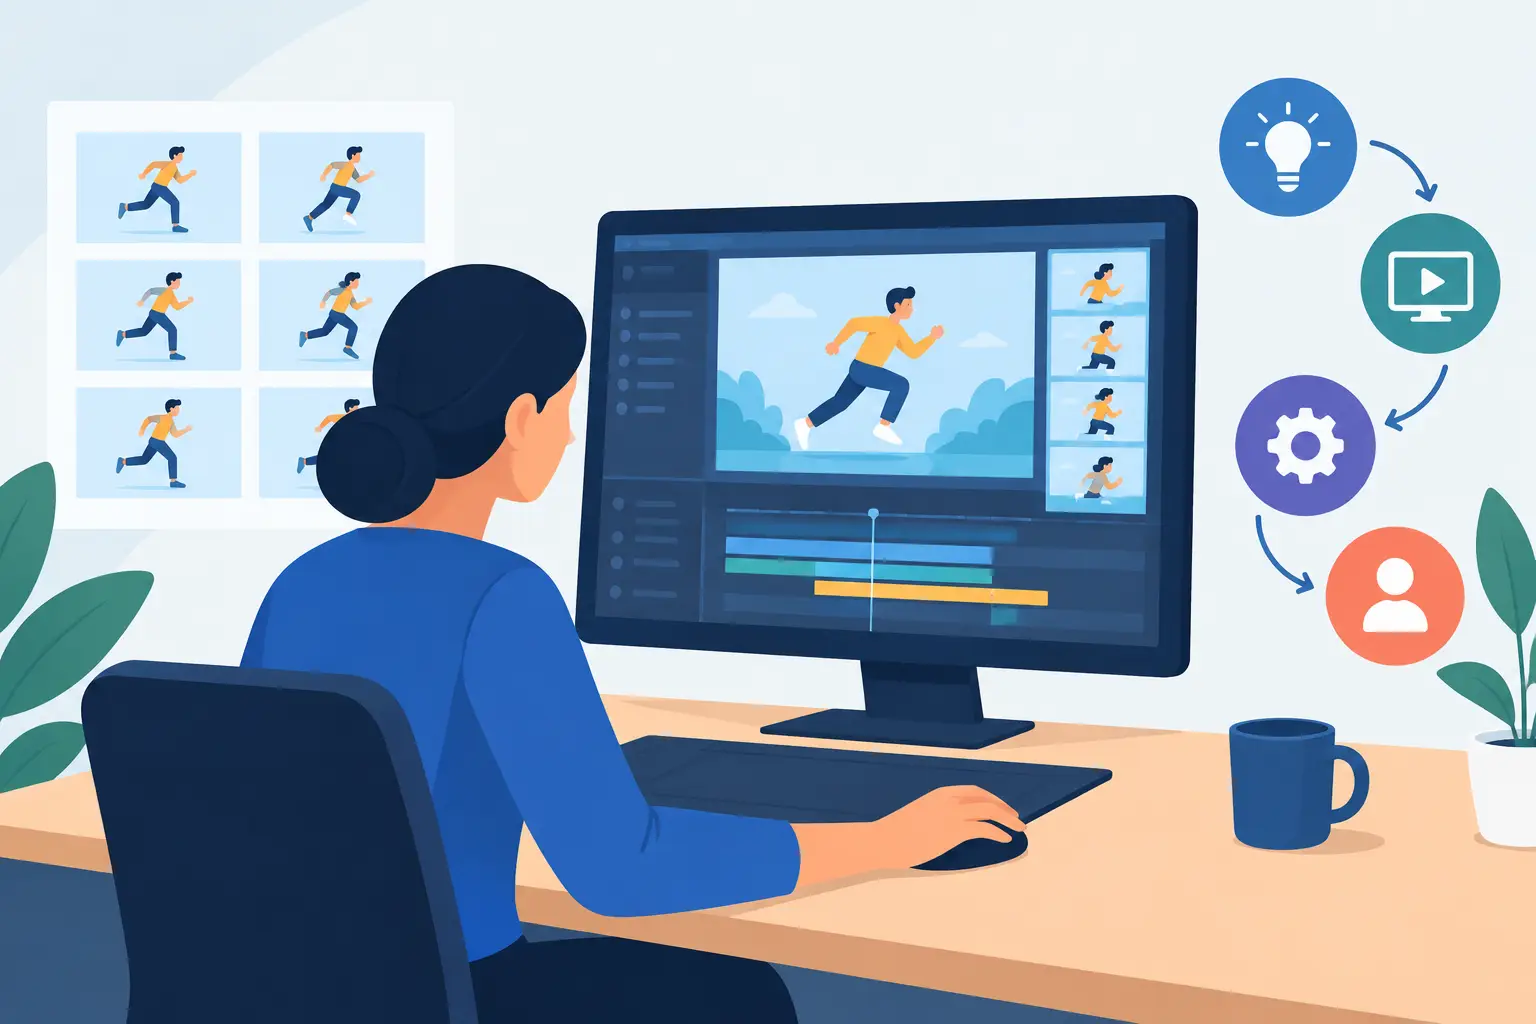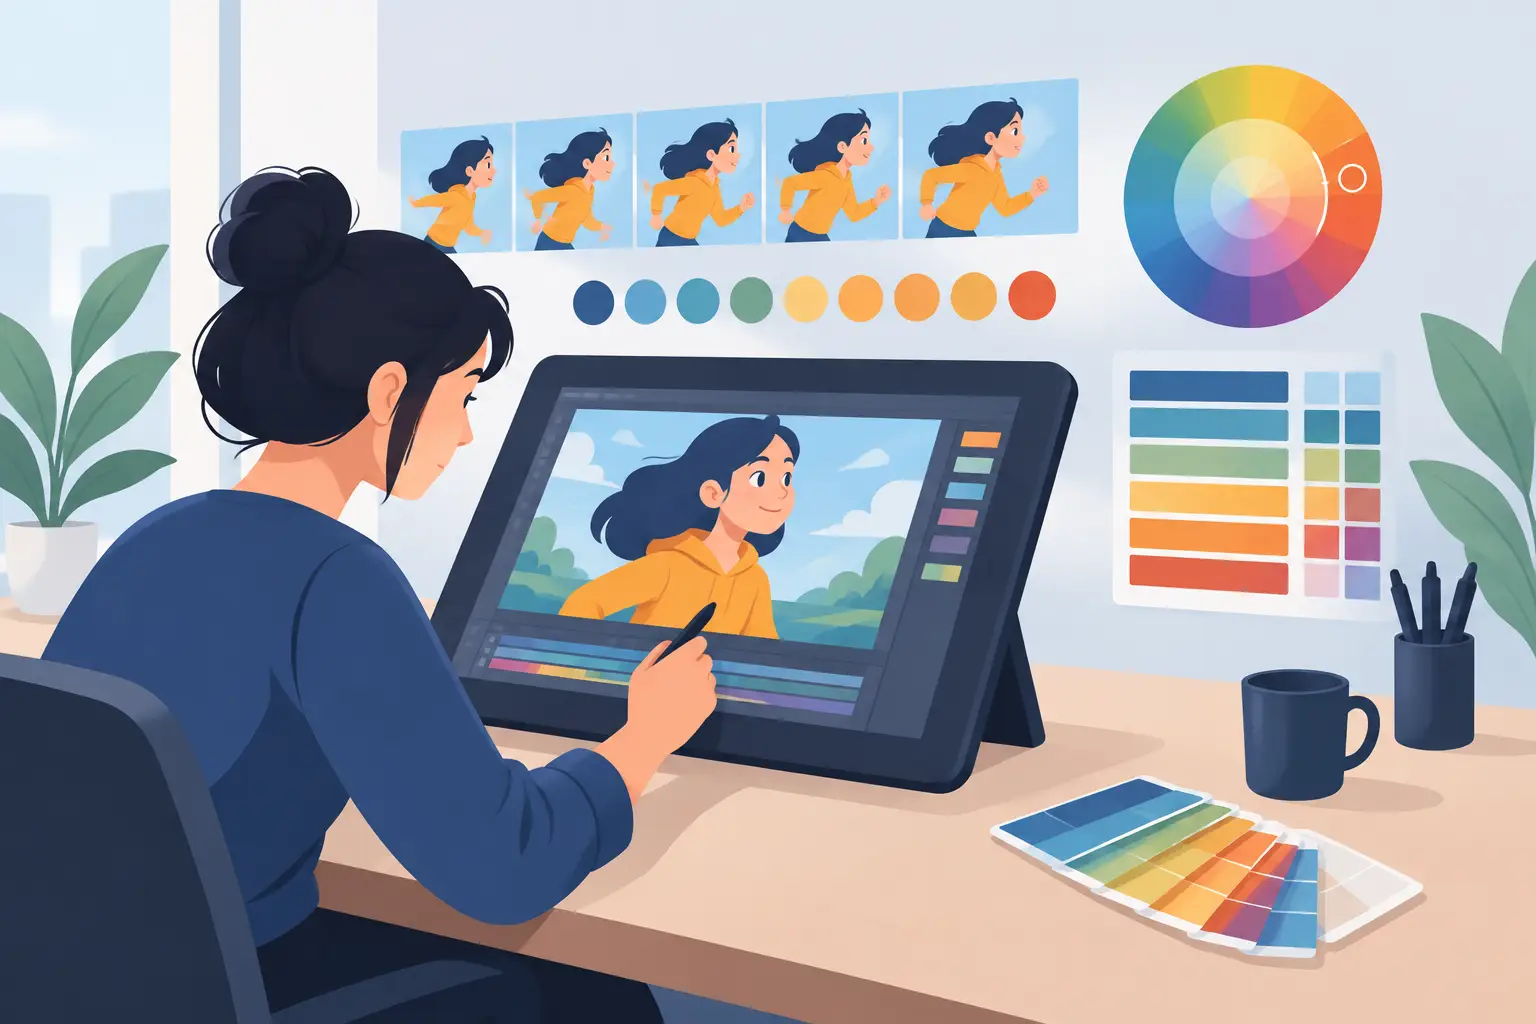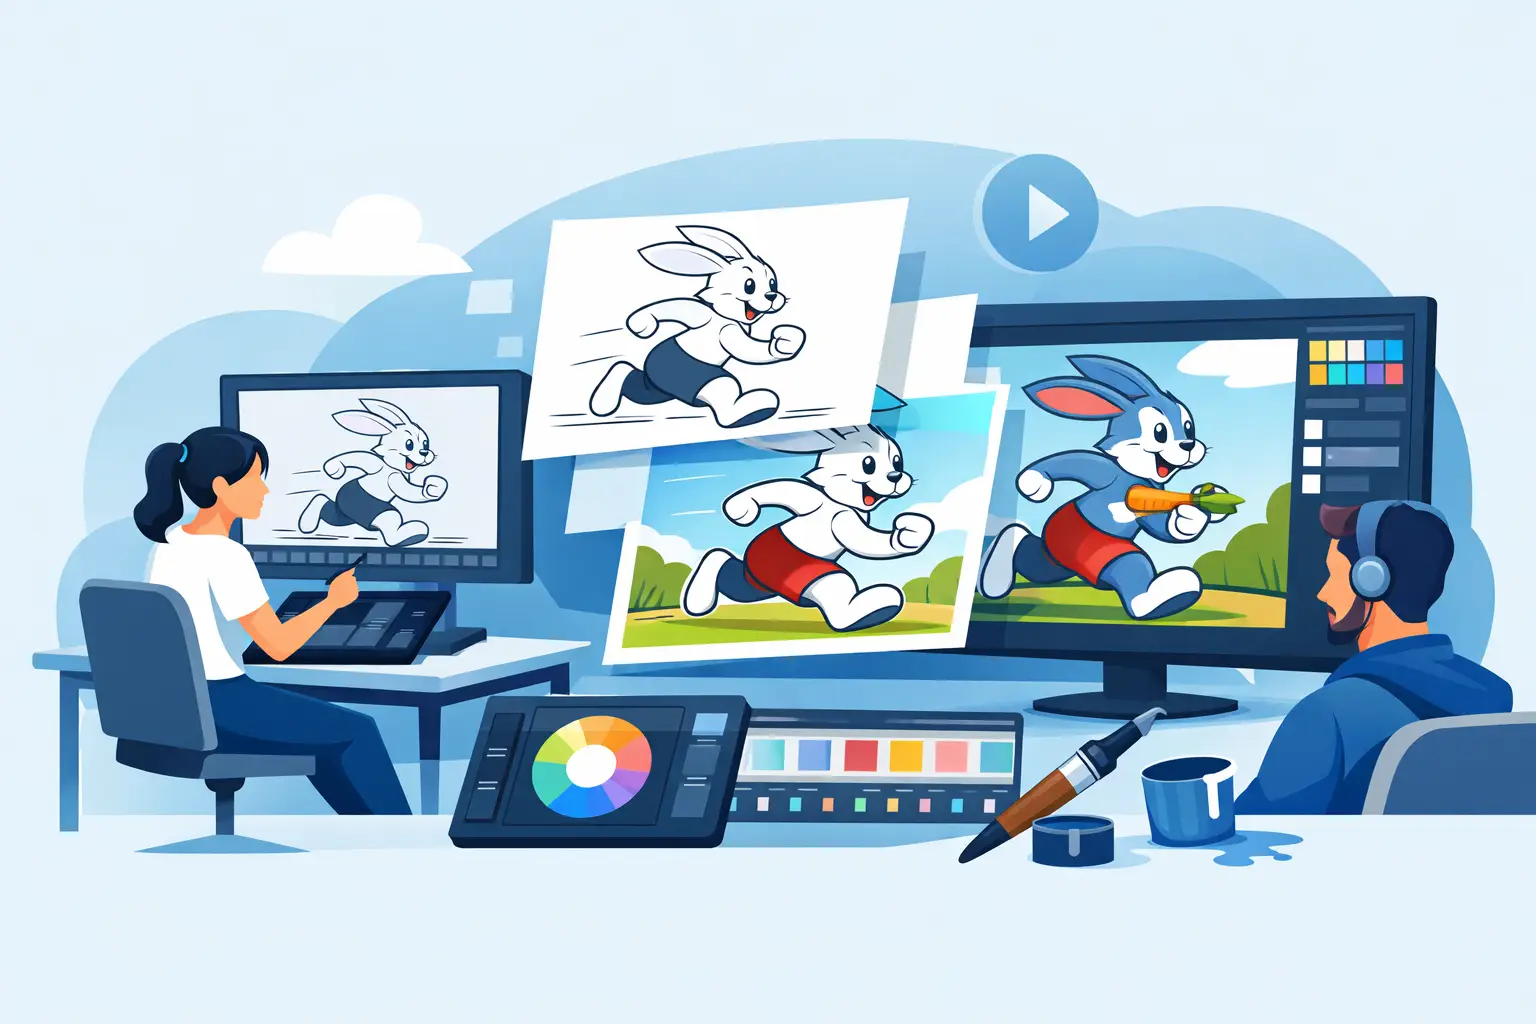
A painted animation scene can look simple on screen: clean lines, flat color, a shadow pass, maybe a moving camera. Behind it is a chain of decisions that can either support the animator’s hand or slow it down at every frame. Digital ink and paint animation works best when it preserves the logic of traditional production: draw the scene, clean it up, apply color quickly, check the timing, and keep adjusting until the motion feels right.
That sounds obvious, but many digital workflows separate those jobs so aggressively that artists spend more time managing the software than animating. A practical ink-and-paint workflow should let you stay close to the drawings, see changes immediately, and make production decisions without constant exporting, rebuilding, or waiting for previews.
What digital ink and paint animation actually means
In traditional studio production, ink and paint was the stage where cleaned-up drawings became finished animation. The line art was prepared for the camera, colors were assigned, and each cel was painted according to an approved model and color guide. The process demanded consistency, but it also had to move quickly. Hundreds or thousands of drawings might pass through the department for a short sequence.
Digital ink and paint animation brings that work onto the screen. Instead of transferring drawings to physical cels, the animator or assistant works directly with scanned or digital line art. Colors can be filled, adjusted, reused, and corrected without remaking physical artwork. Layers can separate character color, shadows, effects, and backgrounds. The finished scene can then be played back immediately.
The benefit is not simply that the work is digital. The benefit is that corrections are faster. A misplaced color can be fixed without repainting a cel. A line can be cleaned without rebuilding the painted artwork. A sequence can be reviewed at speed before it reaches compositing. For independent filmmakers, students, and small studios, those saved minutes multiply across every scene.
The workflow must serve the drawing
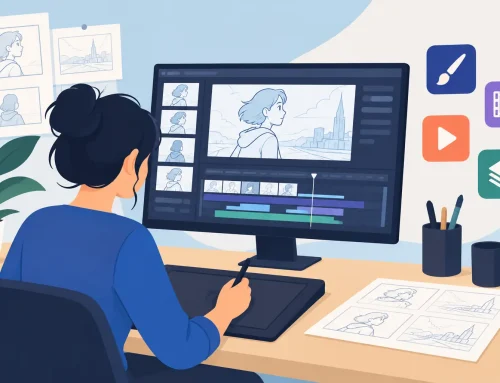
A good production setup starts before the paint bucket is used. Rough animation establishes performance, timing, spacing, arcs, and staging. Clean-up turns that exploratory drawing into clear, consistent line art. Painting gives the scene its finished color and separates forms so the action reads.
Each stage affects the next. If roughs are hard to review, timing problems stay hidden. If clean-up feels stiff because the drawing tools fight the artist, the final line loses character. If painting requires too many clicks per drawing, a simple color sequence becomes a production bottleneck.
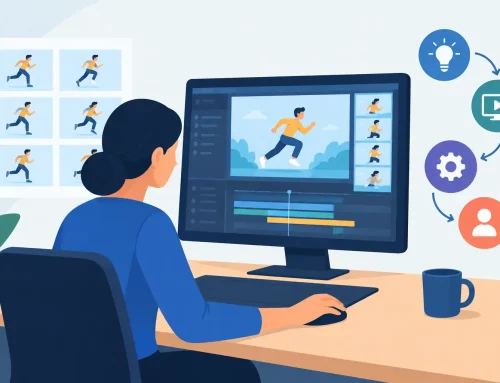
This is why traditional animators often prefer software built around frame-by-frame work rather than software adapted from graphic design or motion graphics. The artist needs to flip drawings, scrub a scene, judge a pose in context, and react to what is actually moving. A tool can have a long feature list and still be a poor choice if it makes those basic actions feel awkward.
Clean lines need a natural drawing response
Ink begins with the quality of the line. Whether a project calls for a loose pencil test, a crisp cartoon contour, or a more textured hand-drawn finish, the drawing tool should respond predictably. Pressure, stroke placement, and frame-to-frame consistency all matter.
There is no single correct style of clean-up. A television production may need highly standardized lines for a team of artists, while an independent short may deliberately retain pencil texture. What matters is that the software does not force a sterile result. The line should look like it was made by an animator, not processed into something generic.
Paint speed matters more than people expect
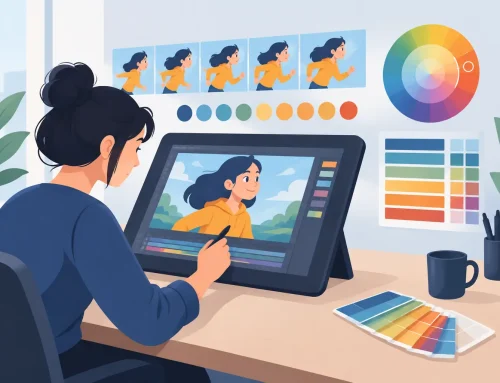
Painting is often treated as a final polish step, but it is a major production task. A character with five colors across a 12-frame action already creates dozens of color decisions. Add secondary action, shadows, props, and corrections, and slow filling tools quickly become expensive in time and concentration.
Efficient painting tools should make it easy to fill enclosed areas, reuse established colors, and correct mistakes without damaging surrounding artwork. They should also work well with the way animation drawings are actually made. Line gaps, sketchy contours, and small shape changes are normal in hand-drawn work. A paint tool that only behaves well on perfect vector-like shapes creates extra cleanup that the shot may not need.
The right approach depends on the project. For a simple test, a limited palette and flat fills may be enough. For a polished short, you may need separate shadow colors, highlights, and effects passes. In both cases, the goal is the same: color should clarify the action, not become the hardest part of finishing it.
Timing is part of the finish, not a separate chore
A beautifully painted scene can still fail if its timing is wrong. One held drawing may make a reaction read clearly. One extra inbetween may remove the snap from a take. A delayed blink can change a character’s thought process. These are animation decisions, not merely editing decisions.
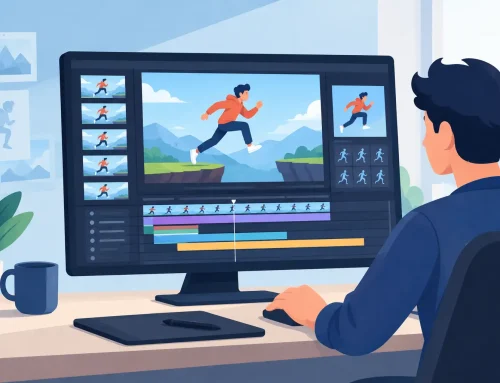
That is why playback and timing control belong at the center of the ink-and-paint workflow. Animators need to watch a scene, identify the problem, adjust exposure or frame timing, and immediately see the result in motion. When every change requires a stop-adjust-preview cycle, creative judgment gets interrupted. The artist starts accepting compromises simply because checking alternatives takes too long.
Real-time timing adjustment is especially valuable while a scene is still being painted. You may discover that a color change is landing on the wrong drawing, that a hold needs to be extended, or that an accent frame needs more screen time. Seeing the scene play as you make those choices keeps the work connected to performance.
Camera effects should support the scene
Traditional animation is not limited to a locked camera. Pan, zoom, rotation, blur, and dissolves can add emphasis, create depth, or guide attention through a shot. Used carelessly, they can also distract from the drawing and make a hand-animated scene feel overprocessed.
The practical question is whether the effect improves the storytelling. A gentle push-in may support a realization. A pan can reveal a layout or follow an action. A dissolve can handle a passage of time without adding unnecessary animation. Effects should be easy to test, because their usefulness is visible only in playback.
For small productions, having these camera-style controls close to the animation saves a great deal of handoff work. It lets the animator test the shot’s intent before sending it further down the pipeline. That does not replace a dedicated compositing process when a project requires one. It does allow a stronger, more complete scene to reach that stage.
Build a pipeline that fits the size of the production
A student making a ten-second exercise does not need the same pipeline as a studio delivering a series. Still, both benefit from clear organization. Name scenes consistently, establish the palette early, separate roughs from clean-up, and review every shot at playback speed before calling it finished.
For a solo animator, keeping drawing, paint, timing, and simple camera work in one application can protect momentum. For a team, the priority may be predictable handoffs and color consistency across artists. In either case, avoid adding tools simply because they are available. Every extra conversion introduces a chance for mismatched settings, lost layers, or wasted review time.
FlipBook is designed around this traditional production logic: draw your roughs and clean-ups, paint frames efficiently, play and scrub scenes, and adjust timing while the animation is running. Its purpose is not to bury hand-drawn work under a complicated pipeline. It is to help animators get better results with less effort while keeping control of the work that matters.
Keep the test scene small and honest
The fastest way to judge an ink-and-paint workflow is not by looking at a feature chart. Make a short scene. Animate a character turning, picking up an object, or reacting to a sound. Clean it up, paint it, change a hold, and test a camera move. That small exercise exposes whether the software helps your process or gets in its way.
Use the scene to practice production habits as well. Create a limited color palette. Check for missed fills at normal playback speed. Look for line boil that is distracting rather than intentional. Watch the silhouette before admiring the rendering. If the action reads clearly in a simple test, the finished production has a stronger foundation.
The best digital ink-and-paint setup does not make the animator less involved. It removes the mechanical delays that pull attention away from drawing, color, and timing. Start with a scene worth animating, keep the workflow close to the hand, and give yourself enough immediate feedback to make each frame earn its place.