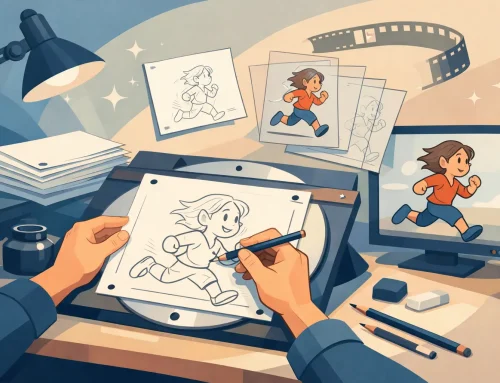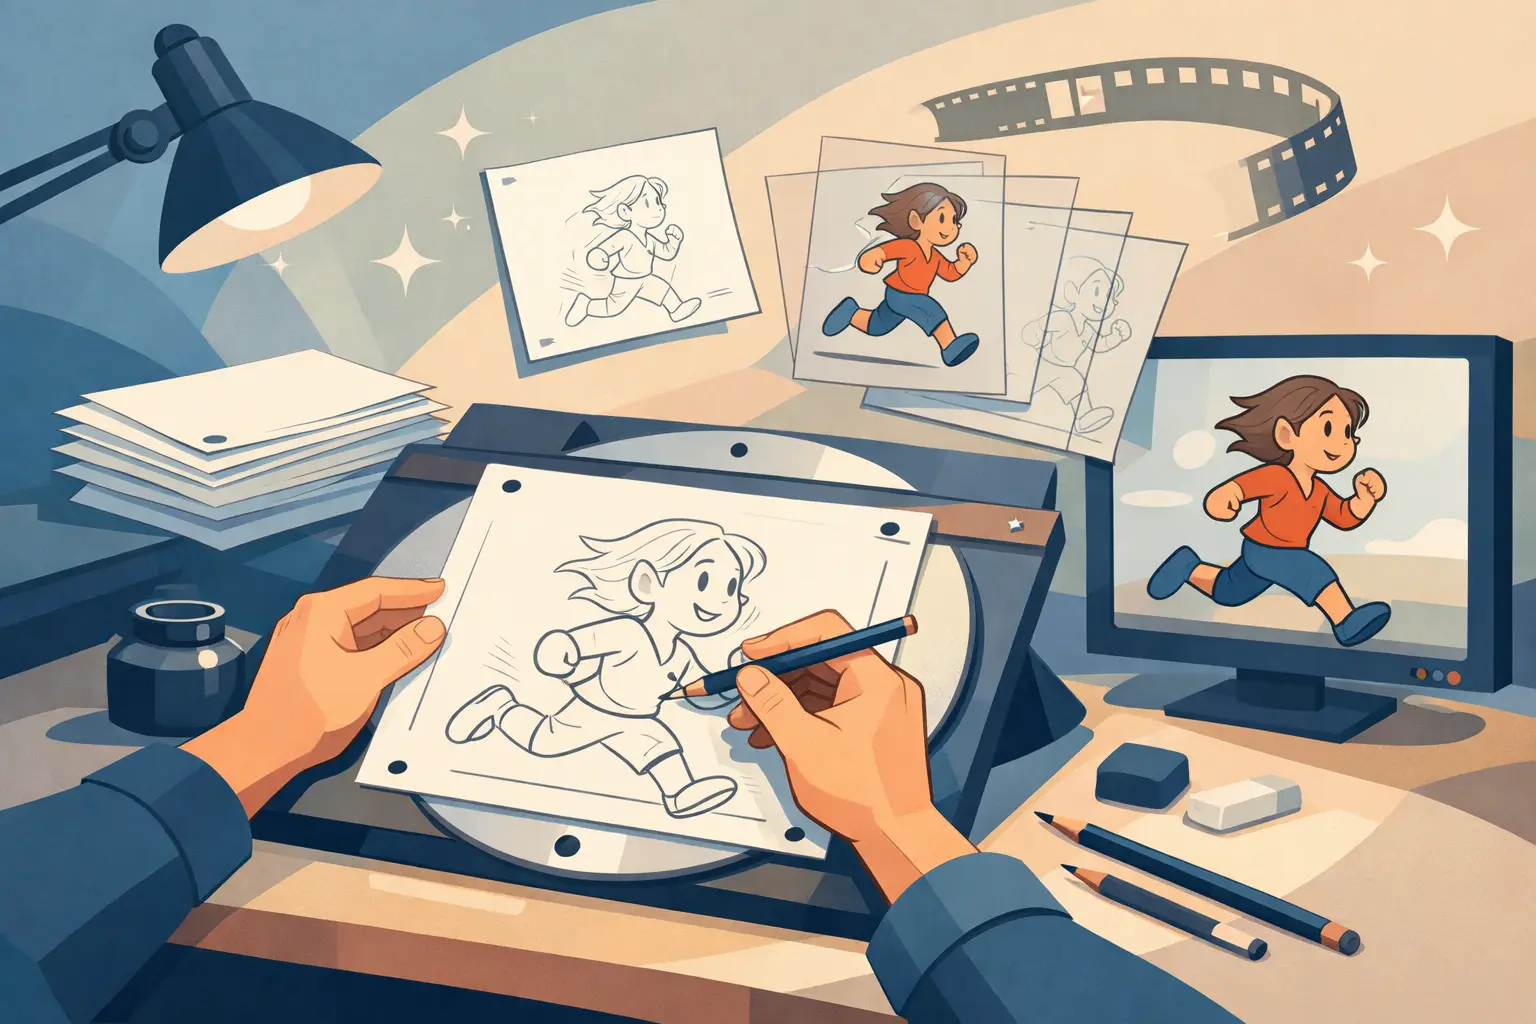

A hand that seems to wobble, a head that drifts sideways, or a bouncing ball that feels oddly mechanical usually has the same cause: the action is not following a believable path. Learning how to test animation arcs early lets you catch those problems while they are still rough drawings, when a correction takes minutes instead of a full cleanup pass.
Arcs are not decoration. They are the visible record of how a character moves through space. Nearly every natural action travels in a curved path: a wrist on a wave, the nose on a head turn, a hip in a walk, or the tip of a tail during a change of direction. Straight-line movement has its place, especially for a mechanical object or a deliberate impact, but it must be a choice. If the arc is accidental, the motion will usually look accidental too.
Start With One Moving Point
The fastest way to test an arc is to choose the part of the drawing that matters most and track one point on it. For a character’s arm, that may be the wrist or fingertip. For a head turn, use the nose, ear, or eye line. For a ball, use its center. Do not try to judge every contour at once. A clean arc begins with a clear path for the main action.
Scrub through the rough scene slowly and watch that point from frame to frame. Then play the scene at speed. Slow scrubbing reveals the actual path. Playback reveals whether the audience will feel a hitch, a drift, or a sudden change in direction. You need both checks because an arc can look acceptable in isolated drawings but still feel wrong when the action moves.
If the point changes direction without a reason, mark the frame. If it appears to flatten out, then suddenly jump back onto the intended path, that is a classic bump in the arc. Do not immediately redraw every frame. First identify whether the problem comes from an extreme pose, a breakdown, or spacing between drawings.
How to Test Animation Arcs With a Draw-Over
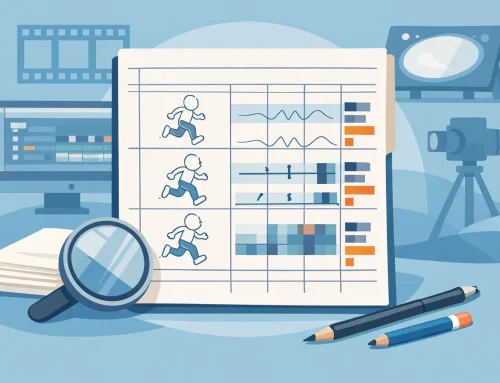
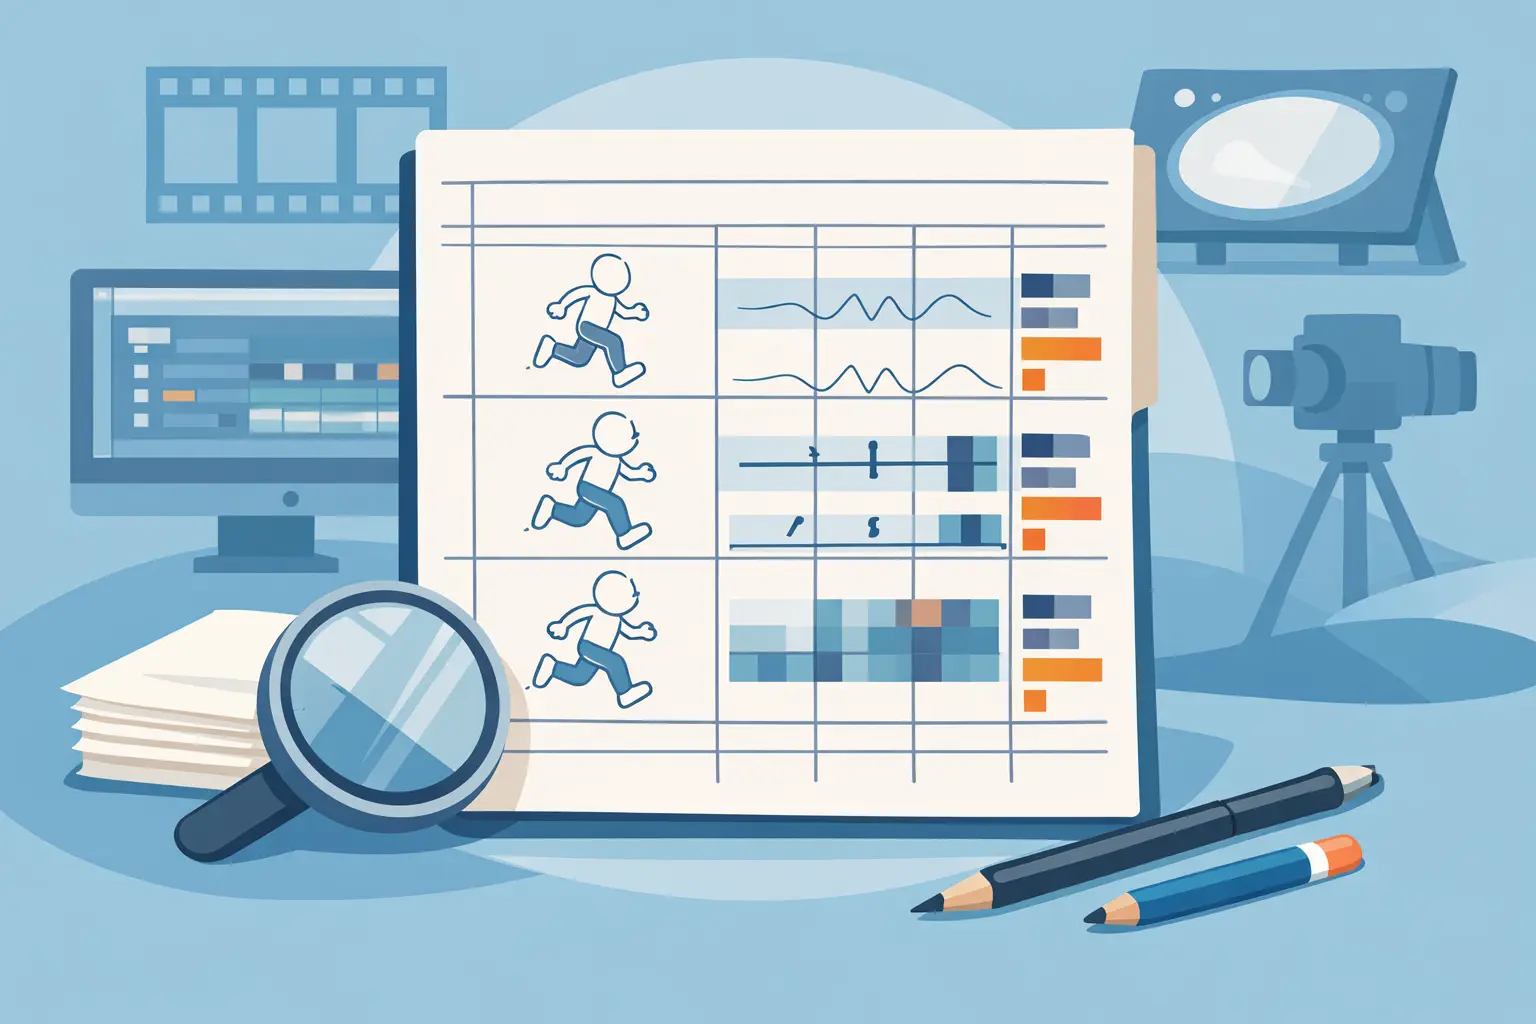
A draw-over is one of the most dependable production tests. On a temporary layer, place a dot on the same landmark in each drawing. As the dots accumulate, they reveal the path more honestly than your eye can during normal playback. Connect the dots with a loose line if needed.
For a swing, throw, or reach, you will usually see a broad C-shaped path. For a bouncing object, the rise and fall may form a clean vertical curve, while the contact and rebound create separate changes in direction. For a walk, the hips, feet, and head each have their own arc. They should relate to one another, but they should not all move in identical curves. That is how characters become stiff.
A good draw-over also exposes a common mistake: forcing a mathematically perfect arc onto an action that needs a subtle asymmetry. Natural movement is rarely sterile. A shoulder may lead a hand. A character may favor one side because of weight, design, or attitude. The test is not asking whether the line is perfectly smooth. It is asking whether each change in direction supports the action.
Keep the draw-over temporary. Its job is to diagnose the scene, not become part of the finished artwork.
Check the Extremes Before the In-Betweens
When an arc breaks, many animators start pushing individual in-betweens around. That can work, but it often treats the symptom rather than the cause. Check the key poses first.
Place the beginning, extreme, and ending drawings on screen together. Ask whether the main moving point establishes a convincing route between them. If the extremes are poorly placed, no amount of careful in-betweening will produce a graceful result. The motion may pass through a nice curve for a few frames, yet still snap at the pose where the direction changes.
Breakdowns are where the action declares its intent. In a hand wave, the breakdown tells the audience whether the hand is swinging through, slowing into a reversal, or making a sharp gesture. In a head turn, the breakdown controls whether the head feels like a solid volume rotating or a flat shape sliding across the screen. Put the breakdown on the arc before you worry about polishing the surrounding drawings.
This order also protects your timing. If you repair an arc by adding drawings without checking the timing plan, you may make the path smoother but make the action sluggish. A better solution may be to move an existing drawing, hold an extreme longer, or remove an unnecessary in-between.
Separate Arc Problems From Spacing Problems
An arc and spacing work together, but they are not the same thing. The arc is the route. Spacing is how far the object travels between frames along that route.
A perfectly drawn arc can still feel uneven if the spacing suddenly gets larger or smaller without a timing reason. Likewise, evenly spaced drawings can look wrong if they travel along a crooked path. Test these issues separately so the fix stays simple.
First, look at the draw-over path with no concern for how fast the action plays. Is the route clear? Next, compare the distance between positions. On a fast swing, the gaps should generally expand as the action accelerates and contract as it slows. During a settle, the spacing should tighten as the object comes to rest. If the path is right but the action pops, adjust spacing. If the spacing pattern makes sense but the object wobbles, repair the arc.
This distinction matters most near reversals. When a pendulum-like action changes direction, the spacing becomes tight around the extreme, then opens as the object gains speed. The path may remain smooth through the reversal, but the timing should not be uniform. Evenly spaced drawings through every frame can make a lively action feel like it was moved by a machine.
Test Arcs in Motion, Not Just on the Timeline
Timeline thumbnails and onion skinning are useful, but they do not replace playback. Play the scene repeatedly at normal speed, then at a slower speed if your software allows it. Watch the action without staring at the drawing you just made. Let your eye follow the moving part as an audience member would.
A useful test is to cover the rest of the character mentally and watch only the traveling feature. Does the hand lead your eye smoothly? Does the foot travel forward, down, and back in a believable path? Does the head settle without drifting? If your attention catches on one frame, the audience will feel it too, even if they cannot explain why.
Real-time timing adjustment is especially valuable here. In FlipBook, you can change timing while the scene plays, so you can test a corrected arc in motion rather than stopping to adjust, previewing, and repeating the same cycle. That keeps the animator focused on the result: motion that reads clearly at speed.
Use Line Tests to Find Volume Drift
A point can travel on a good arc while the object attached to it loses volume. This is common in head turns, torso rotations, and limbs that swing toward or away from camera. The wrist may follow a smooth curve, while the forearm changes length or the elbow wanders.
Run a simple line test with rough drawings only. Watch for changes in the size, thickness, and orientation of the moving form. Then track a second point. For a head, test the nose and the far side of the skull. For an arm, test the wrist and elbow. Two points show whether the form is rotating through space or merely sliding around.
This is also where scene context matters. A broad arc that looks excellent in a close-up may push a hand off model in a wider shot. A subtle arc may be all the camera needs. Test the action at the size the audience will actually see, not only while zoomed in on your drawing.
Know When to Break the Arc
The principle of arcs is not a rule that every movement must be rounded. A punch can drive forward on a nearly straight line. A robot arm may move with rigid, angular turns. A startled character may make a sudden, broken gesture because the performance calls for it.
The difference is control. A deliberate straight path has a clear purpose and strong posing. An accidental straight path often comes from placing drawings without tracking the action. The same is true of a broken arc. If the character changes direction because they hit something, react to a sound, or make a sharp decision, the break can add force. If nothing motivates it, it reads as a drawing error.
Before cleanup, give every major action one final pass: track the main point, inspect the extremes and breakdowns, check spacing, then play the shot at speed. That small discipline keeps the line of action alive and lets your finished drawings carry the confidence of the rough animation beneath them.