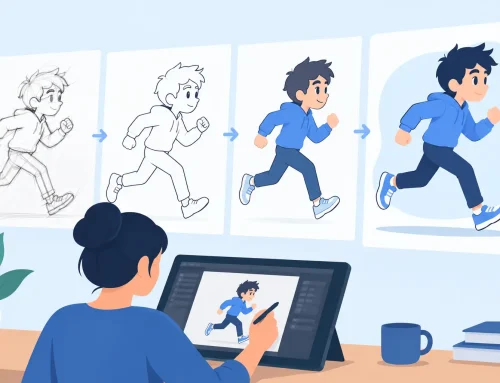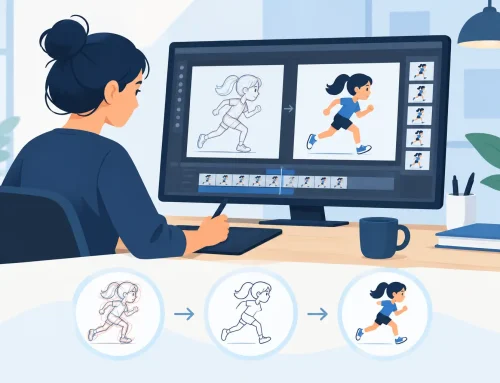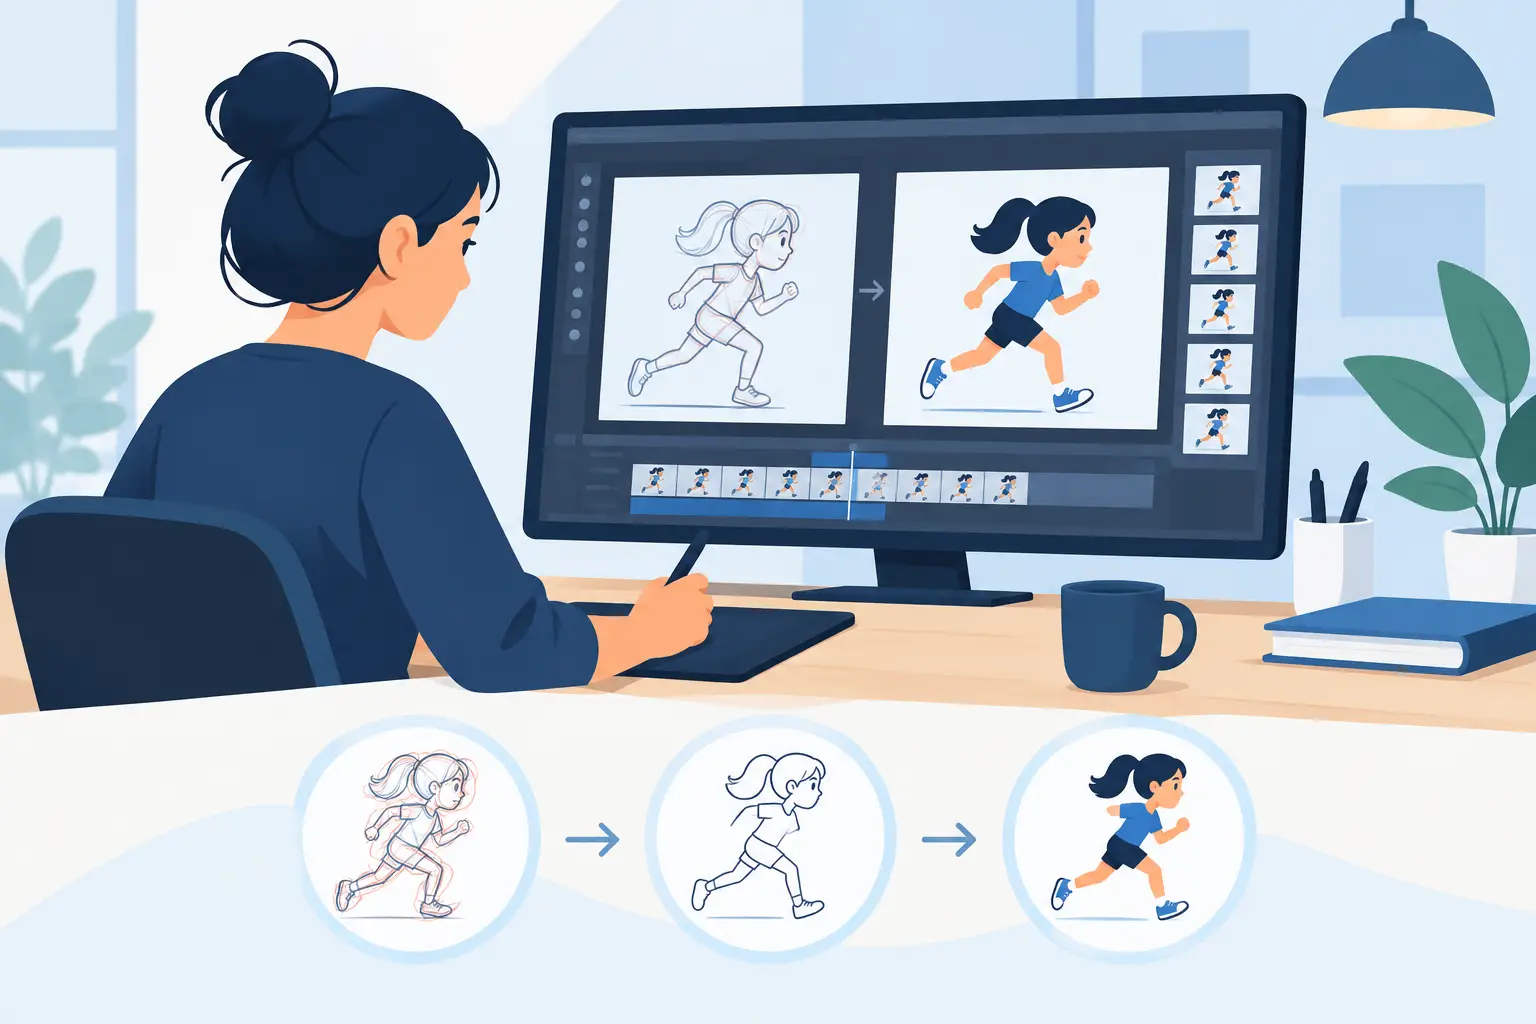
A bad onion-skin setup makes a simple breakdown feel like tracing through fog. You lose the line of action under a stack of colored ghosts, misread a spacing change, and spend more time toggling frames than drawing. The best onion skin tools keep the surrounding drawings visible without taking control of the scene, so you can judge arcs, volumes, and timing at a glance.
For traditional 2D work, onion skin is not a decorative feature. It is part of the drawing table. Whether you are roughing a walk, cleaning a dialogue scene, or painting a run cycle, you need immediate visual reference for the drawings before and after the frame in front of you.
What Makes an Onion Skin Tool Worth Using
The first requirement is clear: the tool must let you see previous and next drawings separately. One color for earlier frames and another for later frames is the familiar production approach because it tells you where the action came from and where it is going. If both directions use the same tint, it is much easier to misjudge an overlap or draw a breakdown that favors the wrong key.
Control matters just as much. A useful onion skin system lets you choose how many drawings are visible, reduce their opacity, and turn them on and off without interrupting playback or drawing. For a broad action, you may want only the adjacent keys. For a subtle head turn, you may need several drawings to check volume and the path of the nose, jaw, or eye line.
The tool should also respect the layer or level you are working on. Rough animation, clean-up, effects, and color are different jobs. Seeing every layer at once can be useful for registration, but it can also bury the line you need to draw. The stronger applications give you enough control to work cleanly rather than forcing a one-size-fits-all overlay.
Finally, onion skin has to stay responsive. If changing frames, scrubbing, or drawing with ghosts visible causes lag, the feature becomes a reason to simplify your scene instead of a reason to animate freely. That is a poor trade for a tool intended to speed up frame-by-frame work.
Best Onion Skin Tools by Animation Workflow
There is no single winner for every animator. A student making pencil tests, a studio handling cutout rigs, and an independent filmmaker painting a hand-drawn short have different needs. The right choice depends on whether you value a traditional drawing workflow, a large production pipeline, painting flexibility, or a low-cost starting point.
FlipBook for direct hand-drawn animation
DigiCel FlipBook is built around the way traditional animators actually work: draw the rough, flip through the scene, adjust the timing, clean it up, and paint it without turning the process into a technical project. Its onion skin workflow supports the central task – reading adjacent drawings quickly while keeping the current drawing clear enough to make a confident line.
That directness matters when you are checking a moving hold or correcting a spacing problem. You do not want to build a node structure or change modes simply to see your next key. FlipBook also lets animators adjust timing during playback, which is especially valuable when onion skin shows that the drawings are sound but the exposure is wrong. You can judge the motion and correct it while the scene is moving, rather than stopping to edit frames and previewing again.
This is the strongest fit for animators who want digital convenience without giving up the familiar logic of paper animation. It is also a practical choice for classrooms, independent productions, and artists who need to draw and paint quickly.
TVPaint for artists who want deep drawing control
TVPaint is well regarded by experienced hand-drawn animators for its bitmap-oriented workflow, natural media options, and flexible animation tools. Its onion skin controls are capable and useful for scenes that require close attention to arcs, registration, and drawn texture. Artists coming from a paper-and-pencil background often appreciate its emphasis on the image itself.
The trade-off is complexity. TVPaint offers a broad set of tools, and that depth can be worthwhile for a painterly film or a demanding production. But an animator who wants to get from thumbnail to a clean pencil test quickly may find that the amount of setup and interface knowledge slows the early learning process.
Toon Boom Harmony for larger studio pipelines
Harmony remains a common choice where hand-drawn animation and rigged production need to live in the same pipeline. Its onion skin features can support frame-by-frame work, while the broader application handles compositing, deformation, effects, and scene organization for larger teams.
That breadth is the point, but it is not free. Harmony asks artists to learn a more structured system and can feel heavier than a drawing-first program. For a studio that needs shared assets, complex scenes, and several production methods, the investment may make sense. For an animator focused on roughs, clean-up, and timing, many of those tools may sit between the artist and the drawing.
OpenToonz for budget-conscious productions
OpenToonz gives independent animators access to a serious animation environment without a purchase price. Its onion skin function can support traditional frame-by-frame scenes, and the software includes scanning, effects, and production-oriented features that appeal to small teams willing to invest time in learning it.
The compromise is polish and speed of adoption. Interface decisions and workflow quirks can make simple tasks feel more technical than they should. It can be a sound option when budget is the deciding factor, but free software is not always the least expensive choice if it adds hours of troubleshooting or training to every project.
Krita and Clip Studio Paint for animation plus illustration
Krita and Clip Studio Paint are sensible choices for artists who mainly illustrate but want to animate short tests, social clips, or simple hand-drawn scenes. Both offer animation timelines and onion skin options, allowing an illustrator to work in a familiar brush environment before committing to dedicated animation software.
Their limitation is production focus. These applications are excellent drawing programs, but their animation tools are not necessarily designed around the full routine of planning, roughing, timing, clean-up, painting, and delivering a longer scene. For short work, that may not matter. For a film, series, or a portfolio built around classical animation, a purpose-built animation application usually pays off.
How to Set Up Onion Skin for Better Drawings
Start with fewer ghosts than you think you need. One previous drawing and one next drawing are often enough for a key pose or a straightforward in-between. Add more only when you are checking a longer arc, a rotation, or a shift in perspective. Too many visible frames turn useful information into visual noise.
Keep previous drawings warm and future drawings cool, or use another consistent contrast that reads immediately on your display. The goal is not to make the onion skin pretty. The goal is to identify direction. At a glance, you should know whether your new drawing is moving toward its next position with the intended spacing.
Adjust opacity based on the job. During rough animation, stronger ghosts help you establish structure, proportions, and the path of action. During clean-up, lower opacity often works better because your final line must remain dominant. If your ghosts are darker than the line you are placing, they are not helping you clean up.
Use onion skin to answer specific questions. Is the hand following a clean arc? Does the head retain its volume through the turn? Are the feet planted for the right number of frames? Does the overlap arrive late enough? This approach prevents the common mistake of mechanically tracing between keys. An in-between is not a faded copy of two drawings. It is a designed drawing that explains motion.
Onion Skin Cannot Fix Bad Timing
Onion skin reveals spacing, but playback reveals timing. A series of carefully placed in-betweens can still feel wrong if a key is held too long, an accent happens one frame early, or a breakdown is exposed on the wrong beat. Check the ghosts while drawing, then play the scene repeatedly at speed.
This is where a traditional workflow needs more than a timeline full of boxes. You need to see the drawings, hear the rhythm if there is dialogue or music, and make timing changes without losing your train of thought. The faster that loop becomes, the more attention you can give to acting and motion instead of software administration.
Choose the onion skin tool that helps you look at the work the way an animator does: one drawing in hand, the neighboring drawings visible, and the whole scene ready to play. Download a free trial before committing, test it on a real shot rather than a blank file, and judge it by one standard: does it help you make your drawings come alive with less effort?