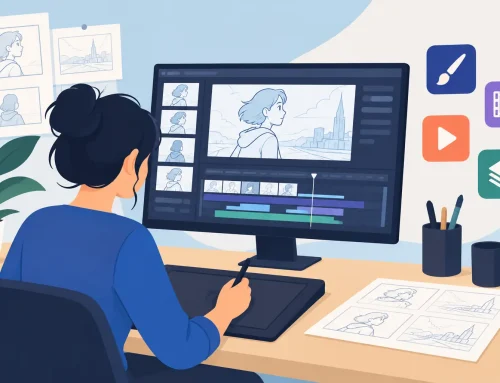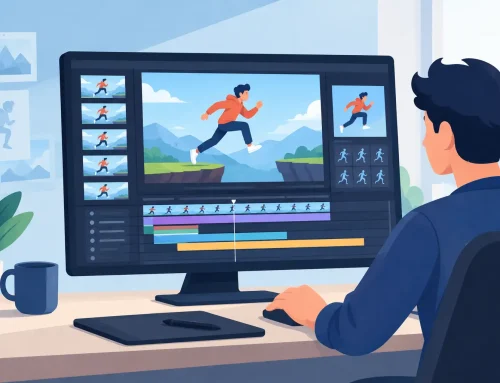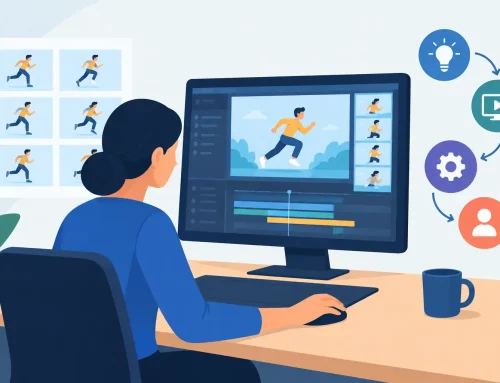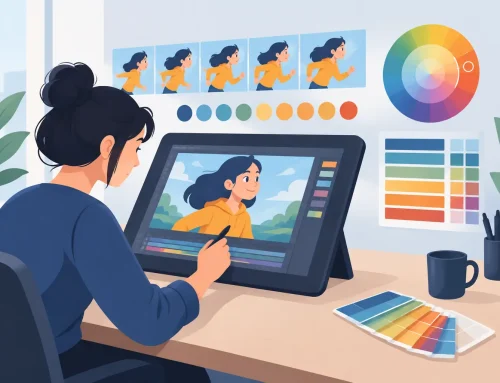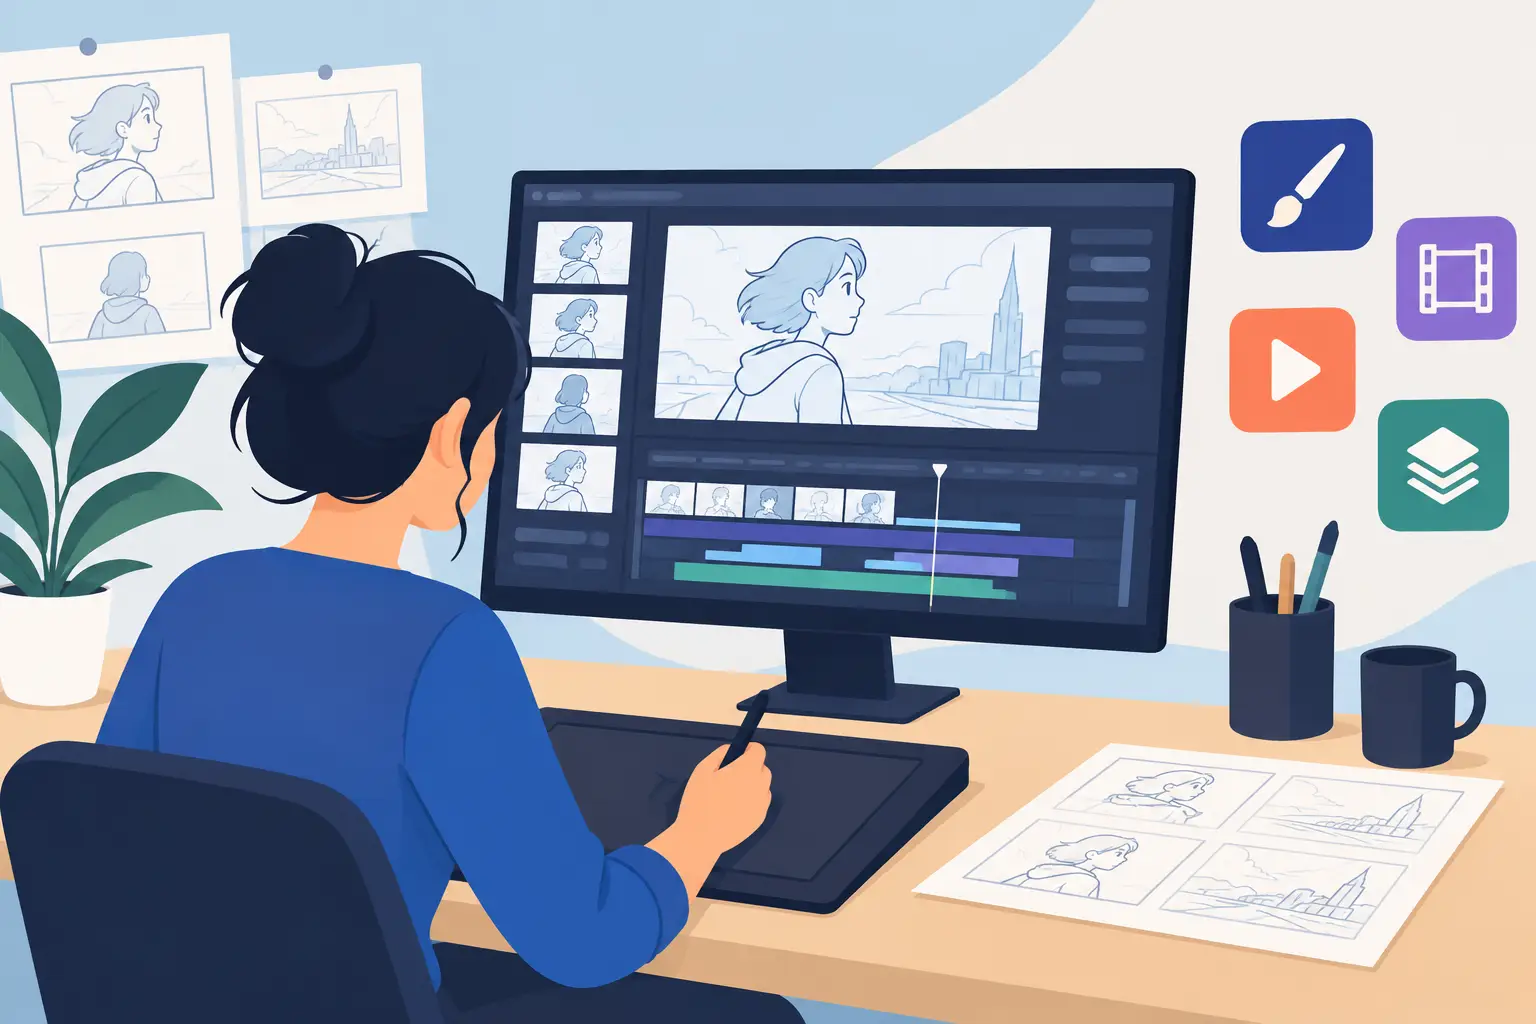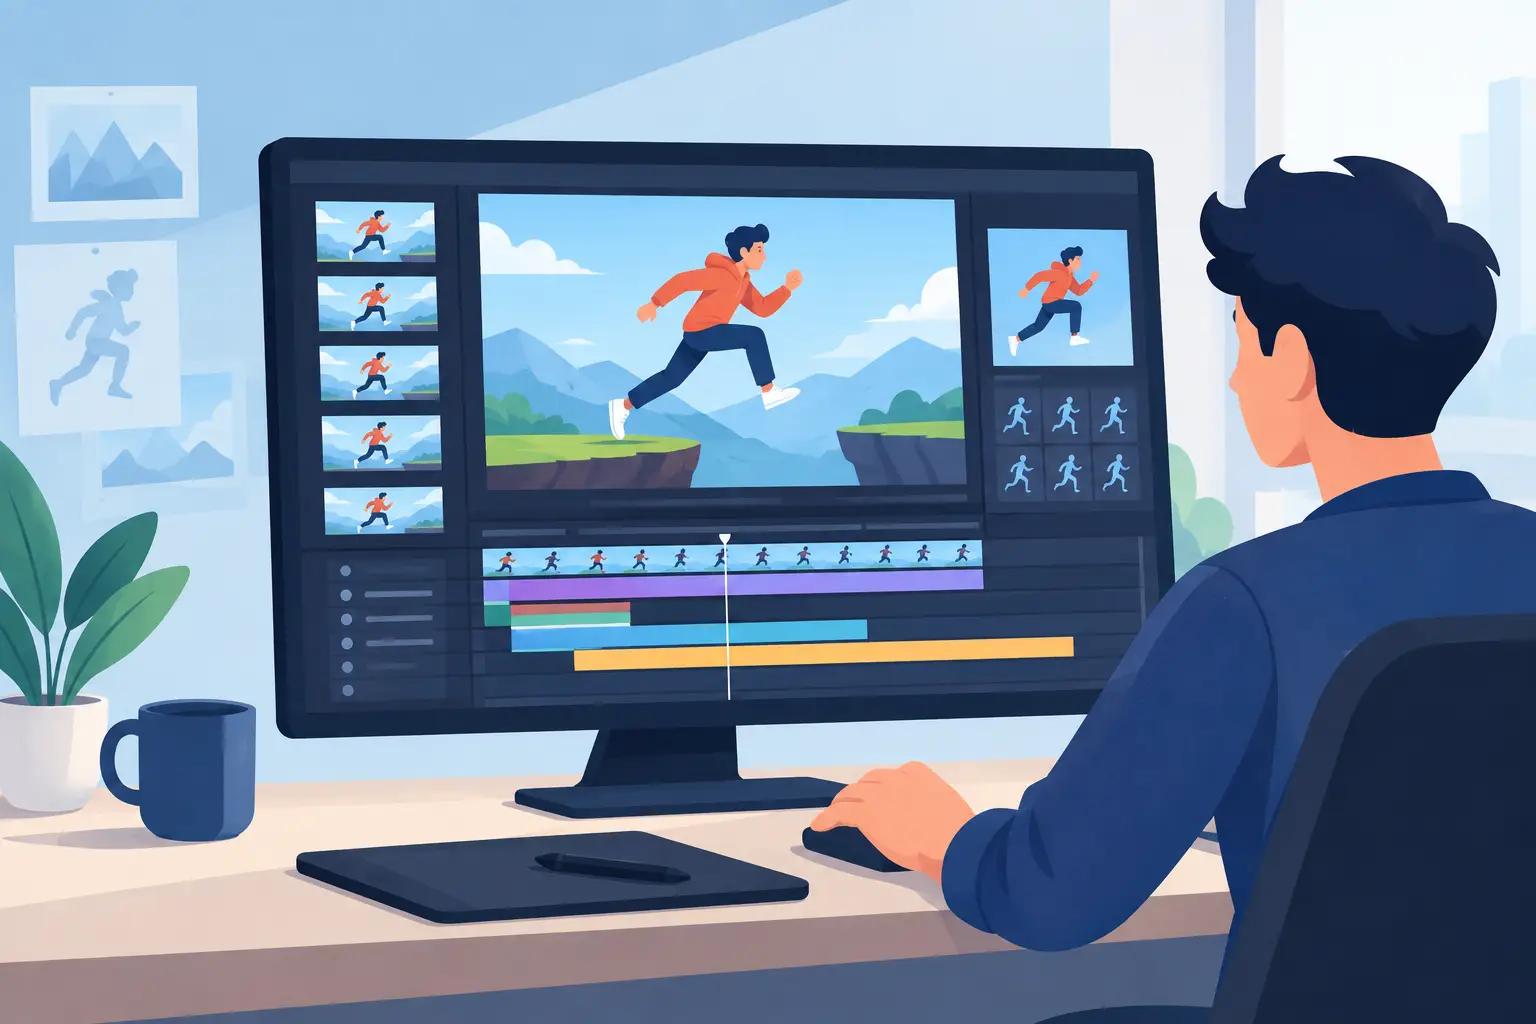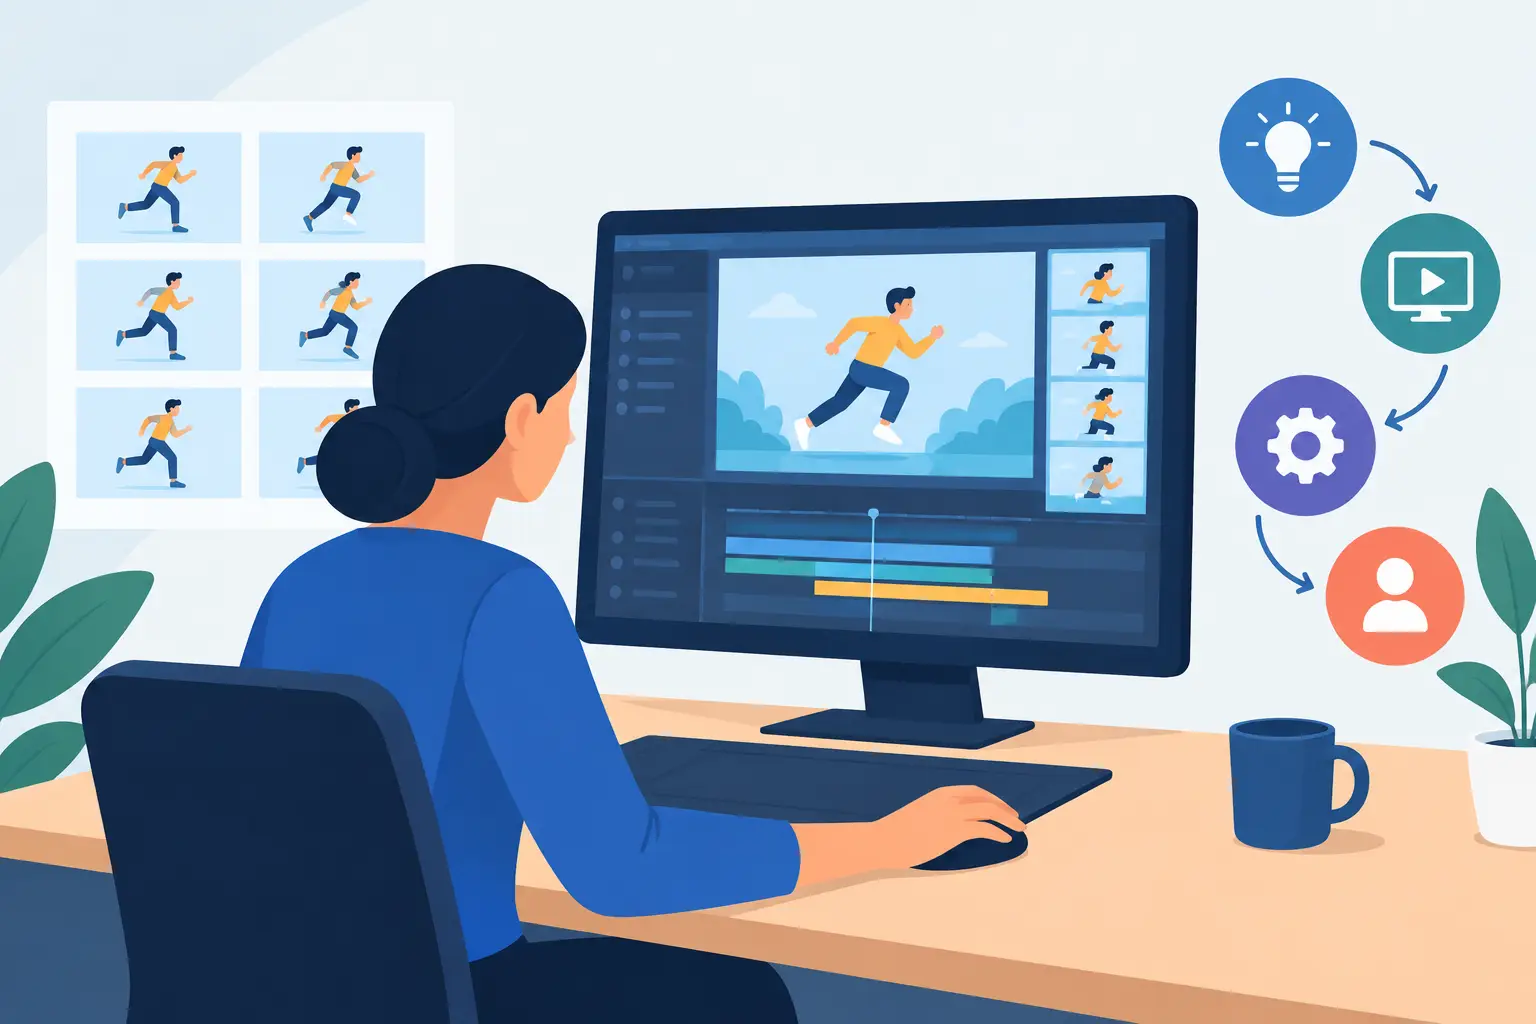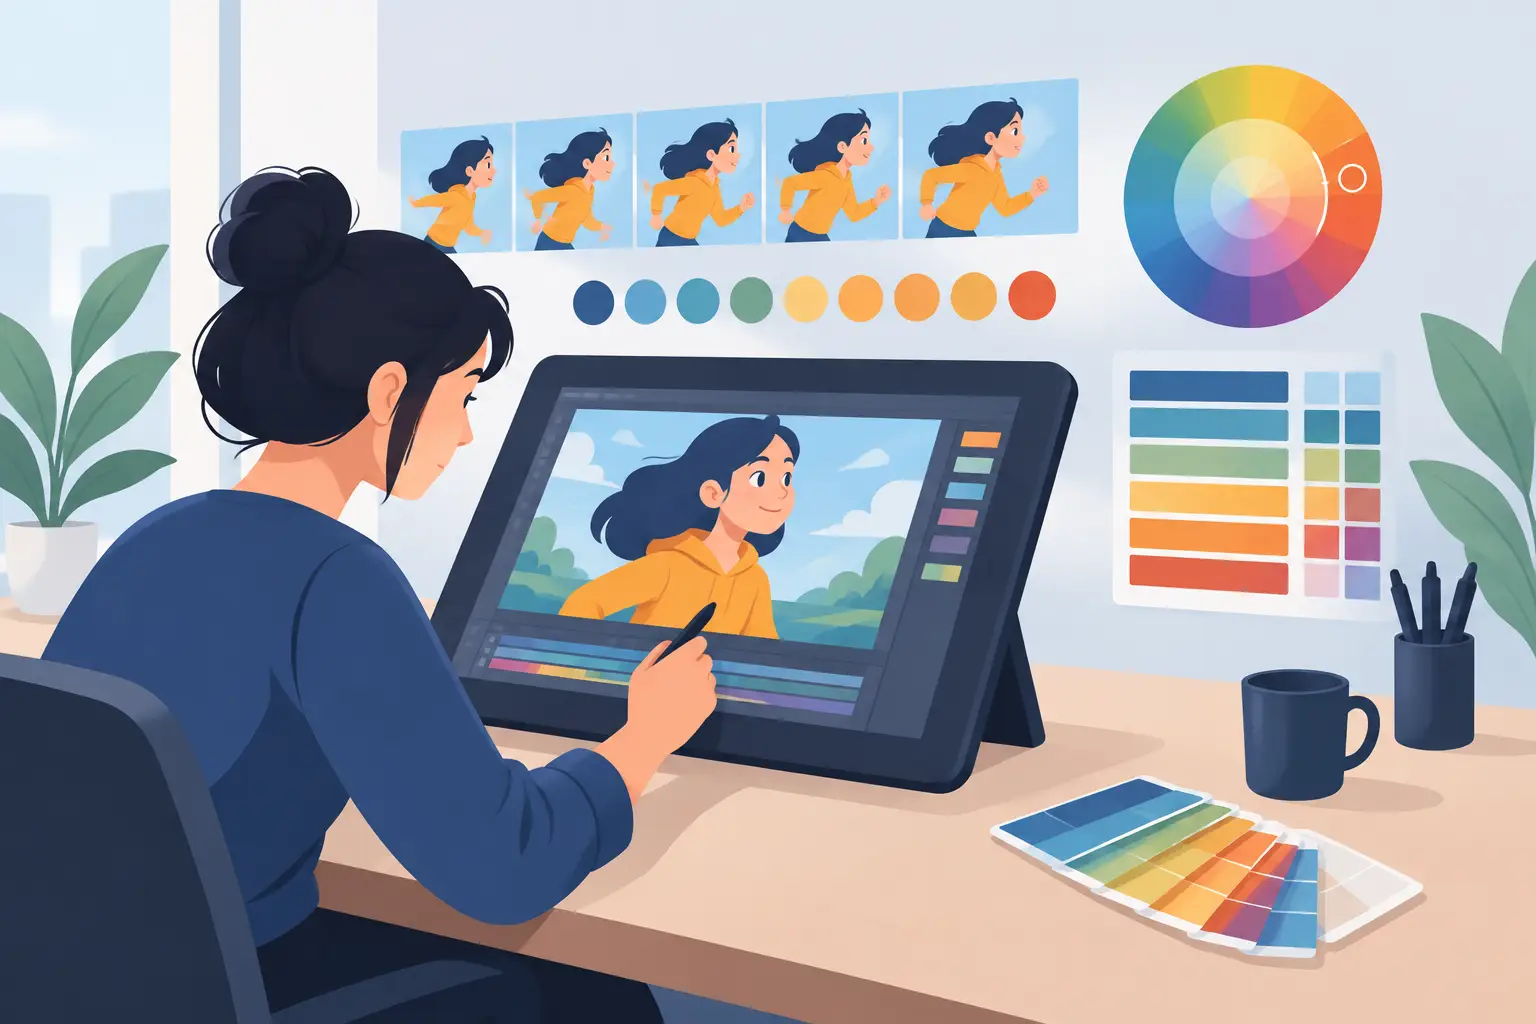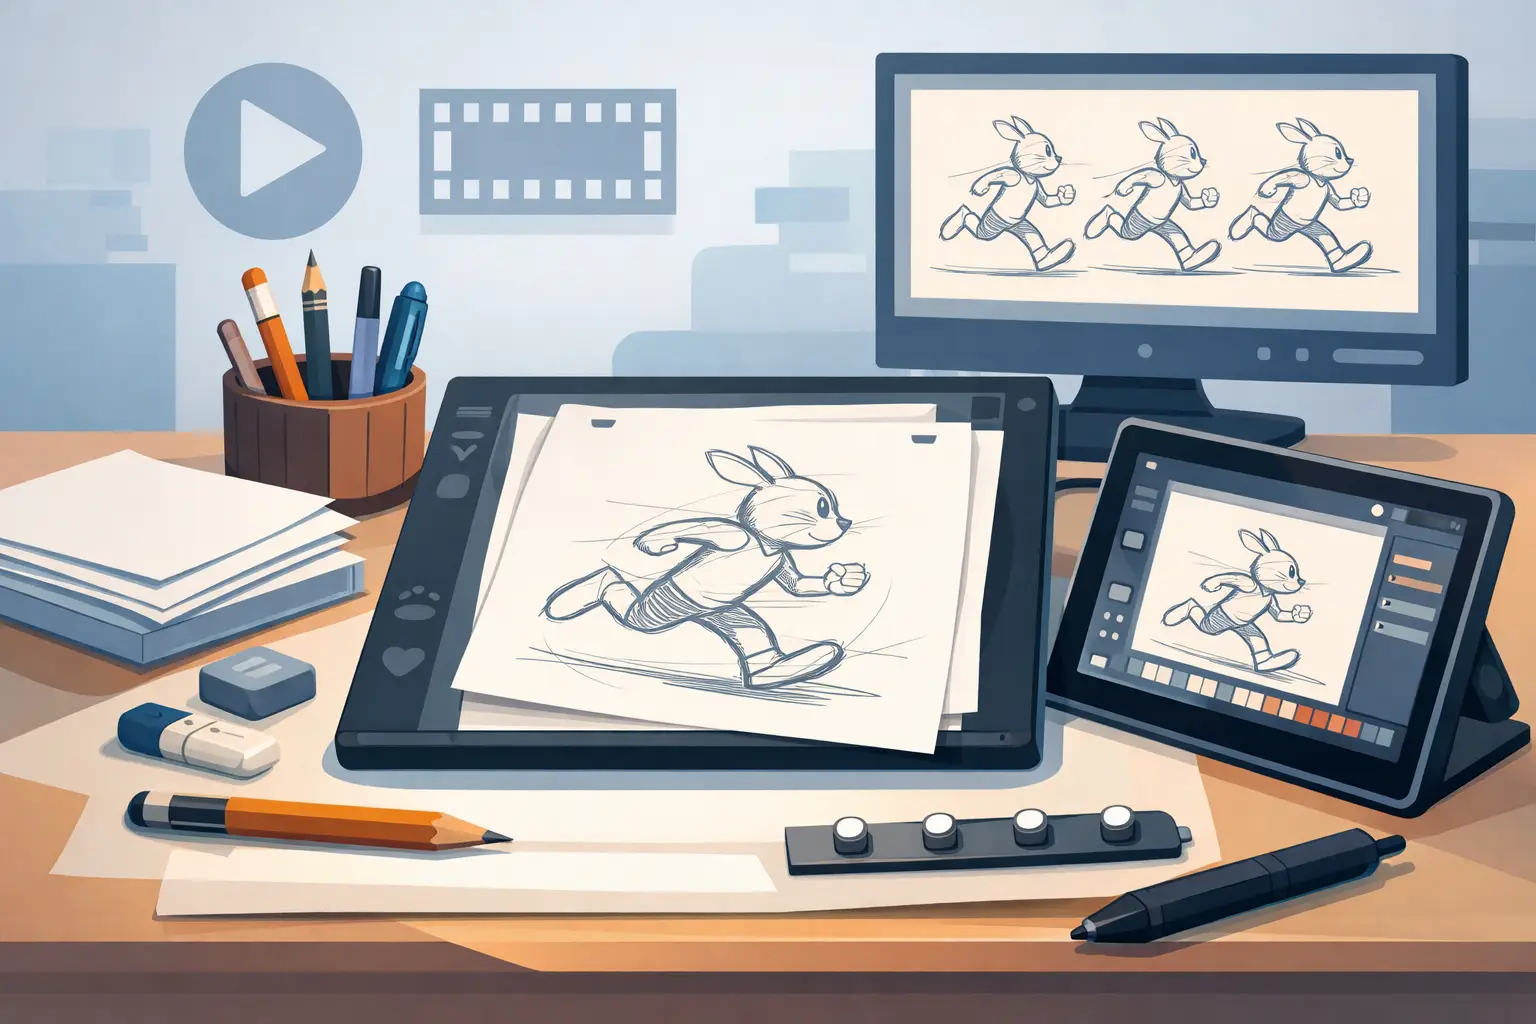
A pencil test should answer a production question fast: Does the pose read? Does the weight land? Is the spacing doing the work? If your setup makes you scan, import, wait, adjust, and preview again for every small decision, it is getting between you and the animation. The best tools for pencil tests keep the focus on drawings, timing, and performance – not file management.
For generations, animators made pencil tests with a stack of drawings, a peg bar, and a camera. That discipline still matters. A digital setup does not replace the principles behind a good test. It should simply let you see the result sooner, make a timing change while the scene is playing, and move on to the next decision without breaking concentration.
What a Pencil-Test Tool Must Actually Do
A pencil test is not a polished shot. It is the working proof of a scene. You need to judge the arc of a hand before cleanup, test a held drawing before painting, or discover that a breakdown needs to favor the next key. The tool should make this rough stage quick enough that you are willing to test often.
At minimum, a useful pencil-test setup needs a stable drawing registration method, clear playback, and straightforward frame navigation. It should let you expose drawings for one, two, or more frames without turning timing into a technical task. You also need onion skinning or a practical equivalent so you can judge the relationship between adjacent drawings while you work.
The difference between an acceptable tool and a production-ready one is timing control. Animators revise timing constantly. If changing an exposure means stopping playback, editing a separate timeline, then replaying from the beginning, small adjustments become expensive. A better system lets you work on the timing as you watch the action. That is closer to the way an animator thinks: see the movement, feel the beat, change the beat.
The Best Tools for Pencil Tests by Workflow
There is no single best setup for every animator. A student learning walk cycles has different needs from a small studio building a 90-second short. The right choice depends on whether you draw on paper or a tablet, how much cleanup follows the test, and whether timing revisions are frequent.
Paper, Peg Bar, and a Camera Stand
Paper remains a serious pencil-test tool. It gives many animators the resistance, hand control, and visual honesty they want during rough animation. A three-hole punch and a standard peg bar keep drawings registered, while a simple camera stand or document camera captures each frame.
This is a strong choice for artists who think best with graphite in hand, educators teaching foundational animation, and productions that want physical originals. It also makes it easy to flip drawings by hand before you ever record a test.
The trade-off is speed after capture. You still need to bring images into a playback environment, organize them, set exposures, and make revisions. If the test reveals a problem, the physical drawing may be easy to change, but the capture and timing process can slow the feedback loop. Paper works best when paired with software that handles imported frames without adding another complicated stage.
A Tablet With a Pressure-Sensitive Stylus
A tablet removes scanning and makes rough-to-cleanup transitions more direct. For independent animators working in limited space, it can be the most practical starting point. Draw directly into a scene, use layers for roughs and cleanup, and play the result immediately.
The tablet experience succeeds or fails on drawing feel. A generic illustration app may offer beautiful brushes yet still feel awkward for animation because its timeline was added after the drawing tools. Pencil-test work needs quick frame changes, visible onion skinning, easy holds, and playback controls that do not bury the scene under menus.
A screen surface can also change the way you draw. Some artists prefer a textured protector or a display tablet with a more paper-like feel. Others adapt quickly to smooth glass. Neither is universally right. The important test is whether you can make a confident rough drawing without fighting the stylus, wrist position, or interface.
A Desktop Animation Program Built for Drawn Work
For regular production, dedicated 2D animation software is usually the most complete pencil-test tool. It brings drawing, playback, exposure control, and scene organization into the same workspace. That matters when a test becomes a finished shot rather than a disposable exercise.
Look for a program that treats drawings as the center of the process. You should be able to rough animate, clean up, paint frames, and scrub the scene without constantly switching tools. Camera moves, pans, zooms, rotation, blur, and dissolves are useful when you need to test staging or check whether action works inside a planned camera move. They should support the animation, not distract from it.
For traditional 2D work, FlipBook is designed around this production method. Its real-time timing editing is especially useful for pencil tests because you can adjust exposure while the scene plays instead of stopping to edit, then restarting the preview. That simple difference keeps an animator in the shot and makes timing experimentation much faster.
A Capture App or Stop-Motion Setup
Capture apps can be helpful when your drawings begin on paper. They are often inexpensive, portable, and easy to use for a classroom test or quick home setup. A phone or tablet mounted above the peg bar can record drawings one at a time, and some apps provide basic playback and frame holds.
Use this route when portability matters more than a full production pipeline. It is particularly practical for students who need to review their work between classes or teachers who want immediate playback at a desk.
Be realistic about its limits. Image consistency depends on lighting, camera position, and registration. Auto-focus and automatic exposure can shift from frame to frame, producing distracting flicker. Lock the device, lock exposure if possible, and keep the artwork flat. Once your tests need cleanup, color, camera work, or repeated timing revisions, a dedicated animation program will save time.
Features That Save Time on Every Test
The most valuable pencil-test features are not always the most glamorous. They are the ones you use dozens of times per scene. Before choosing software or hardware, test these parts of the workflow.
First, check scrubbing and playback. You should be able to drag through drawings, play a selected range, loop a short action, and start near the frame you are evaluating. A program that only previews the entire scene forces you to wait through material you are not working on.
Second, check exposure editing. A hold should take seconds to create, shorten, or remove. Test a simple action on ones, then try moving a key to twos and changing the breakdown exposure. If the program makes that experiment feel cumbersome, it will interfere with your timing decisions later.
Third, examine drawing cleanup. Rough animation is loose by nature, but you still need readable lines, a reliable eraser, and enough control to revise a pose. Pressure response, line smoothing, rotation, zoom, and brush behavior all affect whether digital drawing feels like animation work or like wrestling with a graphics interface.
Finally, test image and color handling if your pencil test will move into production. Fast painting tools matter when you begin filling characters or testing simple color keys. Imported drawings should retain their registration, and the scene should remain manageable as layers and frames grow.
Build a Setup That Matches Your Stage
Beginners do not need a complicated studio. A peg bar, paper, pencil, and a simple capture method can teach timing and spacing clearly. The goal is to make enough tests that you begin recognizing a bad arc or a late breakdown before someone points it out.
Students and independent filmmakers usually benefit from consolidating the workflow. Drawing, playback, and timing in one place means more time spent improving a shot. A tablet or desktop system is often worth it when scanning and importing begin to feel like the main event.
Small studios need consistency as much as speed. Establish a standard frame rate, naming practice, registration method, and review process early. A pencil test should be easy for another animator, director, or cleanup artist to open and understand. Fancy tools cannot repair a disorganized scene, but the right software can make good habits easier to maintain.
Do not choose a pencil-test tool by the longest feature list. Choose the one that lets you put down a rough drawing, play it immediately, and make the next correction while the motion is still fresh in your eye. That is where stronger animation starts.