

A scene can be beautifully drawn and still feel dead because the timing is off. That is why animators who want stronger acting, cleaner motion, and better production speed need to understand how to adjust animation timing, not just how to draw the next frame.
Timing is the part of animation that tells the audience what matters. It controls force, mood, intent, and clarity. A fast head turn can read as surprise, panic, or snappy dialogue depending on where the holds and accelerations land. A slow reach can feel thoughtful or weak depending on how the frames are distributed. If the timing is wrong, the drawing quality will not save the shot.
How to adjust animation timing without guessing
The first mistake many artists make is treating timing like cleanup work that happens after animation is finished. In real production, timing is part of the shot from the rough stage forward. You establish the major storytelling beats first, then shape the time between them.
Start by identifying the key poses that actually carry the action. Not every drawing is equally important. Usually, a scene depends on a clear starting pose, one or two storytelling extremes, and a readable settle. Once those are in place, you can judge whether the action needs more exposure, fewer in-betweens, or a different spacing pattern.
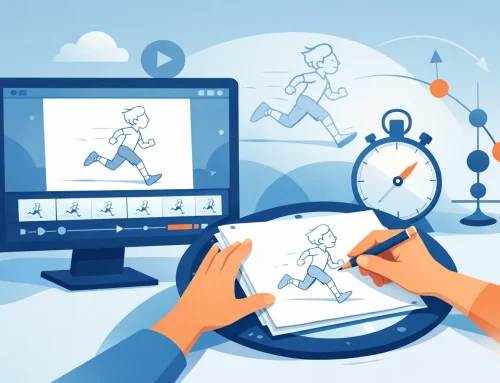
This is where the distinction between timing and spacing matters. Timing is how long an action takes. Spacing is how the movement is distributed from drawing to drawing. If a ball crosses the screen in 12 frames, that is timing. If the drawings bunch near the start and spread near the end, that is spacing. New animators often try to fix a timing problem by changing spacing only. Sometimes that works, but often the shot simply needs more or fewer frames.
A practical way to judge timing is to watch for the story beat, not the mechanics. Ask yourself when the audience should notice the thought, the impact, or the change in direction. If that beat reads late, remove frames before it. If it reads too abruptly, add exposure where the idea needs to register. Good timing is usually about control, not volume.
What to change first in a weak shot
When a shot feels wrong, do not start by redrawing everything. Look at the holds first. Many timing problems come from poses that do not stay on screen long enough to be understood. A strong anticipation, a clear reaction, or a final attitude often needs more exposure than you first expect.
The next thing to check is the transition between keys. If the move feels floaty, the action probably has too many evenly spaced drawings. If it feels mechanical, it may have too few breakdowns or the spacing may be too uniform. Traditional animation rarely feels alive when every frame is treated the same way.
Then check the entry and exit of the action. A character who snaps into motion without preparation can feel weightless unless that is the point. A character who stops instantly can feel cut off unless the shot calls for a hard punctuation. Ease-ins and ease-outs are not mandatory rules. They are tools. Fast, hard movement is useful when the scene needs force or surprise. Softer transitions help when you need weight, grace, or hesitation.
How to adjust animation timing for different kinds of motion
Not all motion should be timed the same way. Dialogue, action, effects, and character business each ask for different treatment.
Dialogue animation often depends on restraint. If the body moves on every syllable, the scene gets noisy fast. Hold the important pose, then use short accents where the thought changes. A small eye shift or head turn can be stronger when it arrives on the right frame and lands cleanly. In this kind of scene, cutting frames is often more effective than adding them.
Physical action usually needs clearer acceleration and deceleration. A jump, throw, take, or impact should not drift through the middle. The audience reads force when the motion commits. That means fewer frames through the fastest section and more control on the setup and settle. If the action feels soft, compress the move. If it feels unreadable, give the audience one more beat before or after the main event.
Effects animation depends heavily on rhythm. Smoke, fire, water, and debris can look busy without feeling convincing if the timing pattern never changes. Repetition is useful, but regular repetition can make organic effects feel synthetic. Vary the exposure, stagger the secondary shapes, and watch for visual accents that help the eye travel through the action.
Character business sits somewhere in between. A hand adjustment, blink, shrug, or glance should support the scene, not compete with it. These small actions often work best when they happen quickly and then hold. Animators sometimes overwork these moments because they are easy to animate. The better choice is usually the simpler one.
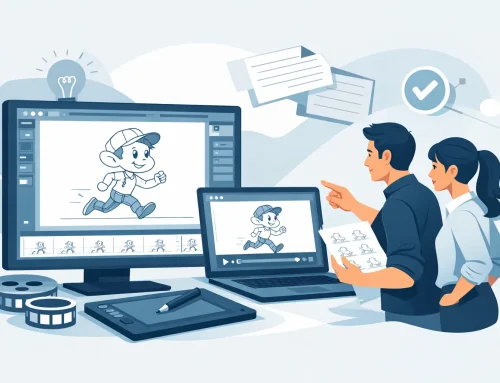
Use playback to judge timing in context
Single-frame inspection is valuable for drawing. It is not the best way to judge performance. Timing has to be seen in motion, and ideally adjusted while the motion is still playing in your mind.
That matters because the stop-adjust-preview cycle breaks your sense of rhythm. You make a change, stop, replay, rethink, and start over. It is slow, and it encourages cautious decisions. A better workflow lets you feel the scene as a continuous piece of motion and make timing edits while evaluating the result in real time.
That is one reason traditional animators respond well to software built around direct timing control. In FlipBook, you can adjust timing during playback instead of constantly interrupting yourself just to test one small change. That makes a real difference when you are shaping a performance, because animation timing is musical. You need to feel the beat of the shot, not just count frames on a chart.
Common timing fixes that actually work
If a movement feels sluggish, remove frames from the middle before you touch the extremes. The center of an action is often where energy dies. Tightening that section can restore force without damaging the pose work.
If an action feels too abrupt, add exposure to the storytelling pose rather than stuffing more in-betweens into the move. More drawings do not automatically create better timing. Sometimes they only create mush.
If a character looks floaty, check whether every part is arriving at once. Staggered timing usually feels more natural. The torso may lead, the head may overlap, and the hands may settle later. That small offset gives structure to the motion.
If a scene feels unclear, separate the beats. Let one idea happen, then the next. Beginners often crowd too many actions into the same span of time. Professional timing often looks simpler because it prioritizes readability.
If a shot feels lifeless, look for uniform exposure. Even timing can be useful for mechanical movement, but character animation usually needs contrast. A long hold followed by a quick accent can feel more alive than a steady stream of equal intervals.
Timing choices depend on style and production needs
There is no single correct answer for how long a movement should take. A broad cartoon scene can support aggressive timing changes, hard holds, and snap transitions. A naturalistic performance may need softer overlaps and smaller timing shifts. A television schedule may force you to animate economically, while a short film may give you room to refine subtle acting.
This is where experience matters. Good animators do not ask only, “Is this smooth?” They ask, “Does this read? Does it fit the scene? Is it worth the footage?” Smoothness is not the goal. Clarity and intent are the goal.
Students often assume more frames mean better animation because the motion appears less choppy. But too much coverage can flatten the performance and waste production time. Limited animation, when timed well, can feel sharper and more deliberate than a fully in-betweened shot with no accents.
Educators and studio leads know this is one of the hardest lessons to teach. Timing is partly technical, but it is also judgment. You learn it by testing, screening, trimming, and seeing how small changes alter the shot.
Build a timing workflow you can trust
If you want better results, make timing decisions early and revisit them often. Block the major poses, test the scene in motion, then adjust exposure before you commit to heavy cleanup and paint. That saves time and protects the performance.
It also helps to think in beats instead of frames at first. Frames are precise, but beats are meaningful. Once you know where the scene should breathe, hit, pause, and resolve, the frame counts become easier to manage.
Most of all, keep your process close to the craft. Animation timing is not a technical correction added after the fact. It is the pulse of the shot. When your software supports that way of working instead of slowing it down, you can make stronger choices faster and keep your attention where it belongs – on the drawing, the performance, and the scene.
