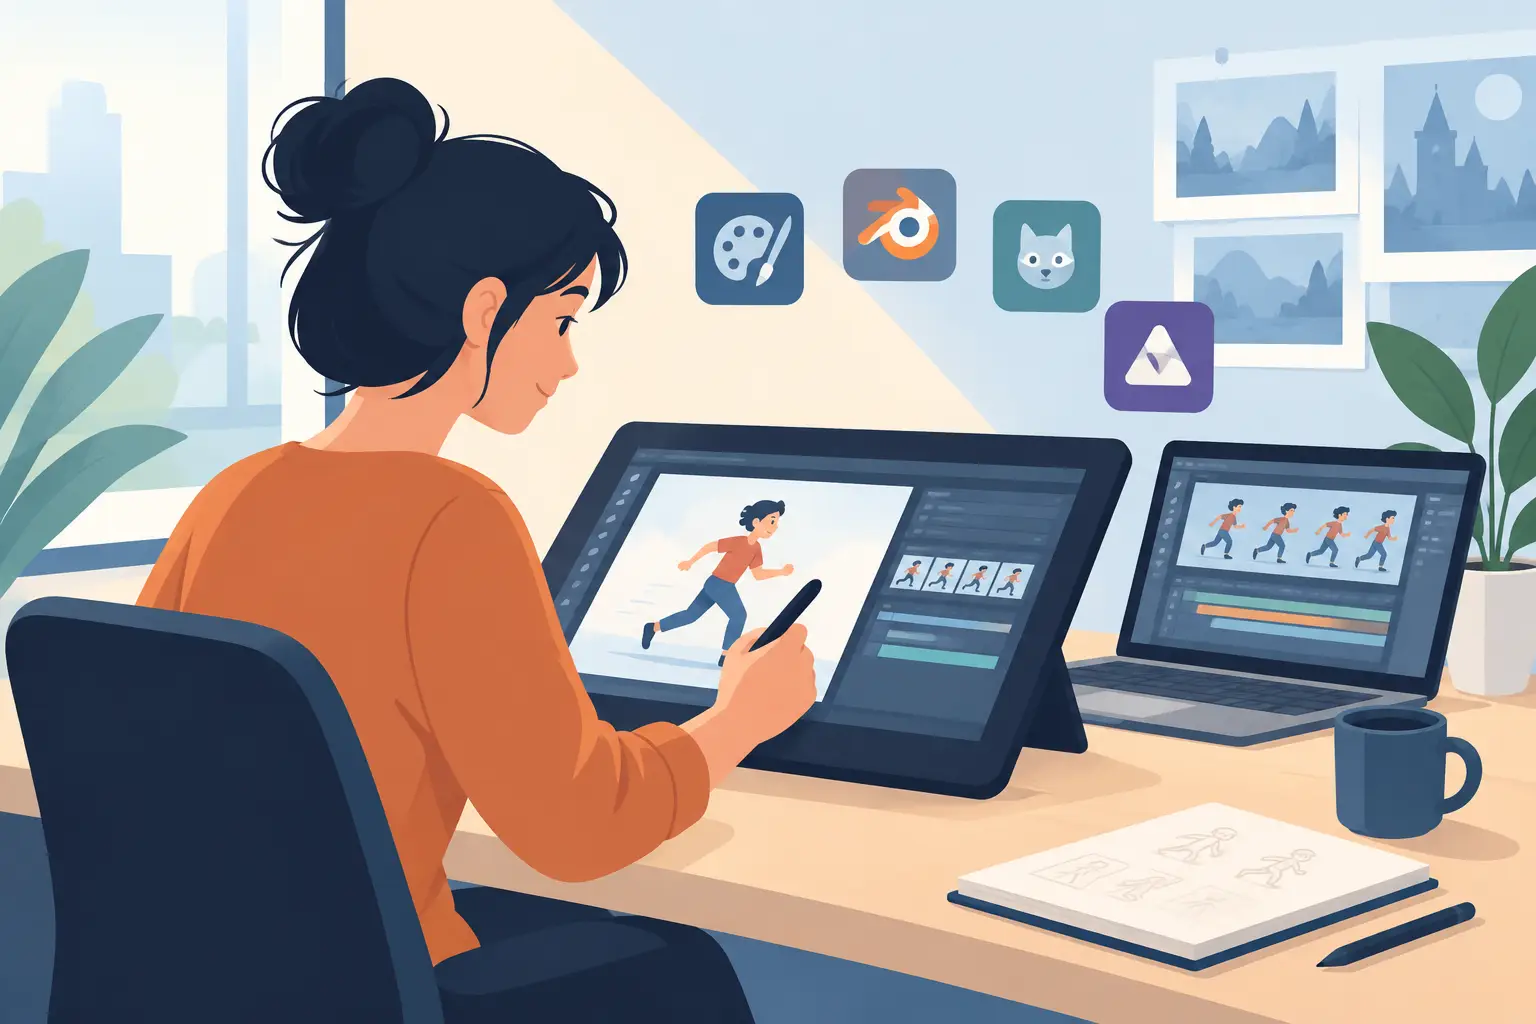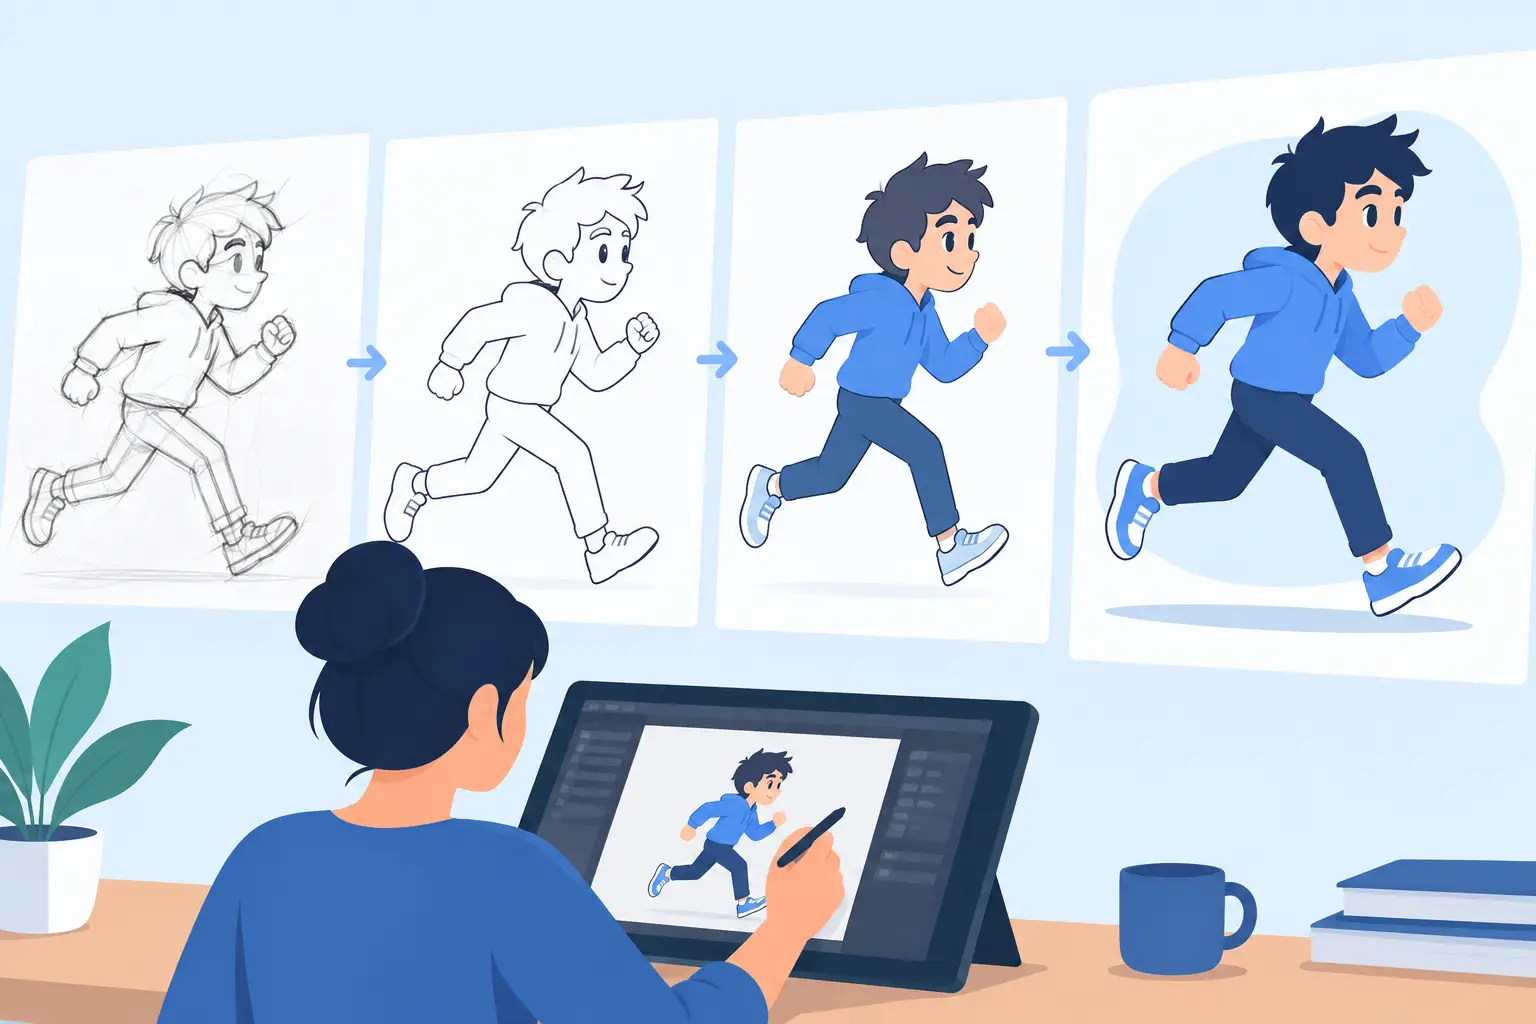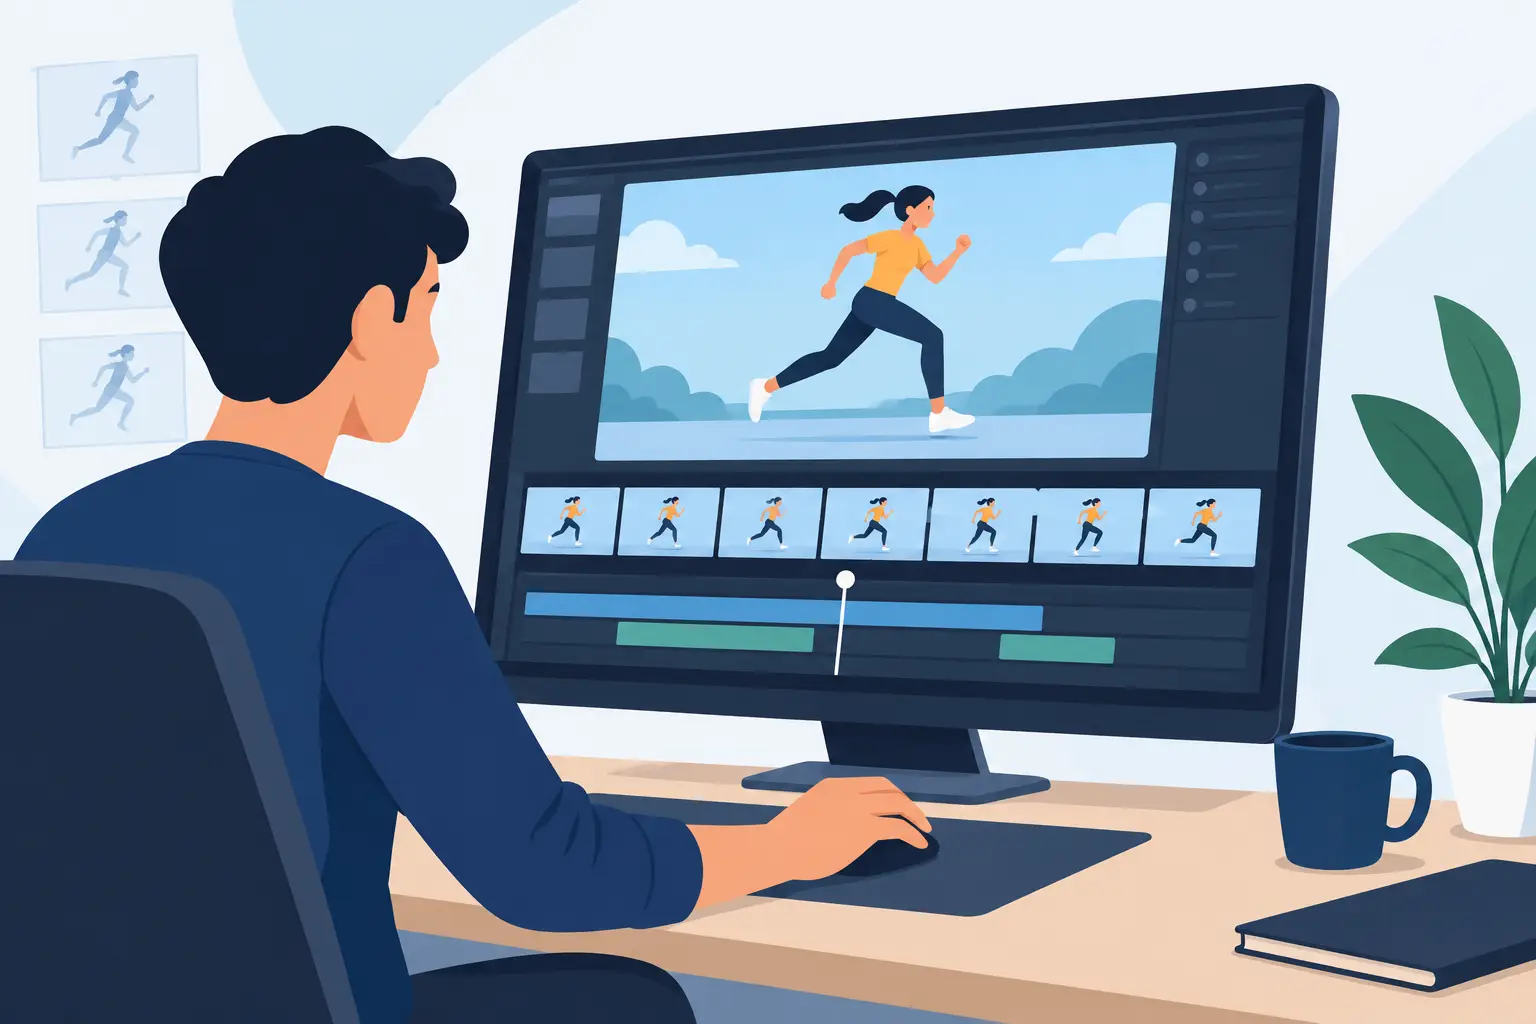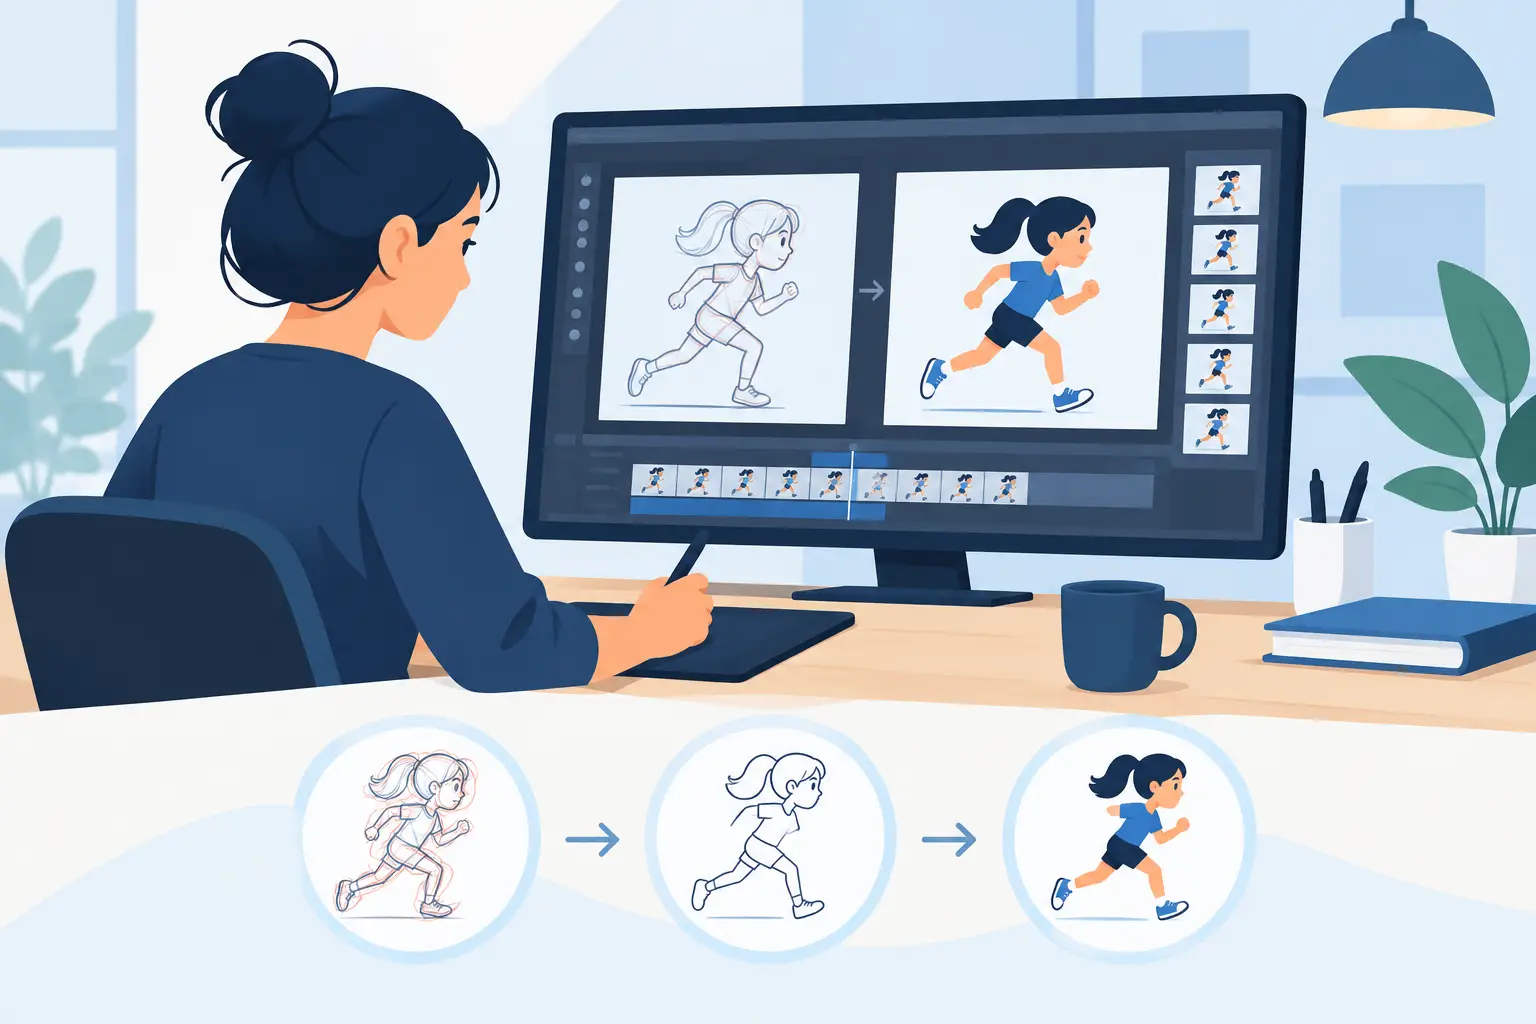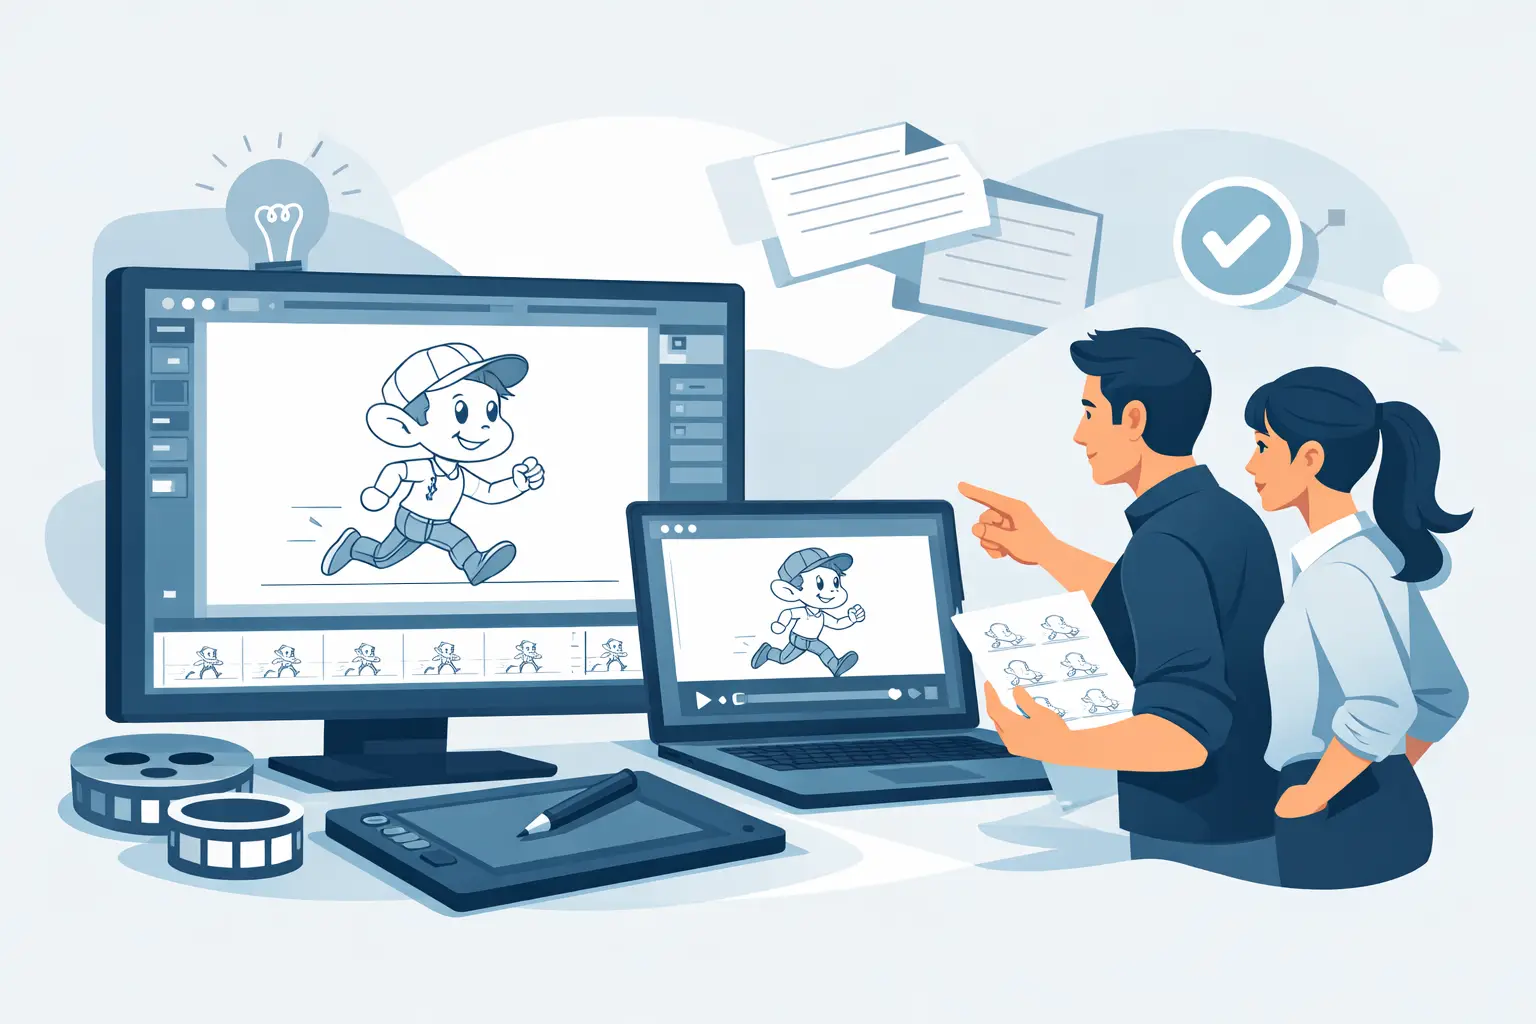
A line test should answer a simple production question: does the movement work before you spend time cleaning it up and painting it? The right software for animation line testing makes that answer obvious. It lets you flip through drawings, scrub the scene, play at speed, and change timing without breaking your concentration or turning a quick pencil test into a technical exercise.
For hand-drawn animators, line testing is not a minor preview feature. It is where spacing, arcs, weight, overlap, and acting either come together or fall apart. If the software feels slow, hides the drawings behind layers of interface, or forces you to stop playback every time you adjust exposure, it gets in the way of the work that matters.
What Software for Animation Line Testing Must Do
A useful line-testing program starts with responsive drawing. Rough animation is built from decisions made quickly: a stronger breakdown, a later settle, a correction to the eye line, or one extra drawing to hold a pose. You need to put down those marks without fighting a sterile drawing tool that feels designed for diagrams instead of animation.
The software also needs clear playback control. Animators do not only watch a scene from the first frame to the last. They scrub back and forth over a contact, flip between a pair of drawings, and replay a two-second section until a problem reveals itself. A good line test lets you inspect the work at the speed required by the shot, whether that means stepping frame by frame or playing it in real time.
Timing control is equally important. A scene can have solid drawings and still fail because an action starts one frame too early, a hold is too short, or a reaction needs room to register. Many programs make timing edits feel like administrative work: stop playback, change an exposure, preview again, then repeat. That stop-adjust-preview cycle is especially damaging when you are trying to feel the rhythm of a performance.
A better approach lets you adjust timing while the animation plays. You can see the result immediately, keep your attention on the motion, and make decisions based on what the audience will actually see. For students, this makes timing principles easier to understand. For experienced animators, it removes a needless interruption from a professional workflow.
The Pencil-Test Workflow Still Matters
Traditional animation production has always relied on rough passes and pencil tests for good reason. Rough drawings are fast, flexible, and honest. They show whether the idea works before polish hides the weak spots. A clean line does not fix poor spacing, and a beautifully painted character does not solve a bad acting beat.
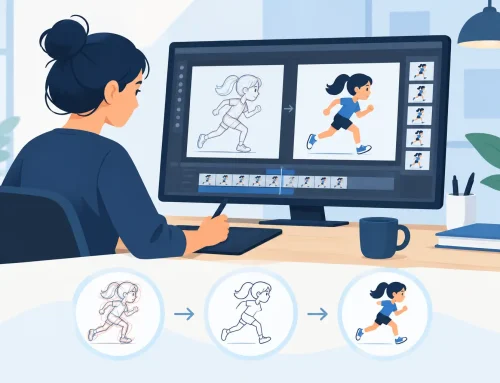
Digital tools should preserve that logic rather than replace it with a rigid pipeline. You should be able to rough a shot, test it, revise the drawings, and test again without constantly exporting files or converting your work into another format. The less friction between drawing and playback, the more often you will test. The more often you test, the sooner you catch problems when they are still inexpensive to fix.
This is particularly valuable on shots with physical action. A jump needs believable compression before lift-off. A walk needs a consistent rhythm, but not mechanical spacing. A head turn needs volume and directional force, not just a sequence of correctly placed features. Line testing exposes these issues because it shows motion as motion, not as isolated drawings.
It also protects the acting. A character may be technically on model, yet a pause can feel blank instead of thoughtful, or a take can read as random instead of surprised. Playback tells you whether the audience has time to read the thought before the next action begins. That is why line testing belongs at the center of the animation process, not at the end.
Features That Save Time in Real Production
When comparing animation software, look beyond a long feature checklist. The critical question is whether the features support the way you actually build a scene.
Drawing tools should feel immediate enough for roughs, clean-up, and corrections. You should not need separate software simply because the sketching experience is awkward. Onion skinning must be easy to control so you can judge spacing against nearby drawings without losing sight of the current pose. A clear exposure sheet or timeline is essential because timing should be visible, not buried in menus.
Painting matters too. Line tests often become production scenes, and slow filling can turn a simple coloring pass into a bottleneck. Efficient paint tools help small teams and independent filmmakers move from approved animation to finished color without redrawing boundaries or repairing tiny gaps frame after frame.
Camera-style controls are also useful when they serve the shot. A pan, zoom, rotation, blur, or dissolve can help you test staging and screen direction before final compositing. They should be available when needed, but they should not distract from the drawing itself. For most character animation, the quality of the poses and timing remains the first priority.
Where Different Tools Can Fall Short
A general illustration app may offer attractive brushes, but it often treats animation as an add-on. That can be fine for a short experiment or a simple looping GIF. It becomes limiting when you need to manage a scene with multiple levels, repeated timing revisions, and a real clean-up and paint pass.
Video editors can play image sequences, but they are not designed for drawing revisions. You may be able to assemble a test, yet every correction becomes an import-and-replace task. That is not a practical way to animate a performance with dozens or hundreds of drawings.
High-end production systems can be appropriate for a large studio with established technical support and pipeline staff. They may include advanced compositing, asset management, and collaboration systems. But those capabilities come with trade-offs: more setup, more complexity, and often more distance between the animator and the paper-like act of drawing. A student, freelancer, or small studio does not always need a large pipeline to make a strong pencil test.
The best choice depends on the work. If your focus is hand-drawn character animation, choose a tool that puts drawing and timing first. If you are producing effects-heavy work with many departments, broader pipeline tools may be justified. The mistake is assuming that more features automatically produce better animation.
A Faster Way to Test a Scene
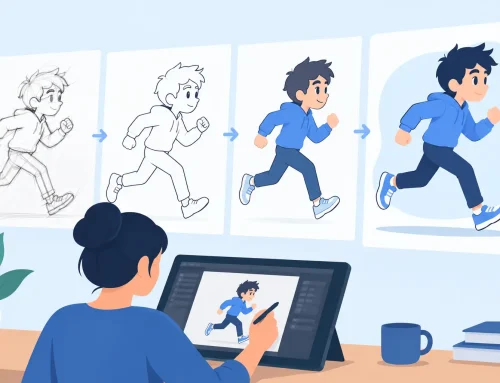
Start with the keys and the major storytelling poses. Keep the roughs loose enough that you can change them without hesitation. Add breakdowns to establish the path, then in-betweens only where they are needed to explain the action.
Run the line test before you clean up. Watch once for the overall idea, then watch again for a single concern: spacing, balance, eye direction, or the timing of the accent. Resist the urge to solve every issue at once. A shot improves faster when each pass has a clear purpose.
When a section feels wrong, adjust the exposure first before redrawing everything. A held frame, a shifted breakdown, or one added drawing can change the read of an entire action. If timing does not solve it, return to the poses. The pose is usually the source of the problem, and the line test gives you the evidence.
FlipBook is built around this traditional workflow, with natural drawing, fast painting, and real-time timing adjustment that keeps the animator in control. It is purpose-built for artists who want digital speed without giving up the direct, practical methods of hand-drawn animation.
A good line test does more than catch mistakes. It gives you permission to keep searching for the stronger choice while the drawings are still alive, flexible, and ready to move.