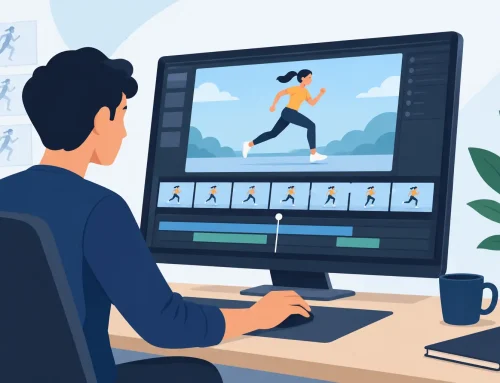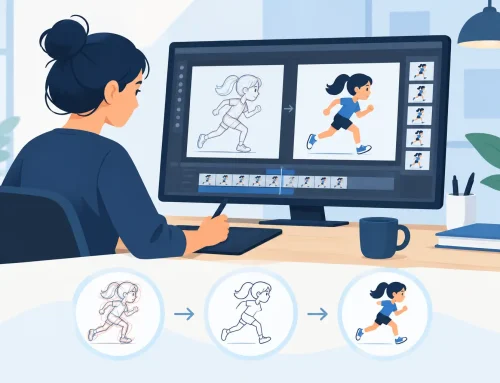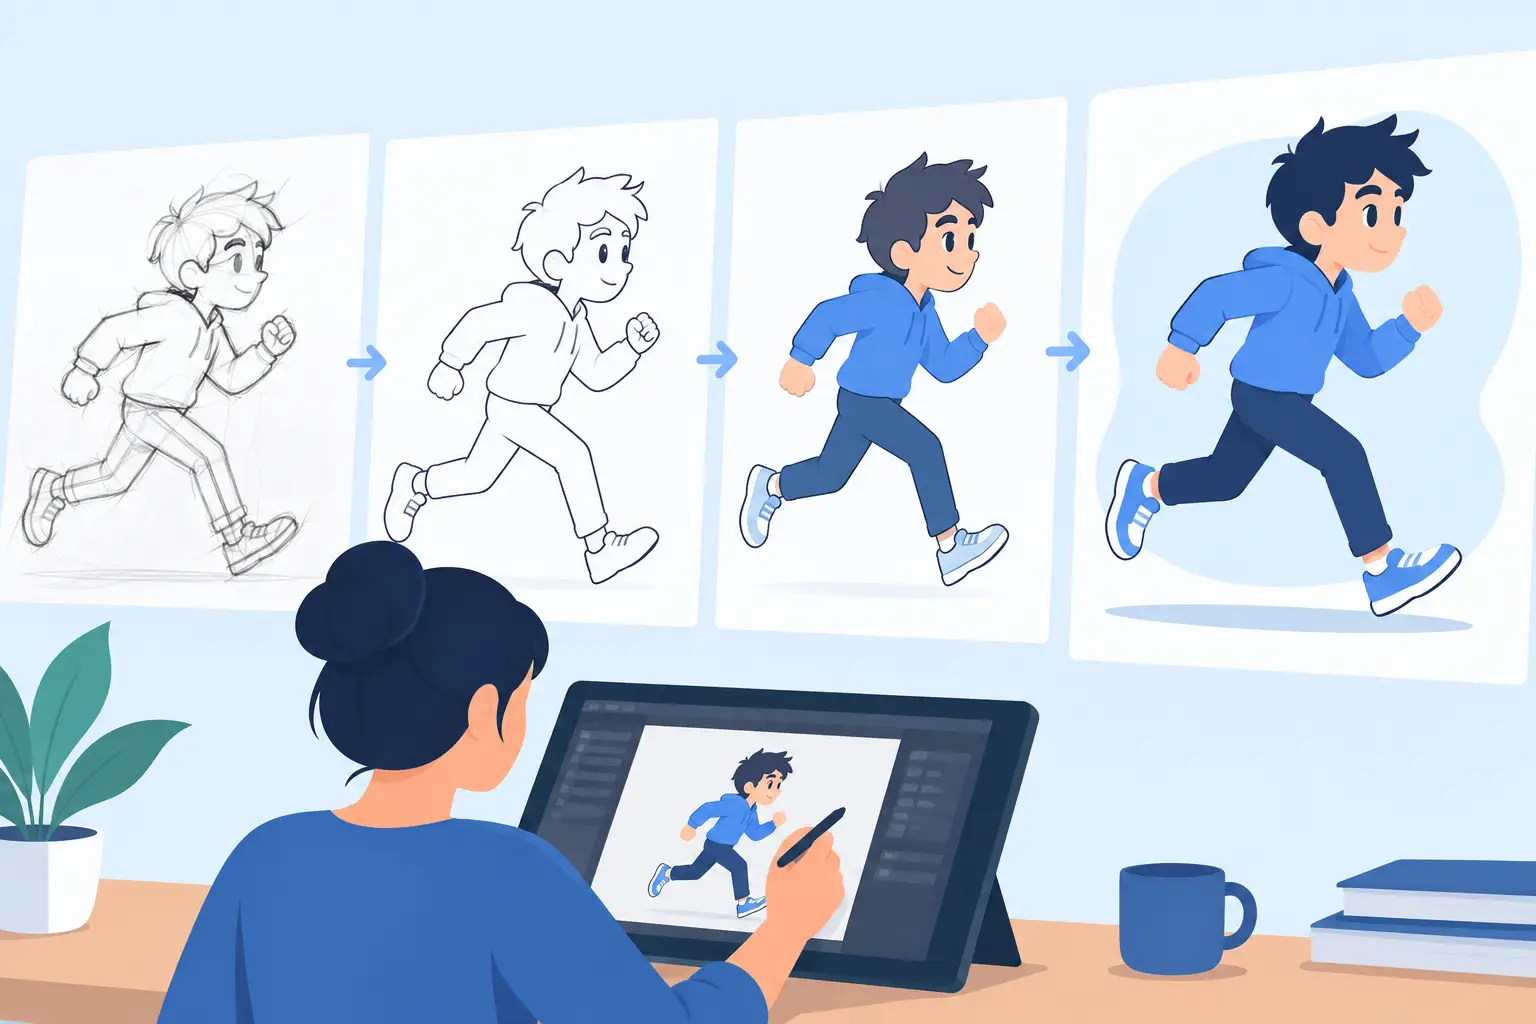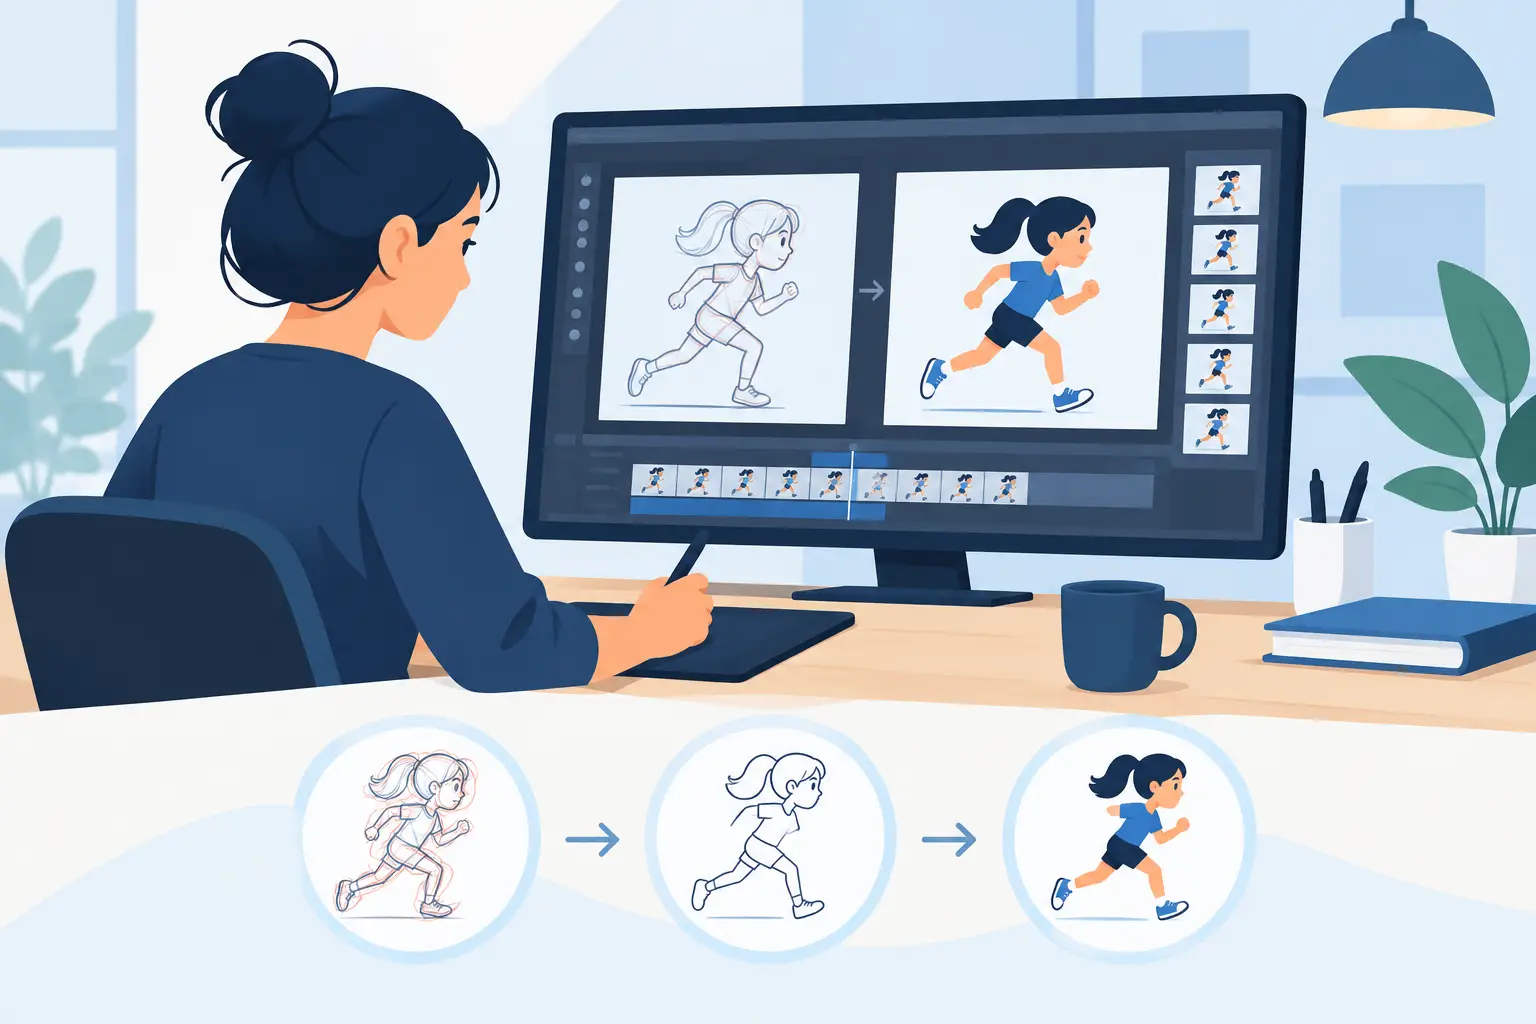
A scene can feel finished the moment the color goes on – or it can grind to a halt because every frame turns into cleanup, patchwork, and rework. That is why learning how to paint animation frames matters so much in production. Good painting is not just about adding color. It is about keeping edges clean, preserving linework, staying consistent from frame to frame, and moving quickly enough that painting does not bottleneck the whole shot.
In traditional 2D animation, painting works best when it supports the drawing instead of fighting it. If your software makes you chase tiny gaps, repaint the same areas, or stop constantly to check timing, the process gets slow fast. A stronger workflow keeps the scene readable and lets you focus on performance, color continuity, and finishing shots with less effort.
How to paint animation frames without slowing down
The biggest mistake beginners make is treating paint as the final cosmetic step. In practice, painting starts much earlier. Your roughs, clean-up, line closure, and color planning all affect how fast the paint pass will go.
Start by making sure the cleaned-up drawings are ready to accept color. Open line gaps, uneven contours, and stray sketch marks are what usually cause fill problems. If a region should be painted as one shape, the linework needs to define that shape clearly. You can force a fill into a broken drawing, but that usually creates more correction work later.
It also helps to decide your palette before you begin the scene-wide paint pass. Character skin, hair, clothing, props, and effects should have assigned colors from the start. When artists improvise color frame by frame, consistency suffers. A shirt that shifts slightly in value or saturation over 40 drawings will flicker on playback even if each individual frame looks acceptable on its own.
Once the linework is sound and the palette is set, paint broad, stable areas first. Large flat regions such as clothing masses, skin areas, or backgrounds are easier to check in motion than small details. After those are in place, move to smaller elements like eyes, mouth interiors, accessories, and secondary accents. This order lets you catch coverage issues early and reduces the chance of missing obvious holes in the frame.
Set up the scene before you paint
The fastest frame painters are usually the ones who prepared the scene properly. That means organizing layers clearly, keeping character elements easy to identify, and testing a few representative frames before committing to the entire sequence.
A good practice is to paint key drawings or extremes first. If those difficult frames hold together, the in-betweens are usually straightforward. This is especially useful in shots with turns, overlapping limbs, fast mouth shapes, or changing hand positions. If you begin on the easiest in-betweens, you may not notice a palette or line issue until much later.
Playback matters here too. A frame can look perfect as a still and still fail in motion. Paint popping outside a contour for one drawing, even by a pixel or two, may not catch your eye until the scene runs. This is where animation-specific software has a real advantage over generic painting tools. You need to see the shot play at speed, scrub through it, and make timing or paint corrections without breaking your rhythm.
For that reason, many animators prefer a dedicated production workflow in a tool such as FlipBook, where roughing, clean-up, painting, and playback belong to the same process rather than being split across disconnected apps.
Watch for line closure and edge behavior
Most paint problems come down to edges. If the line is not truly closed, a fill can leak. If the contour is too rough, the edge can chatter from frame to frame. If overlapping parts are unclear, colors may swap visual priority during motion.
Treat every closed shape as a production decision. On a hand, for example, ask whether each finger is meant to read as its own painted unit or whether the hand should read as one mass with line separation. The answer depends on the shot size and the style of the scene. Painting more detail than the camera will show only slows the work.
The same applies to hair, fabric folds, and facial features. In close-ups, subtle paint separations can help form. In wider shots, too many tiny painted islands increase the chance of flicker and missed fills. Simpler color grouping often looks stronger on screen.
How to keep color consistent across frames
Consistency is what makes painted animation look professional. Flat color itself is simple. Keeping that color stable through dozens or hundreds of drawings is where craft shows.
First, use a fixed palette for the scene. Do not sample from previous frames by eye unless you are certain the values are locked. Second, keep your fill regions logically named in your own workflow, even if that is informal. When you think in terms of skin, shirt, pants, shoe sole, mouth, and shadow shape, you make fewer mistakes than when you simply grab a color and click around.
Third, check recurring problem areas on playback. Hands, jawlines, hair silhouettes, and costume openings tend to create the most paint inconsistencies because their shapes change rapidly. If a color area expands and contracts unpredictably, ask whether the underlying drawing is unstable or whether the paint shape is too literal from frame to frame. Sometimes a cleaner visual result comes from slightly simplifying the painted edge rather than tracing every tiny contour change.
Use repetition where it actually helps
Not every frame needs to be painted from scratch in the same way. If a hold, cycle, or repeated action uses identical drawings, the paint approach should take advantage of that. Reusing what is already correct is not cutting corners. It is good production sense.
That said, repetition only helps when the drawings truly match. If an animator assumes frames are identical and copies paint carelessly, artifacts show up immediately in motion. Always check registration and line placement before relying on repeated fills.
Speed comes from workflow, not rushing
If you want to know how to paint animation frames faster, the answer is usually not to click faster. It is to remove friction from the workflow. Painters lose time when they must fix preventable problems: broken contours, inconsistent palettes, poor scene setup, or software that interrupts review.
A dedicated animation tool should let you paint quickly, then play the result immediately. Better still, it should let you adjust timing while the scene plays so you can judge whether a painted hold needs an extra frame or whether a fast action needs less exposure. That matters because painting and timing are connected. A color pop that seems like a paint issue can actually be a timing issue, and vice versa.
This is one of the clearest differences between software built for traditional animators and software adapted from general illustration or compositing workflows. Frame painting should feel like part of animation production, not like a separate technical chore.
Common painting problems and what causes them
When fills leak, the cause is usually open linework or a tolerance setting that does not match the drawing. When colors flicker, the cause is usually inconsistent region size, accidental palette changes, or over-detailed paint shapes. When painted areas feel muddy, the cause is often too many similar values competing in a small space.
Shots can also slow down because artists paint details no viewer will ever notice. If the character crosses the screen in twelve frames, you do not need the same paint precision you would give a held close-up. Production painting depends on shot purpose. The right level of finish is the one that supports the action and holds up in motion.
Another common issue is saving paint corrections for the end of the shot. That sounds efficient, but it often creates a stack of small inconsistencies that are harder to untangle later. It is better to correct obvious paint errors as soon as you see them in playback while the shot is fresh in your mind.
A practical frame-painting mindset
The most reliable way to improve is to think like a production artist, not just a colorist. Every decision should support readability, speed, and consistency. Ask simple questions as you work: Is this shape closed? Is this color assigned already? Will this detail actually read on screen? Does this frame hold together in motion?
That mindset is what separates clean animation painting from digital busywork. You are not decorating still images. You are finishing moving drawings that have to survive playback.
If you want better results, build the habit of testing early, painting in logical passes, and reviewing scenes in motion as you go. The more naturally your software fits that process, the more time you spend animating instead of fixing paint. And that is when frame-by-frame color starts doing what it should – making your drawings come alive without getting in the way.