
A drawing can be appealing and still fail on screen because it arrives one frame too soon, holds one beat too long, or eases when it should snap. Learning how to test animation timing means judging the shot as motion, not as a stack of individual drawings. The goal is simple: make the audience feel the intended action without noticing the machinery behind it.
Timing is where weight, thought, comedy, impact, and emotion become visible. Test it while the work is rough, when moving a drawing or changing an exposure takes seconds instead of forcing hours of cleanup and repainting.
Start With the Story Beat, Not the Frame Count
Before playing a scene, identify what the audience must understand. Is the character realizing something? Preparing to lift a heavy object? Reacting to a surprise? A timing test needs a clear question, or you will make changes based only on whether the motion looks busy.
Mark the essential poses first: the storytelling pose, the anticipation, the extreme, the breakdown, and the settle. These are not arbitrary stops on a timeline. Each one carries a change in thought, direction, force, or balance. If the poses do not read in order, adding inbetweens will not solve the problem.
Then ask how long the character needs to think. A fast action may need a longer anticipation so the audience can read it. A quiet reaction may need fewer drawings but a longer hold. There is no universal number of frames for a take, a blink, or a walk. Context controls timing. A broad comedy shot can support a pronounced pause; a tense action scene may demand an immediate response.
How to Test Animation Timing in Rough Playback
Test rough animation at normal speed before you test it frame by frame. Frame stepping is useful for checking arcs and spacing, but the audience does not experience your film one drawing at a time. They see the rhythm of the shot.
Play the scene repeatedly and watch for one specific issue per pass. First, watch the character’s head or center of mass. Does the body feel planted before it moves? Does the weight arrive where it should? On the next pass, watch the hands, eyes, or prop. Small details often reveal a timing mismatch that the larger body action hides.
Avoid staring at the timeline while you play the shot. Look at the image area, then look away briefly and listen to the rhythm of the exposure changes. If you can feel an accidental hitch without studying the drawings, the audience will feel it too.
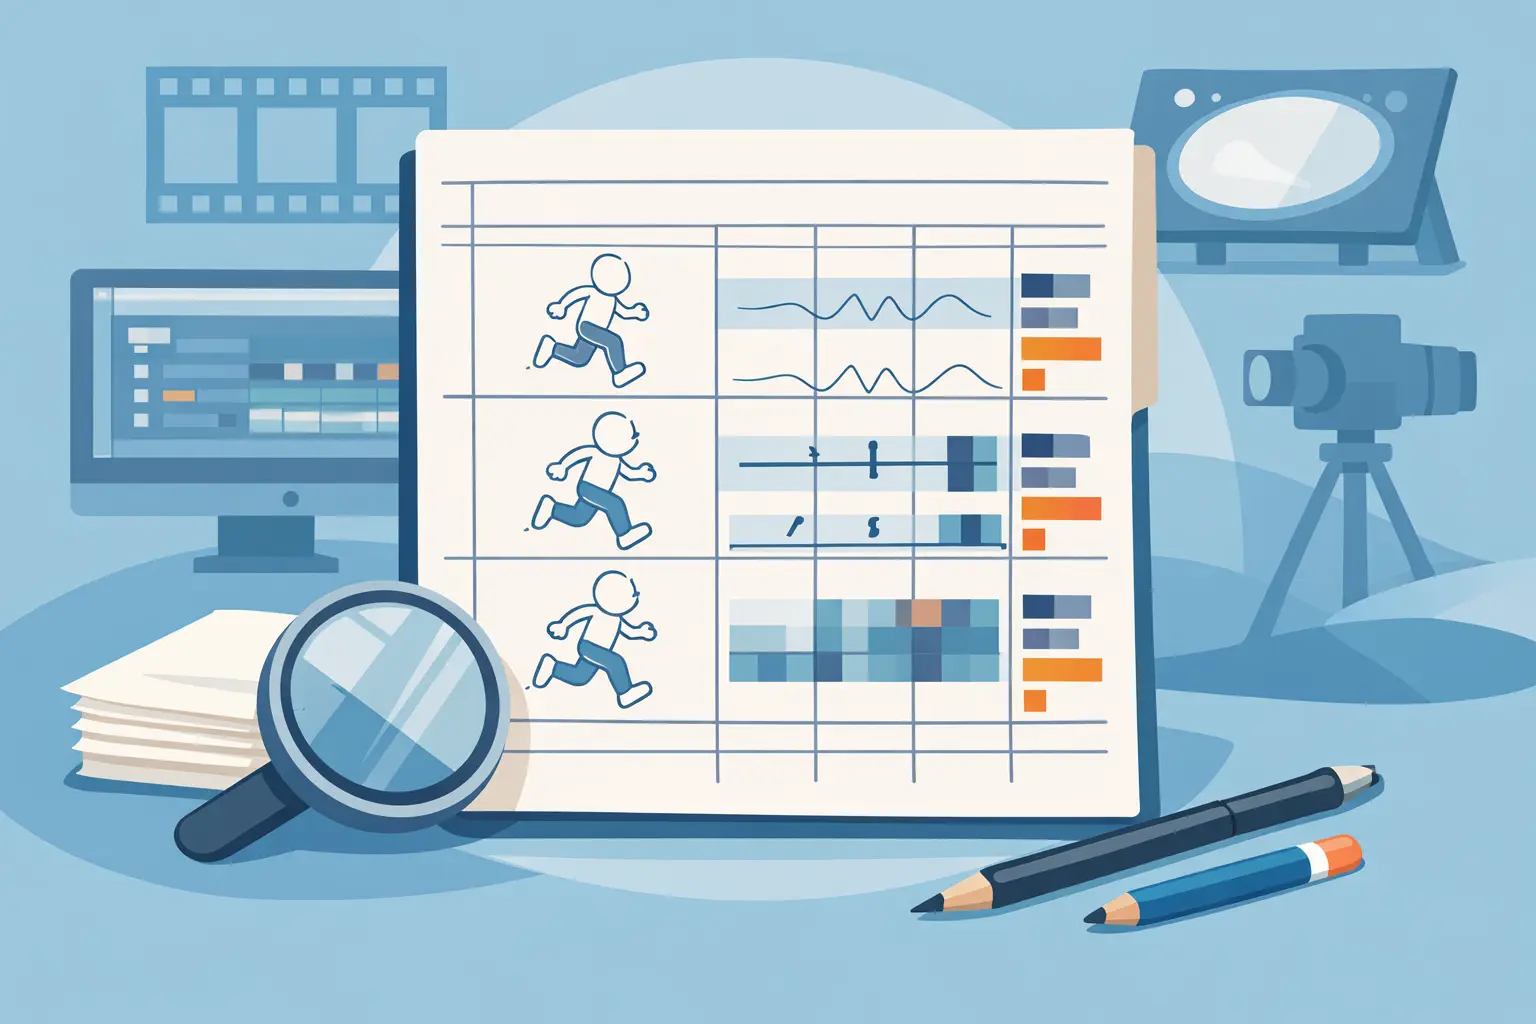
A useful production habit is to make three versions of the same rough timing: your first instinct, one version slightly faster, and one slightly slower. The difference may be only two or three frames, but that can change a character from alert to sluggish or from forceful to weightless. Compare them at normal speed. Do not assume the version with more drawings is more polished.
Check Holds for Life, Not Stillness
Holds are among the most misunderstood timing tools. A hold is not dead time. It is a decision that tells the audience where to look and how long to absorb an idea.
Test every hold by asking whether it supports the next action. Before a character turns, the hold may create thought or tension. After a big impact, it may allow the force to register. If the hold feels empty, it may be too long, but it may also be on the wrong drawing. A strong held pose often has a clear line of action, readable silhouette, and a purposeful eye direction.
Be careful with held drawings in digital work. A perfectly frozen character can look mechanical when the scene calls for living stillness. You may need a subtle breathing change, eye movement, overlap in clothing, or a small adjustment in the hands. Do not add motion merely because the frame is held, though. Too much activity weakens the pose and makes a quiet beat nervous.
Test Spacing Separately From Timing
Timing is how many frames an action takes. Spacing is how far the drawing moves from one frame to the next. They work together, but they are not the same problem.
An arm can take twelve frames to swing and still feel wrong if the spacing is even. A thrown ball can cross the screen quickly but feel slow if its spacing does not accelerate and decelerate in the right places. During playback, watch the path of the moving part rather than the quality of the linework. Does the motion build speed? Does it favor the right direction? Does it stop with enough force or cushion?
A practical test is to temporarily simplify the drawing. Use a dot for a hand, a line for an arm, or a simple mass for a head. This exposes spacing problems without the distraction of design detail. If the simple version moves well, the finished drawing has a sound foundation. If it does not, cleanup will only make the error more expensive.
Use Repetition to Find the Bad Frame
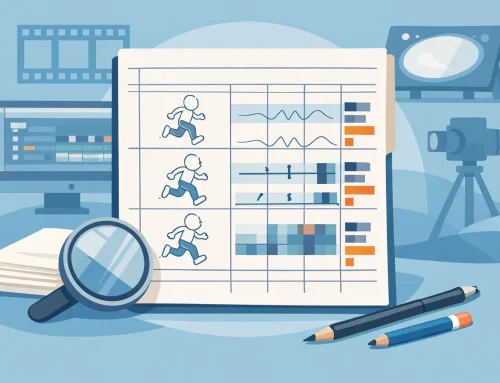
The first viewing tells you whether a scene works. Repeated viewings tell you why it does not. Loop the action several times, especially around transitions: the start of a move, the change of direction, contact with an object, and the final settle. These are where timing errors usually appear.
Look for common warning signs. A character may seem to pop into a pose because the anticipation is too short. An impact may feel soft because the contact drawing is not held long enough or the follow-through starts too soon. A turn may look like a slide because the head and torso move together with identical spacing. A reaction may feel late because the eyes do not lead the body.
When you find a problem, change one variable at a time. Add or remove an exposure, shift a breakdown, or alter the spacing near an extreme. Then play it again. If you redraw, retime, and add detail all at once, you will not know which change improved the shot.
Get a Fresh Read Before You Commit
Animators become accustomed to their own timing. After fifty playbacks, even an awkward pause can start to feel normal. Show the rough scene to someone who has not watched the work develop. Ask a precise question: “When does the character decide to move?” or “Does the object feel heavy when it lands?” A useful viewer response is more valuable than a vague opinion that the shot feels off.
For student work and small productions, record a quick reference pass of yourself acting out the beat. You are not copying every movement. You are checking the rhythm of thought, preparation, action, and recovery. Reference can reveal that the action needs a pause before the move, while animation may need a clearer pose than live action to communicate the same idea.
Sound can also change your judgment. If the final shot will have dialogue, music, or effects, test the rough timing with a temporary track when possible. A hit that works silently may land early against a sound effect. A reaction that feels broad in silence may be exactly right after a line of dialogue.
Keep Timing Editable Until It Earns Cleanup
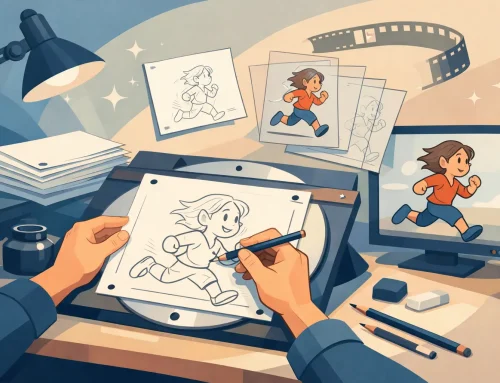
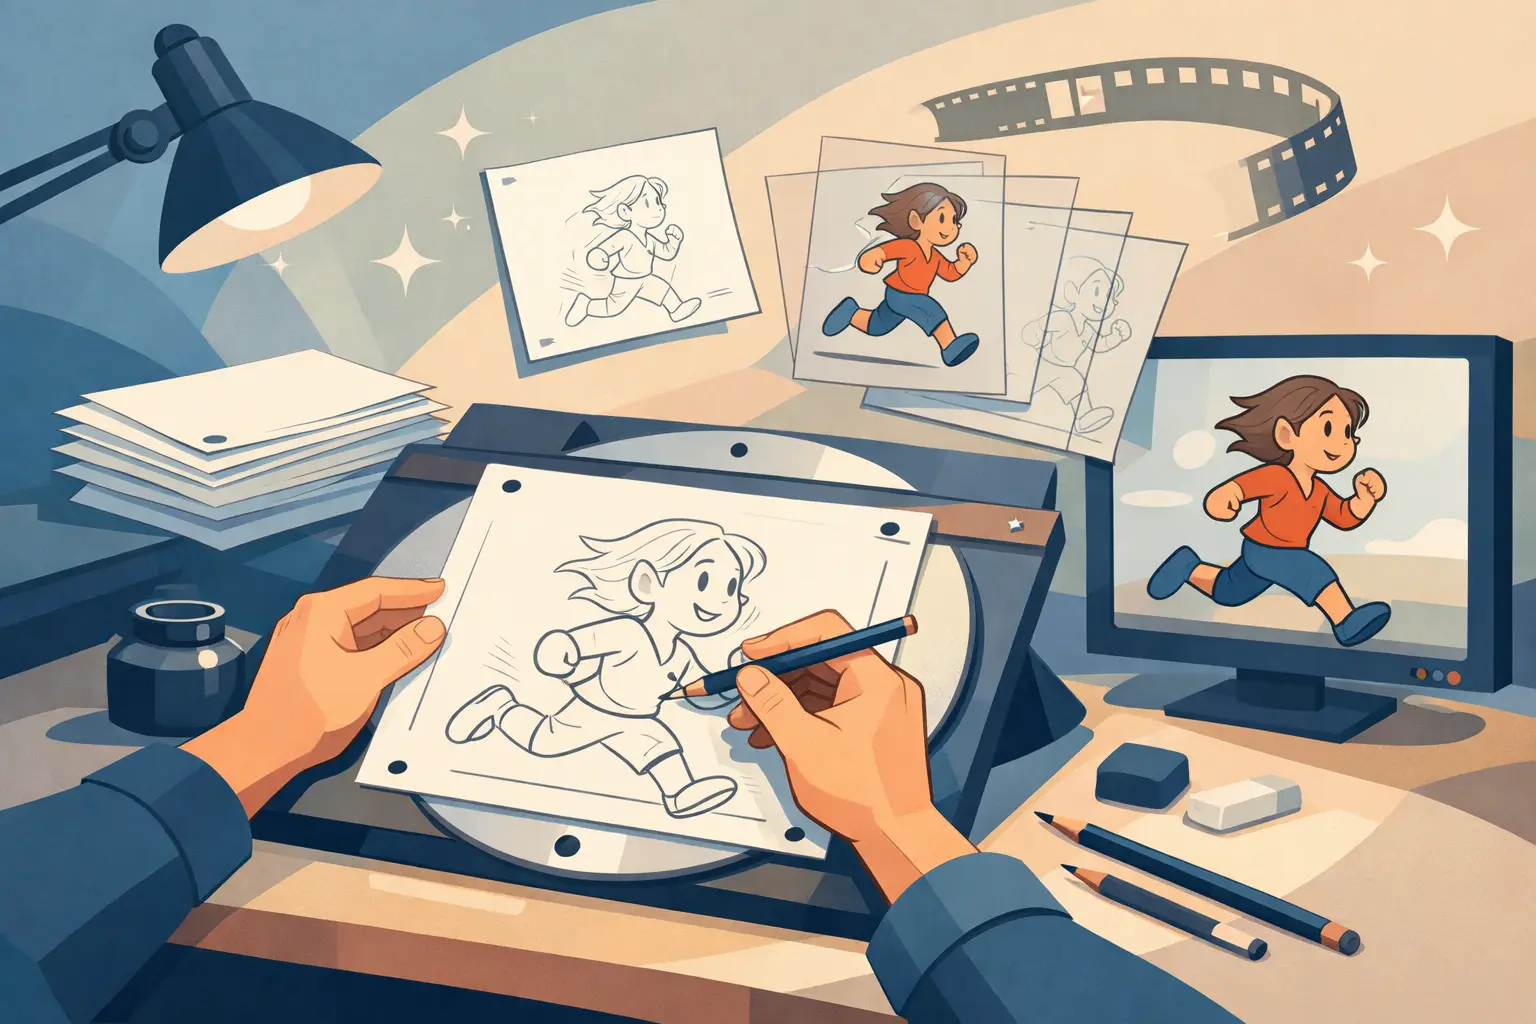
The fastest workflow protects your ability to experiment. Rough the action, play it, adjust exposures, and play it again before committing to clean lines and color. In FlipBook, timing can be adjusted during real-time playback, which keeps the animator focused on what the shot feels like rather than forcing a stop-adjust-preview routine after every small change.
That freedom matters most when the answer is not obvious. Some scenes need a single-frame adjustment. Others need a different breakdown or a longer anticipation. The right choice is the one that makes the idea read with the least unnecessary motion.
When the timing finally feels inevitable – when the character thinks, moves, lands, and settles exactly when the audience expects – preserve that rough structure and begin cleanup. Good timing does not call attention to its frame count. It lets the drawings come alive.