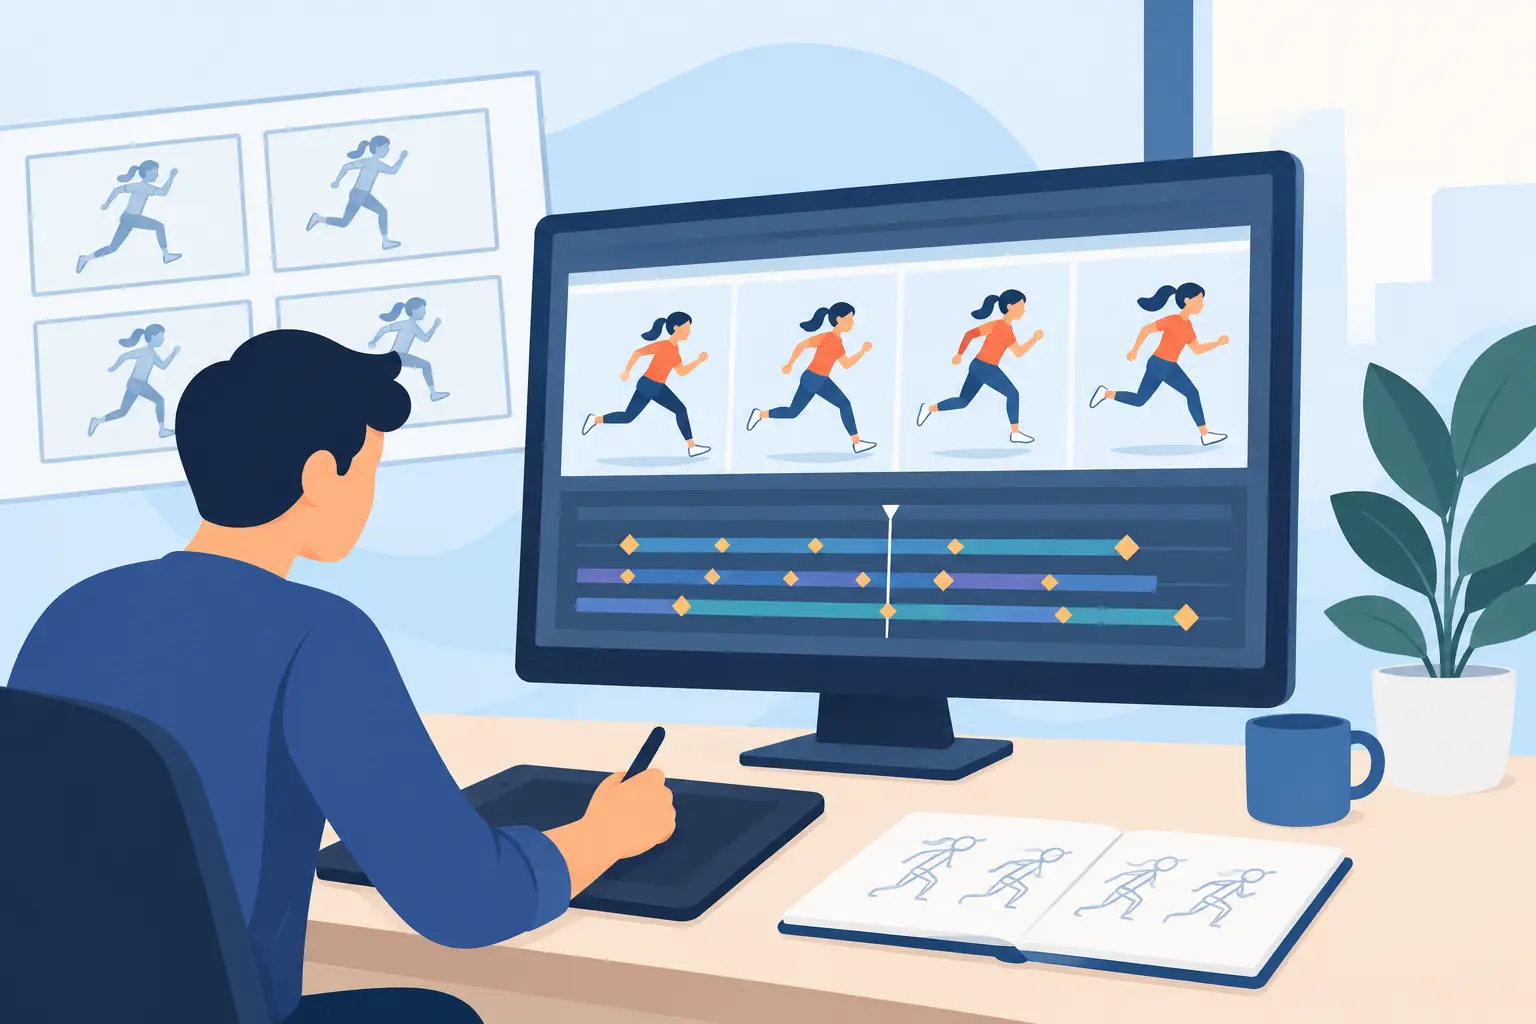
A scene can have beautiful drawings and still feel lifeless if its major poses are weak. That is why learning how to plan animation keys matters before you commit to in-betweens, clean-up, or color. Keys are not simply the first drawings you make. They are the decisions that tell the audience what happened, why it happened, and exactly when the change should land.
For traditional animators, key planning is where performance meets production discipline. A well-planned set of keys gives you stronger acting, clearer timing, and far fewer drawings that have to be redone later. It also keeps a digital scene from becoming a pile of frames with no clear purpose.
Start With the Story Beat, Not the Drawing
Before drawing a key, identify the change in the shot. A character may hear a noise, understand bad news, decide to run, or lose balance. That shift is the beat. If you cannot describe it in a short sentence, you probably are not ready to animate it yet.
Consider a simple action: a character reaches for a door handle, pauses, then pulls their hand away. The action is small, but the acting question is specific. Did the character suddenly remember something? Are they afraid to enter? Did the handle feel hot? Your answer changes the key poses. A fearful character may pull back through the shoulders and neck. A character who remembers an appointment may freeze with the hand almost touching the handle, then snap away with a sharper decision.
Thumbnail the scene before working at full size. These sketches should be fast and rough. Their job is to test silhouette, staging, screen direction, and the overall rhythm of the action. If the pose does not read as a thumbnail, more detail will not save it.
Keep the shot’s purpose in mind. In production, a key pose must communicate to someone other than the animator: a director, a clean-up artist, or a viewer seeing the scene once at normal speed. Clear silhouettes and deliberate lines of action do that work better than fussy drawing.
How to Plan Animation Keys Around Clear Poses
The first key is often the starting pose, but it should not be treated as an idle drawing. It establishes the character’s balance, attitude, and direction of energy. From there, plan the pose where the action changes most clearly. This may be the extreme position, the moment of contact, or the emotional decision before the physical action begins.
A useful question is: if the scene were reduced to three drawings, would the audience understand it? Those three drawings are usually the foundation of your key plan. Add more only when the action needs a separate beat, a change of intention, or a controlled transition.
For a character throwing a ball, you may begin with a prepared pose, move to the widest wind-up, hit the release, and finish with a follow-through. But the keys are not always evenly spaced in time. The character may hold the anticipation longer than expected, then release the ball in a quick burst. That contrast is what gives the action force.
Avoid making every key an extreme. Extremes are powerful because they are selective. If every pose stretches as far as possible, the scene loses hierarchy and becomes noisy. Reserve the strongest pose for the point you want the audience to feel.
Build Each Key From the Line of Action
A key pose should have a dominant directional force. In a jump, the body may compress downward before it drives up. In a turn, the head and torso may oppose each other. In a frustrated reaction, the spine may curve forward while the hands pull inward.
Draw the line of action first, then establish the masses: head, rib cage, pelvis, and major limbs. This keeps the pose alive and lets you judge whether the figure is balanced. Details such as fingers, costume folds, and facial lines belong later. At the key-planning stage, they can distract you from the larger problem.
Watch the negative space too. The spaces between arm and torso, legs, or head and shoulder can make a silhouette readable or collapse it into an unreadable shape. This is especially important in fast scenes, where the audience has little time to interpret the drawing.
Separate Story Keys From Mechanical Keys
Some keys carry acting. Others exist to control construction or motion. A story key might be the instant a character realizes they are caught. A mechanical key might establish a hand’s exact contact with a table, or the foot placement needed to support the next pose.
Both matter, but do not confuse them. Story keys deserve the most thought because they shape the audience’s response. Mechanical keys should support that performance without adding unnecessary stops. If a character is turning quickly, for example, you may need a contact or alignment drawing that never becomes a visible pause.
Put Timing on the Keys Before Adding Breakdowns
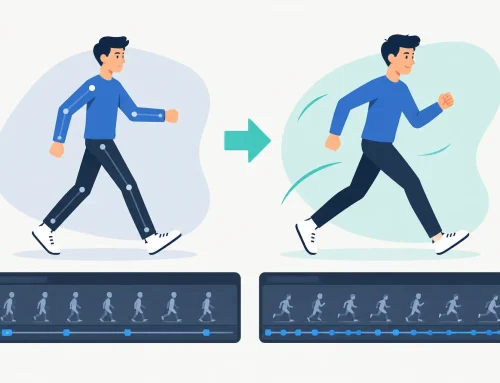
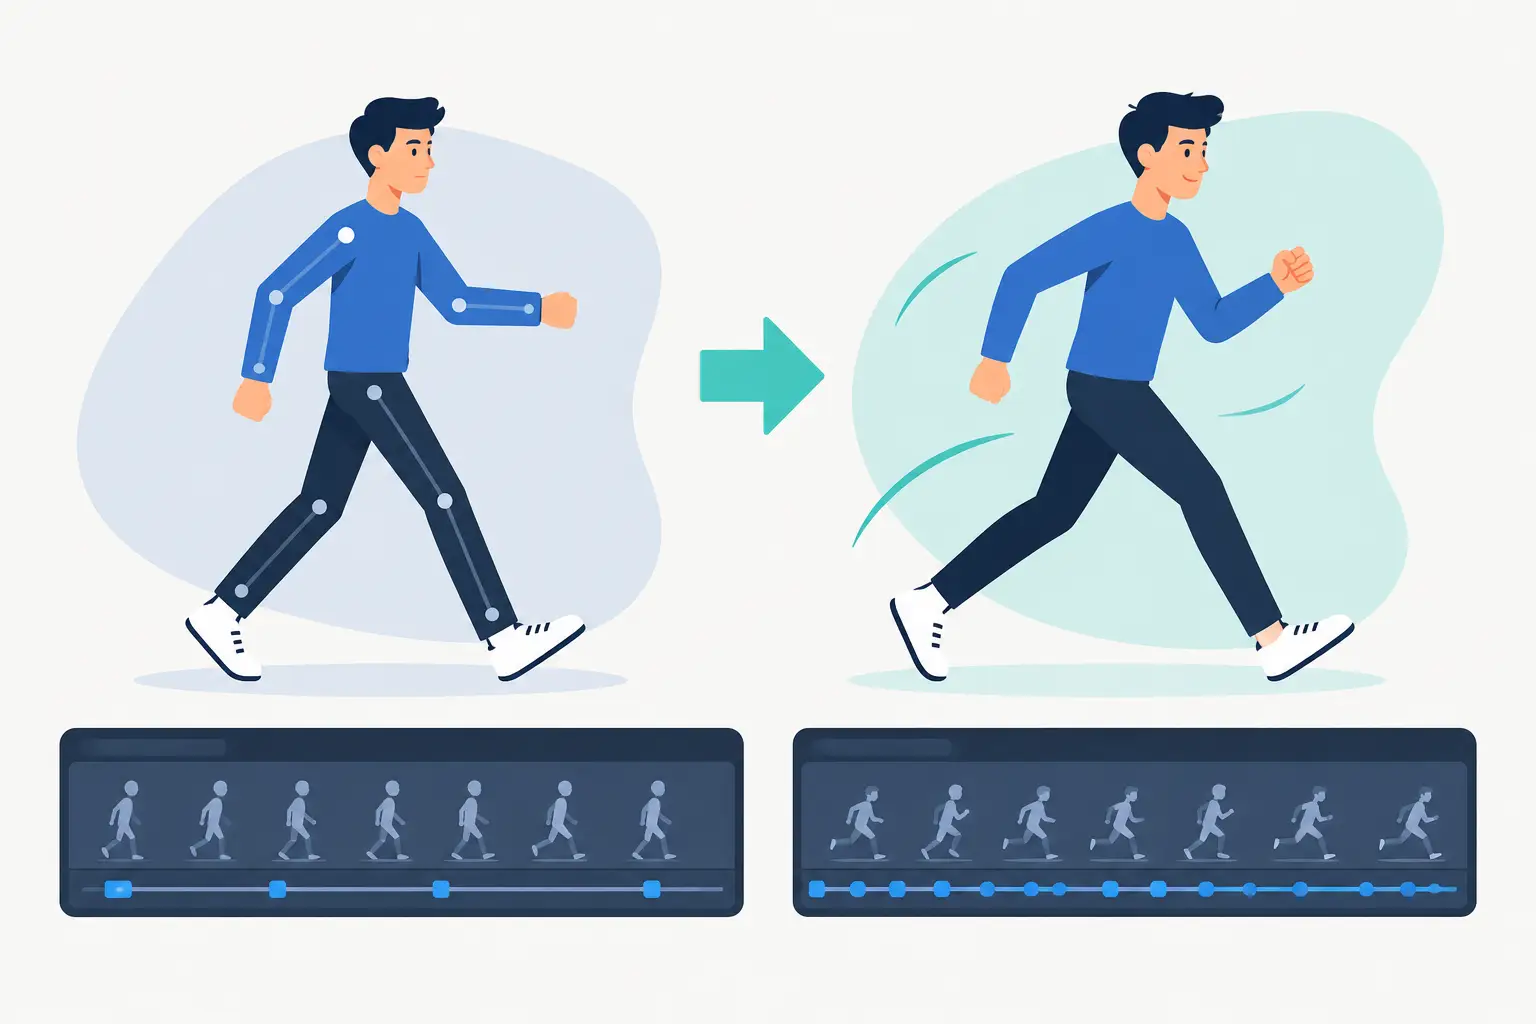
A key drawing without a frame number is only half planned. Timing determines how long the audience sees a pose and how quickly the scene moves between decisions. Put your keys on the timeline early, then play the scene at speed before adding more drawings.
A held key can create thought, weight, discomfort, or anticipation. A quick transition can create surprise, impact, or confidence. The same two poses can play as cautious, angry, exhausted, or comic depending on the timing between them.
Do not assume that smooth motion is always better motion. A character can move smoothly and still feel vague. In many hand-drawn scenes, a clear hold followed by a decisive change reads better than a constant stream of evenly spaced drawings. The trade-off is that a held pose must remain interesting and properly balanced. If it is weak, the hold exposes the weakness.
Work in the exposure pattern that suits the shot. Animating on twos can preserve a lively drawn quality and keep production practical. Fast actions, camera moves, or subtle vibration may need ones. There is no virtue in using ones everywhere if the scene does not benefit from them.
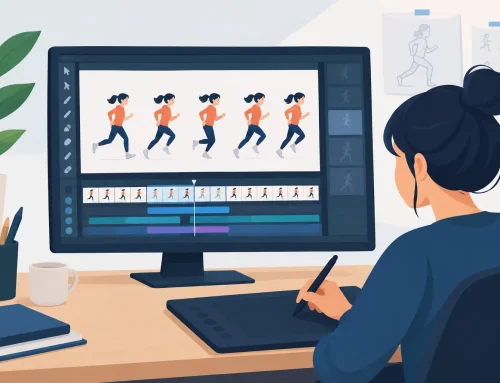
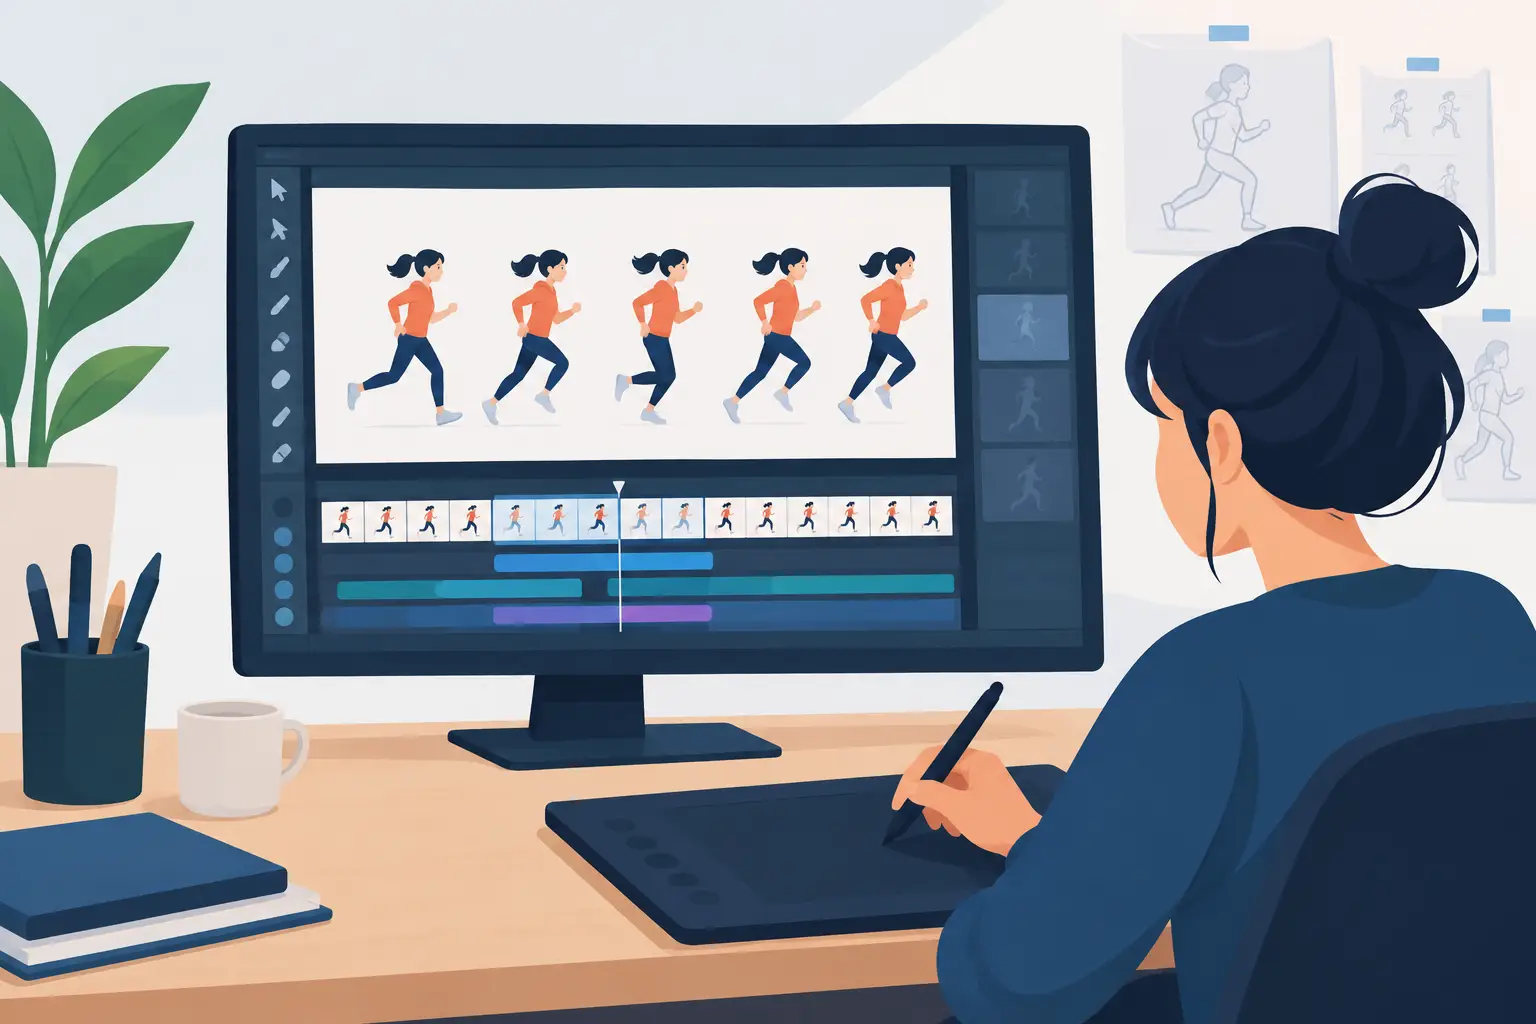
FlipBook is particularly useful at this stage because you can adjust timing while the scene plays. Instead of stopping, changing an exposure, and previewing again, you can test the hold, shorten the action, or move a key while judging the result in motion. That keeps timing decisions connected to the performance rather than turning them into a technical interruption.
Use Breakdowns to Explain the Path of Motion
Once your keys and timing work, add breakdowns. A breakdown is not merely the drawing between two keys. It explains how the character gets from one decision to the next. It controls arcs, overlap, squash and stretch, weight shifts, and the character’s attitude through the move.
Imagine a head turning from profile to front. A centered in-between can make the turn look stiff and mechanical. A better breakdown may favor the original direction, delay the facial features, or let the chin lead the action. The right choice depends on whether the character is gently looking over, snapping to attention, or recoiling from something offscreen.
For a body action, break the figure into overlapping parts. The hips may lead a turn, the chest may follow, and the head may arrive last. Hair, clothing, and loose accessories usually trail behind the main mass. Planning this overlap in the breakdown stage prevents the common digital-animation problem where every part reaches its destination at the same time.
Check arcs with rough paths or onion-skin drawings, but do not worship perfect curves. A hand may travel on an imperfect path if the character is searching, struggling, or reacting. The arc serves the action. It is not the action itself.
Test the Keys as a Rough Scene
Play your rough keys repeatedly, first at normal speed and then as a stepped test. Stepped playback reveals whether the storytelling poses are clear; normal playback reveals whether the timing supports them. Scrub through the scene to inspect contacts, volume changes, and screen direction.
Ask practical production questions. Does the character’s center of gravity support the pose? Does the eye go to the intended part of the frame? Is there enough difference between the key poses to justify the timing? Does the action still read with no dialogue or sound effects?
When a scene feels wrong, resist the urge to add in-betweens immediately. More drawings can hide the source of the problem while making it harder to fix. Return to the keys. Strengthen the contrast between poses, change the exposure, or replace a pose that is describing motion instead of communicating an idea.
Keep the Plan Flexible Until the Acting Works
A key plan is a guide, not a contract. You may discover during playback that the best acting choice is one frame earlier, one frame later, or in a pose you did not expect. That is normal. Traditional animation has always depended on testing, revising, and letting the scene reveal what it needs.
The efficient approach is to make those changes while the drawings are still rough. Once the keys carry the story, the breakdowns define the motion, and the timing feels intentional, clean-up and painting become straightforward production work. Give yourself permission to revise the rough scene until it plays with conviction. The audience will never count your keys, but they will feel every decision behind them.