A bouncing ball is not glamorous, but it tells the truth. If the ball feels heavy, light, elastic, or dead, the answer is not more effects or a more complicated character design. It is in the drawings and the timing between them. That is why the answer to “can beginners learn hand drawn animation” is yes – provided they start by learning to see motion one frame at a time.
Hand-drawn animation is a craft, not a talent test. You do not need to arrive with polished draftsmanship or a studio-ready portfolio. You need enough patience to make a drawing, look at it in motion, notice what is wrong, and make a better drawing. Digital tools can make that cycle faster, but the fundamentals remain the same ones used in traditional animation production: clear poses, solid timing, believable spacing, and clean drawings that support the action.
Can Beginners Learn Hand Drawn Animation Without Drawing Perfectly?
Yes. Good drawing helps, especially when you want to animate expressive characters, hands, or convincing perspective. But beginners often delay animation because they think every frame must look like a finished illustration. That is the wrong standard for rough animation.
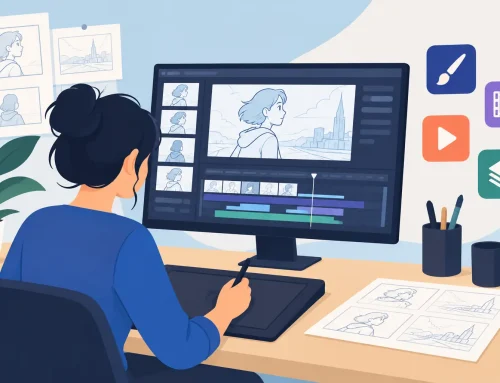
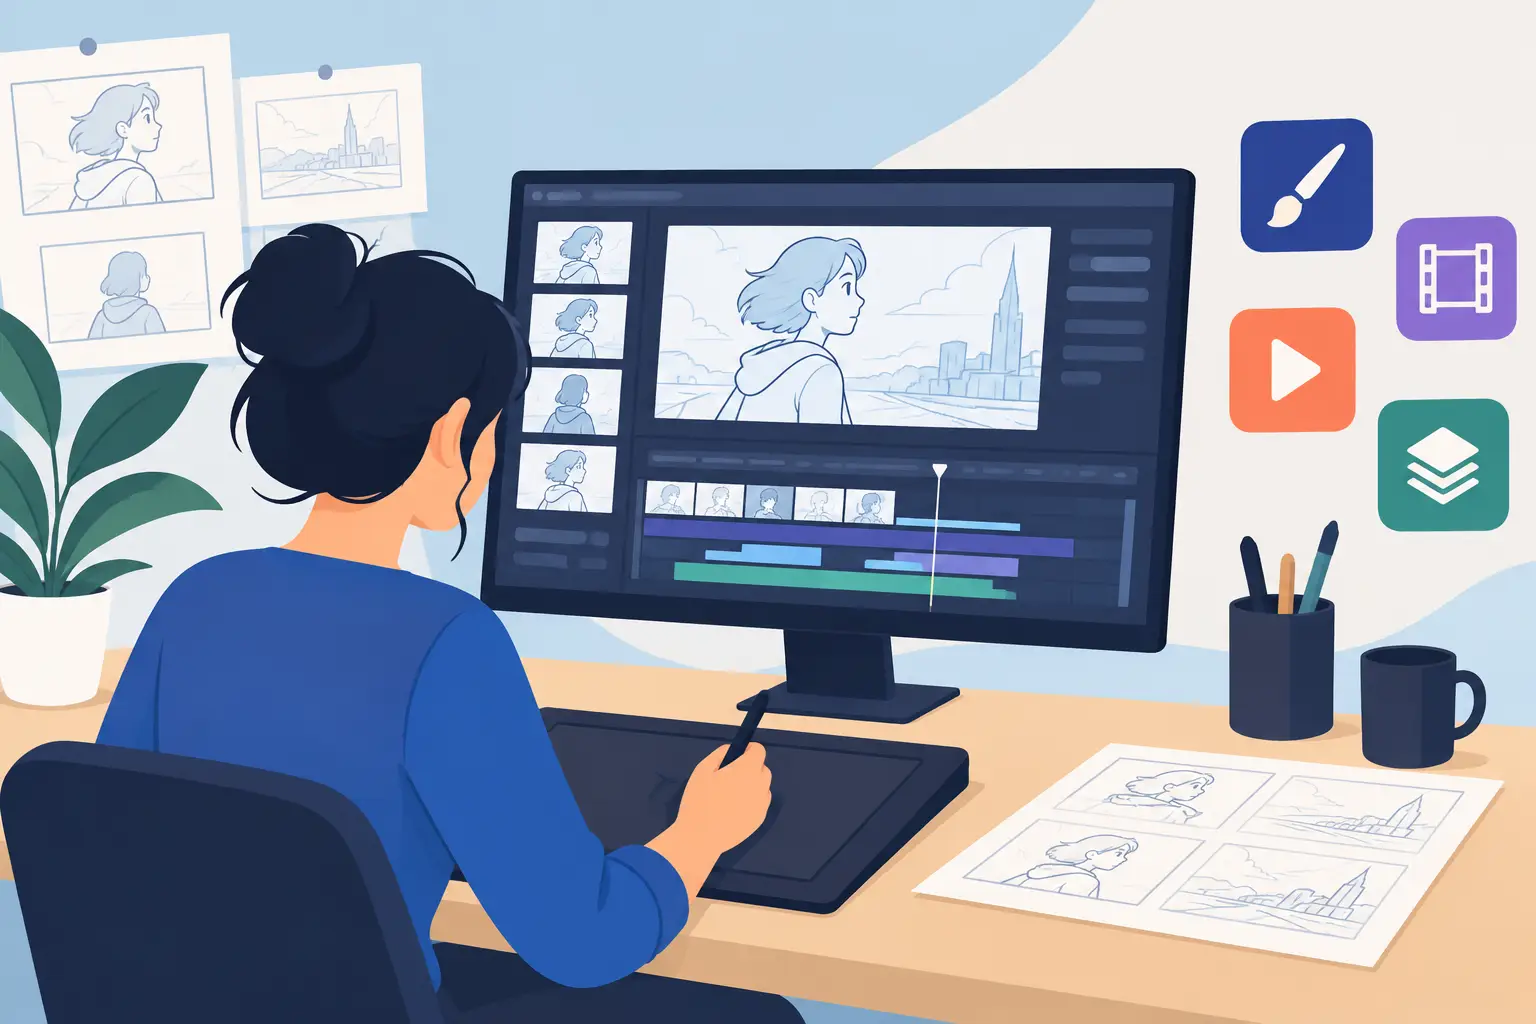
Professional animators begin with roughs because rough drawings make thinking visible. A simple stick figure can show whether a character is leaning, pushing, falling, or preparing to jump. A loose circle can reveal whether a head is turning through space. At this stage, clarity matters more than polish.
Start with basic forms: balls, boxes, simple bean-shaped bodies, and lines of action. Learn to draw the same object consistently enough that it reads as one thing from frame to frame. Then learn to change it deliberately. That is animation.
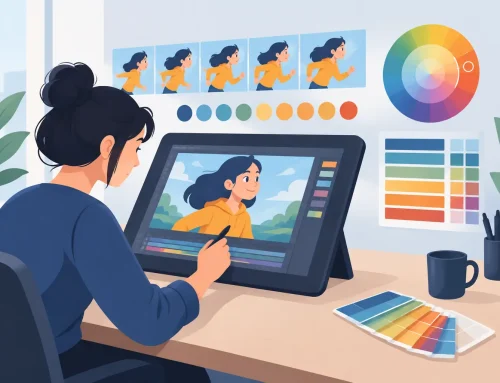
Clean-up comes later. It is the production step where rough motion is refined into clear, consistent linework. Painting comes after the action works. Beginners who separate these stages improve faster because they are not trying to solve performance, draftsmanship, and color at the same time.
What Beginners Actually Need to Learn First
The first goal is not a three-minute short. It is to understand why a sequence moves the way it does. Traditional animation gives you direct control over every drawing, which is exactly why simple exercises are so valuable.
Timing: How Long an Action Takes
Timing is the number of frames assigned to an action. A fast blink may take only a few frames. A heavy character lifting a box needs more time to prepare, strain, and recover. The same pose can feel completely different depending on how long it stays on screen.
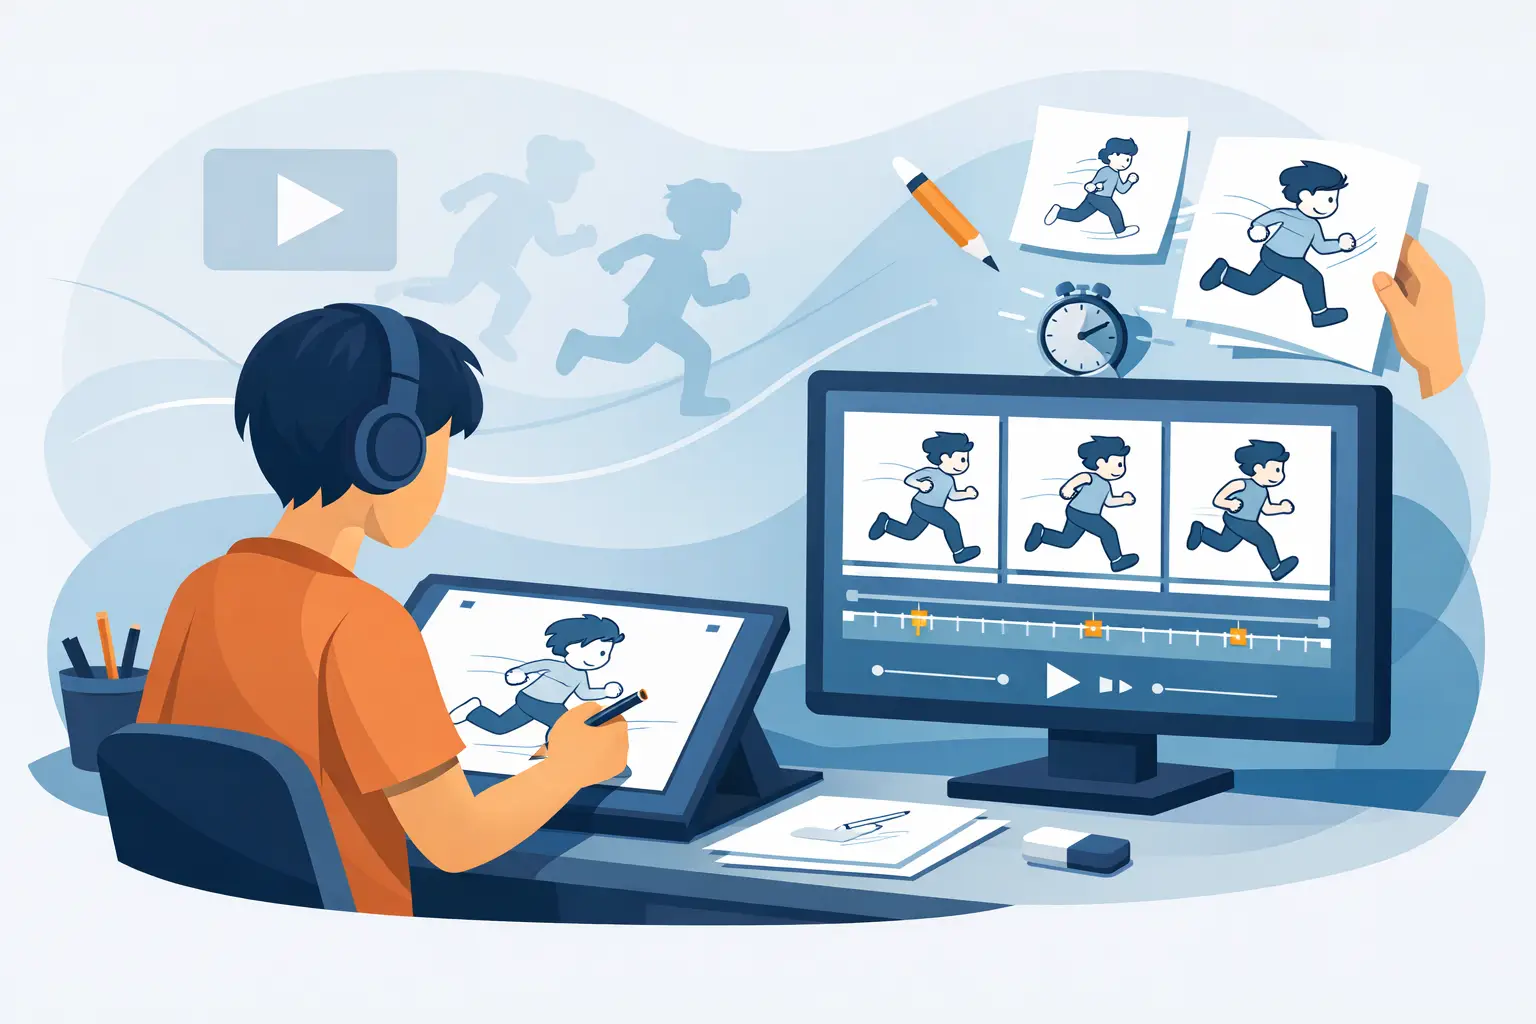
Work at a familiar frame rate, such as 24 frames per second, but do not assume every drawing needs to be different. Many hand-drawn scenes are animated “on twos,” meaning each drawing is held for two frames. This gives beginners time to focus on meaningful changes between drawings while preserving a traditional animated feel.
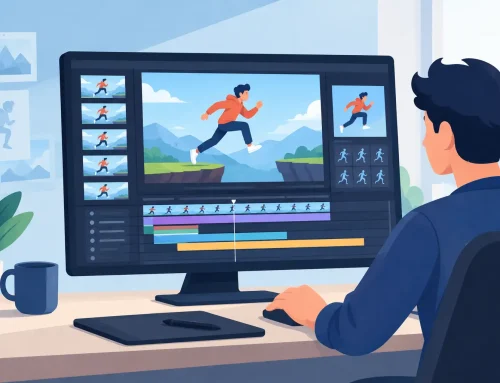
Try a ball drop first. Hold the ball briefly at the top, accelerate it toward the ground, and let it settle after impact. When you scrub or play the scene, you will immediately see whether the fall feels too even or the impact lacks weight.
Spacing: Where the Drawings Go
Spacing is the distance between positions. It is one of the fastest ways to make an animation look mechanical or believable. Equal spacing creates a steady, linear move. Closer spacing near the top of a bounce makes the ball appear to slow down. Wider spacing as it falls makes it accelerate.
Beginners commonly add more drawings when a motion feels wrong. Sometimes that helps. Often, the real issue is that the existing drawings are in the wrong places. Before adding frames, check the path of action and the space between each position.
Poses and Breakdowns
A strong key pose tells the audience what is happening even when the scene is paused. If a character is about to throw a ball, the anticipation pose should clearly show the body preparing to send energy forward. The release pose should communicate the throw, not merely show an arm in a different location.
Breakdowns connect those major poses. They explain the path, the arc, the overlap, and the mechanics of the action. New animators should not rush through them. A good breakdown is where a stiff pose-to-pose change becomes a convincing movement.
Arcs, Weight, and Follow-Through
Most living movement travels in arcs rather than straight lines. Arms swing, heads turn, and objects thrown through the air curve through space. Weight comes from timing, spacing, and the way a body reacts to force. Follow-through is what keeps hair, clothing, tails, and loose parts from stopping at the same instant as the body.
These principles are not decoration. They are practical drawing decisions. Once you see them in a short test, you begin to recognize why some animation feels alive and some feels like cutout pieces sliding across the screen.
A Beginner Workflow That Builds Real Skill
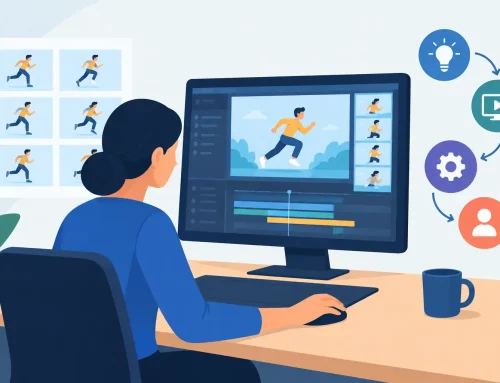
A reliable workflow protects you from a common beginner trap: polishing a scene before it works. Keep the stages separate and make decisions in the right order.
Begin with a short idea that has one clear action. A ball bouncing, a character looking over a shoulder, or a paper airplane gliding into a wall can teach more than an unfinished epic. Plan the action with a few thumbnail sketches. Identify the start, the major change, and the end.
Next, draw rough keys. Do not worry about beautiful lines. Use onion skinning to compare adjacent drawings and keep volumes from drifting. Play the scene repeatedly. If the action is unclear, fix the key poses before you add in-betweens.
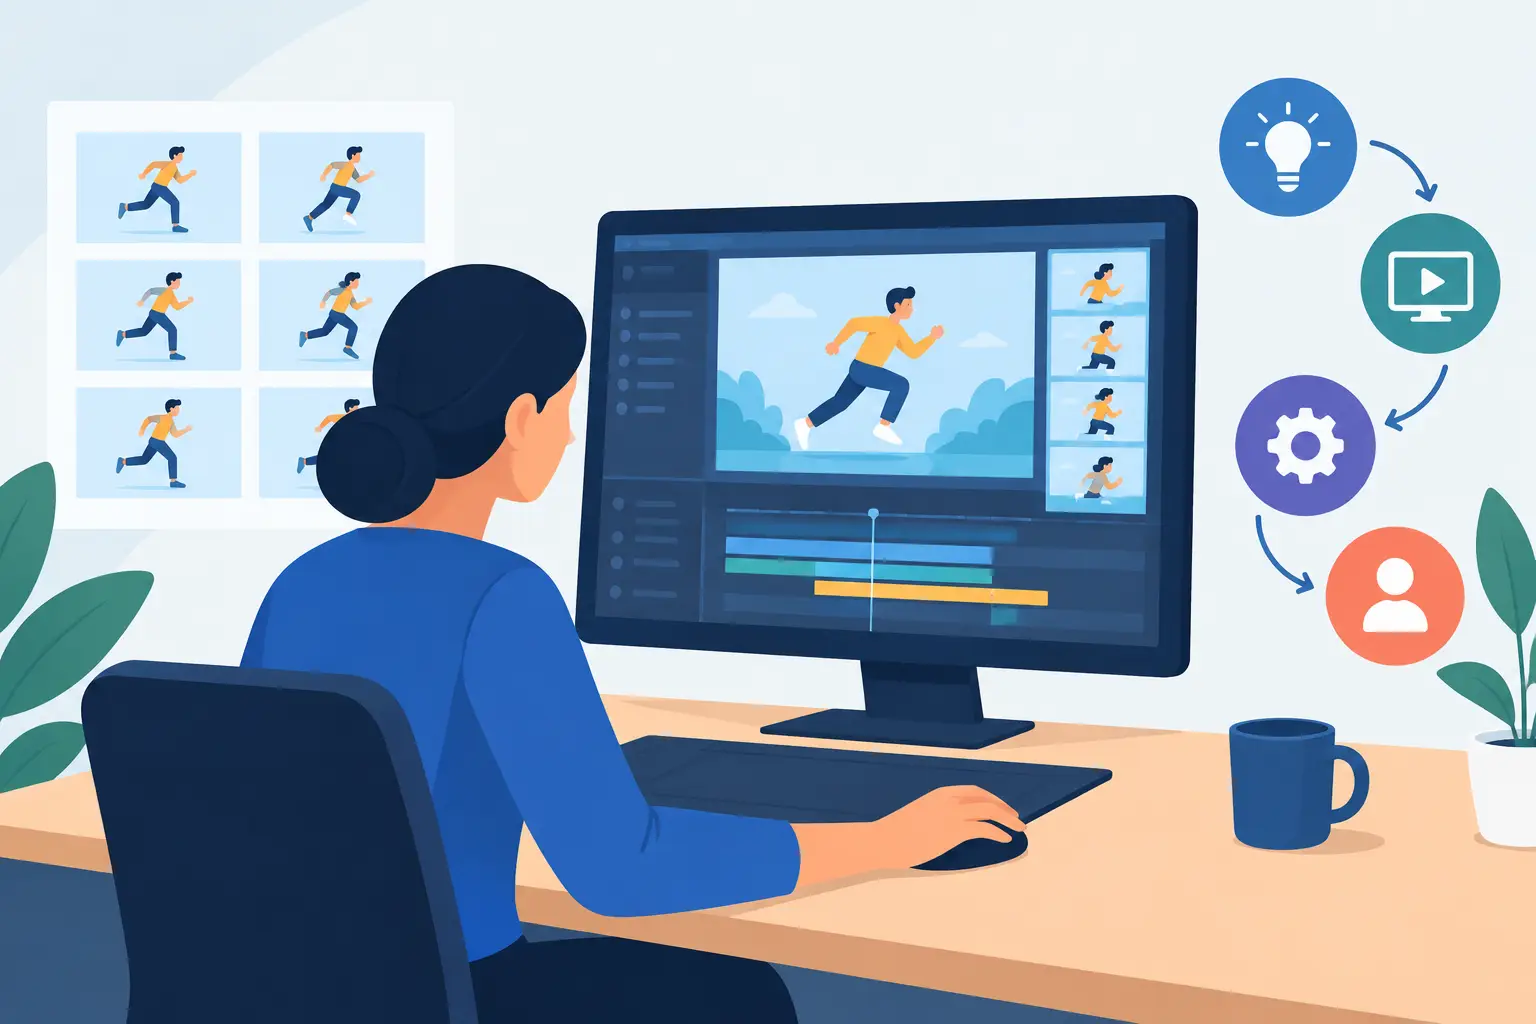
Then create the breakdowns and in-betweens. Watch for even spacing, unwanted wobble, and poses that disappear too quickly to read. Adjust the timing while the sequence plays, not only after stopping to edit a frame number. Real-time timing control lets you feel the rhythm of a scene and make a decision while that rhythm is still clear in your mind.
Only after the rough animation works should you clean it up and paint it. This order saves time. Clean linework cannot rescue weak timing, and elaborate color will not make a lifeless pose act.
The Best First Projects for Hand-Drawn Animation Beginners
Choose exercises that isolate one lesson. A bouncing ball teaches timing and spacing. A pendulum teaches arcs and slows in and slows out. A flour sack jumping teaches weight and personality without the distraction of anatomy. A simple head turn teaches construction and volume.
After those, animate a short reaction: a character hears a sound, looks toward it, and responds. Keep it under a few seconds. You will practice anticipation, eye direction, head movement, body overlap, and holds without creating an unmanageable number of drawings.
Avoid starting with walk cycles if you are still learning basic spacing. Walks are useful, but they combine balance, contact, passing positions, weight shifts, overlapping action, and character design consistency. They become far more productive after you can make simpler tests move cleanly.
Choosing Software That Does Not Fight the Process
Beginners need software that supports the drawing process rather than burying it under a complicated pipeline. You should be able to draw roughs, flip through frames, use onion skinning, play a scene, and make timing changes without breaking concentration. Painting should be quick enough that color remains a finishing step, not a production bottleneck.
A purpose-built 2D animation program also makes it easier to understand the relationship between drawings and time. In FlipBook, you can draw, clean up, paint, scrub, and adjust timing directly during playback, then add camera-style moves such as pans, zooms, rotates, blurs, and dissolves when the scene calls for them. That keeps the focus where it belongs: on the performance in the drawings.
The tool does matter, but it is not the source of the skill. A simpler tool that encourages frequent playback and revision will teach more than a feature-heavy application you hesitate to open.
How Long Does It Take to Get Good?
It depends on what “good” means. Within a few focused sessions, a beginner can produce a readable ball bounce or a convincing pendulum. Within months of regular practice, they can build confidence with short character actions. Professional-level animation takes longer because it demands reliable drawing, acting, staging, timing judgment, and the ability to revise efficiently under production deadlines.
Progress is not always visible from one day to the next. Save your tests. Compare a new ball bounce with the one you made a month earlier. You will see cleaner arcs, more controlled spacing, and choices that feel intentional instead of accidental.
Do not wait until your drawings feel worthy of animation. Make a rough test today, play it back, and let the motion show you what to draw next.