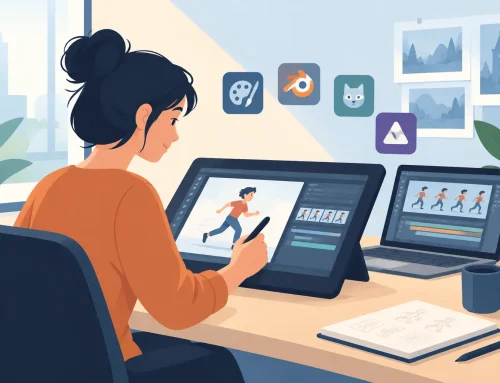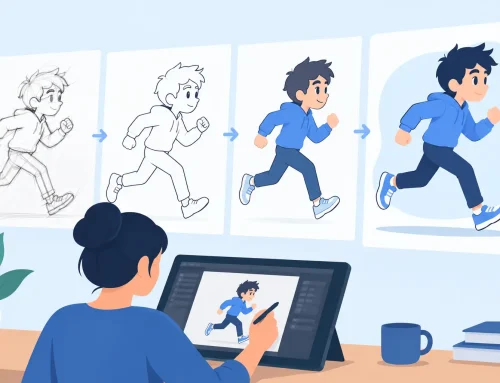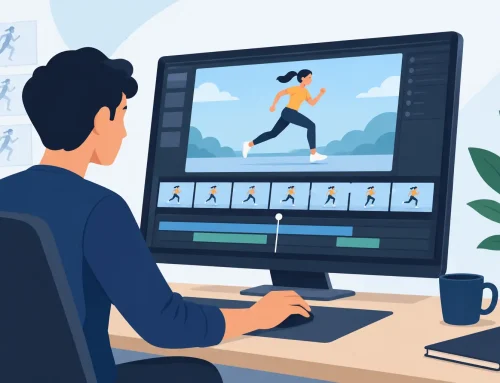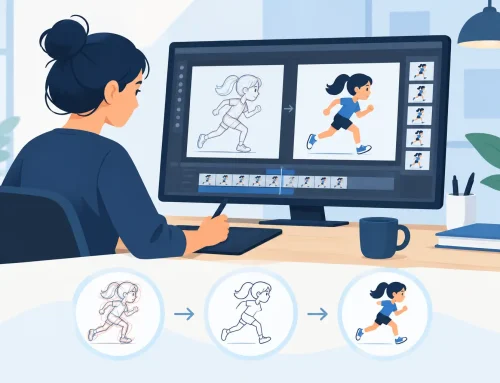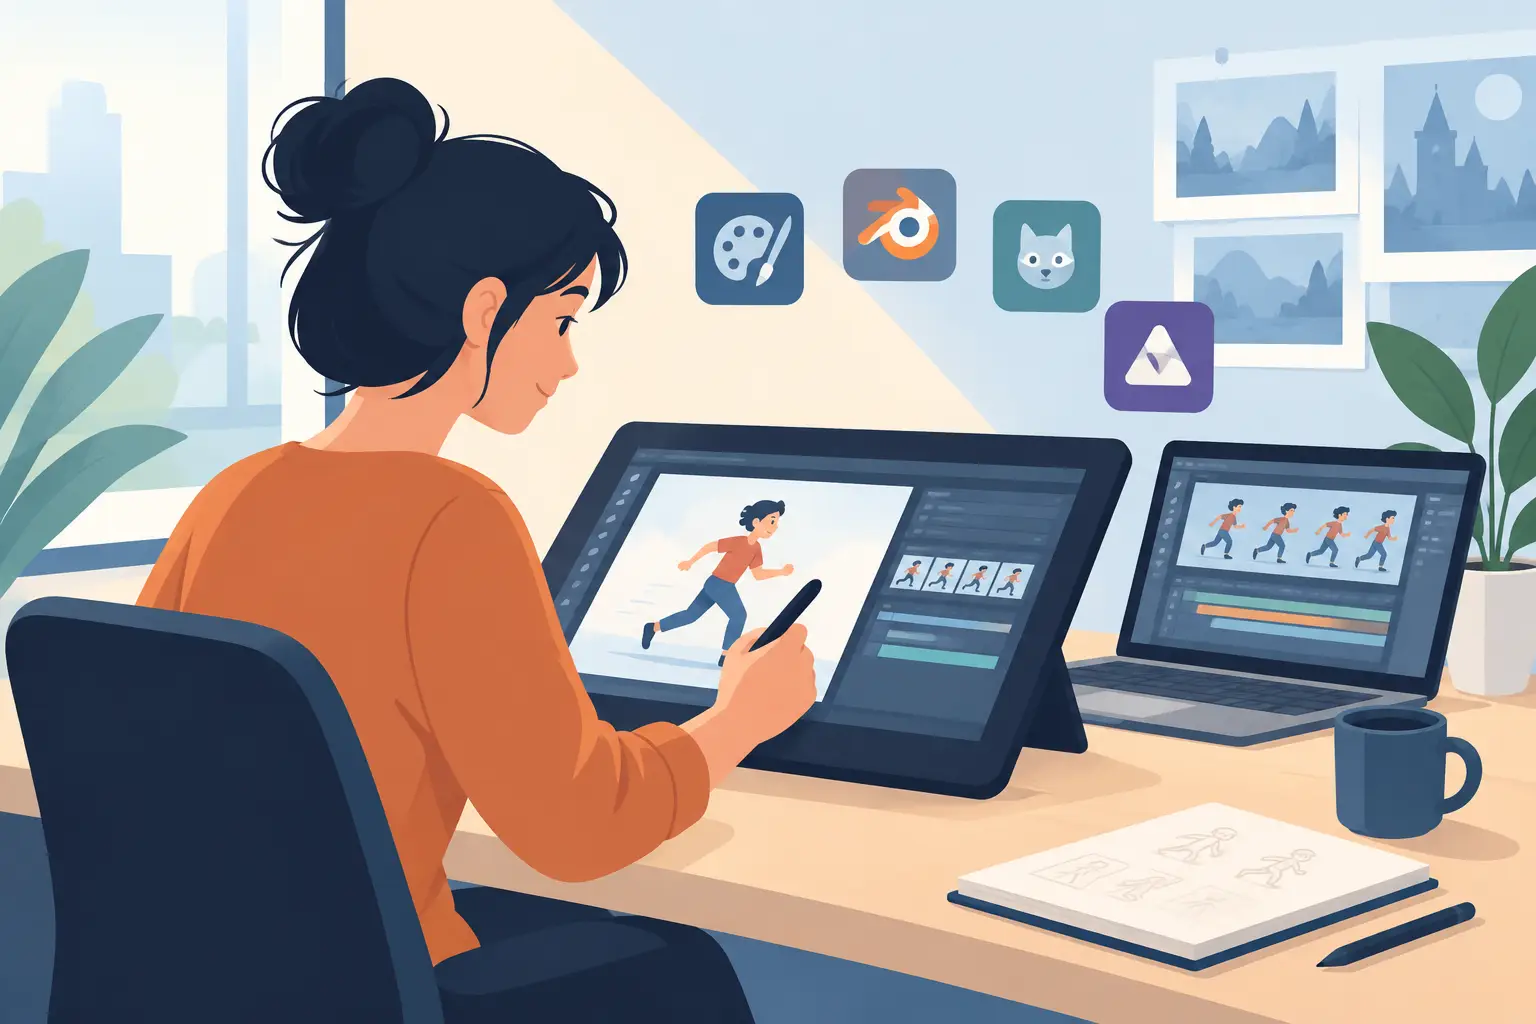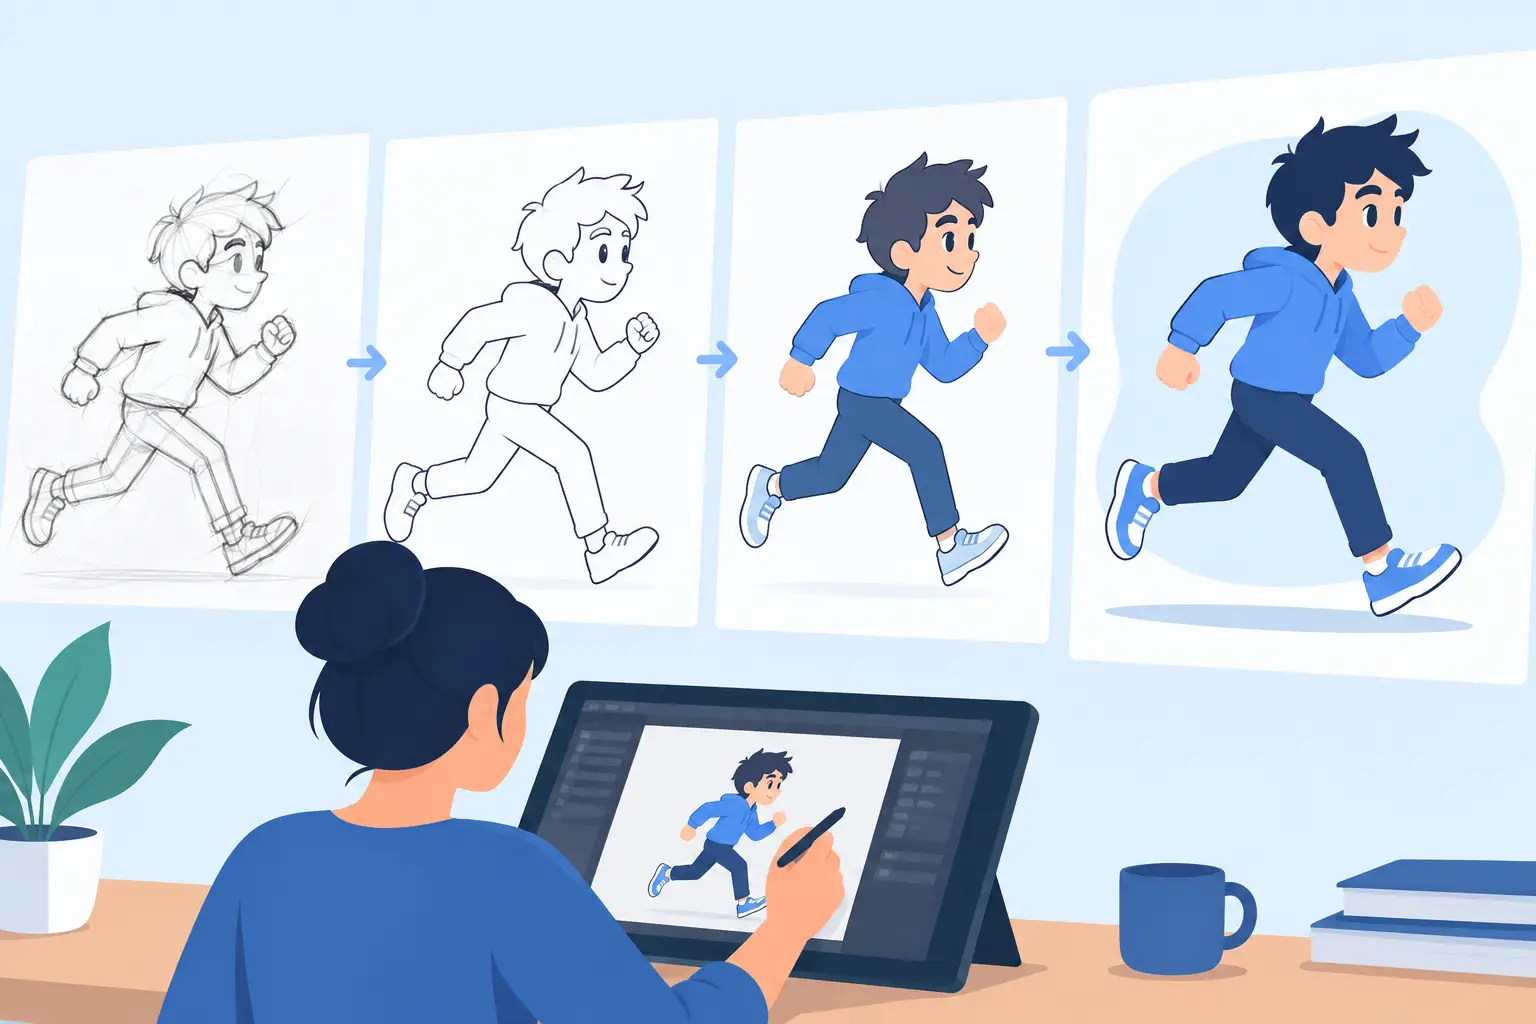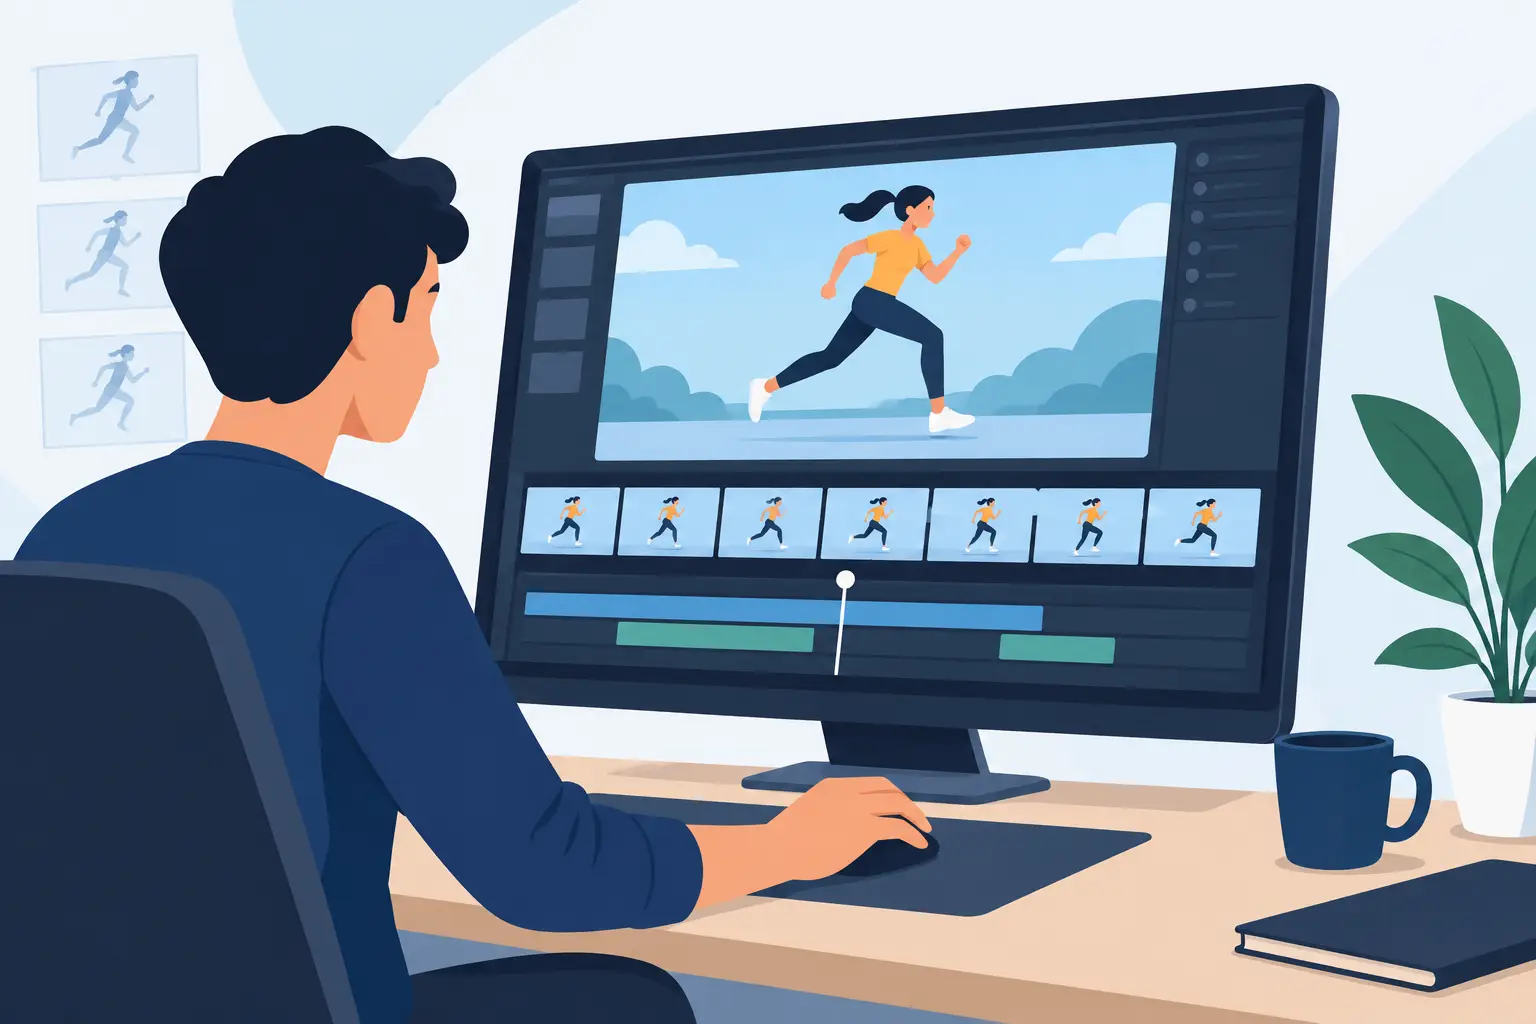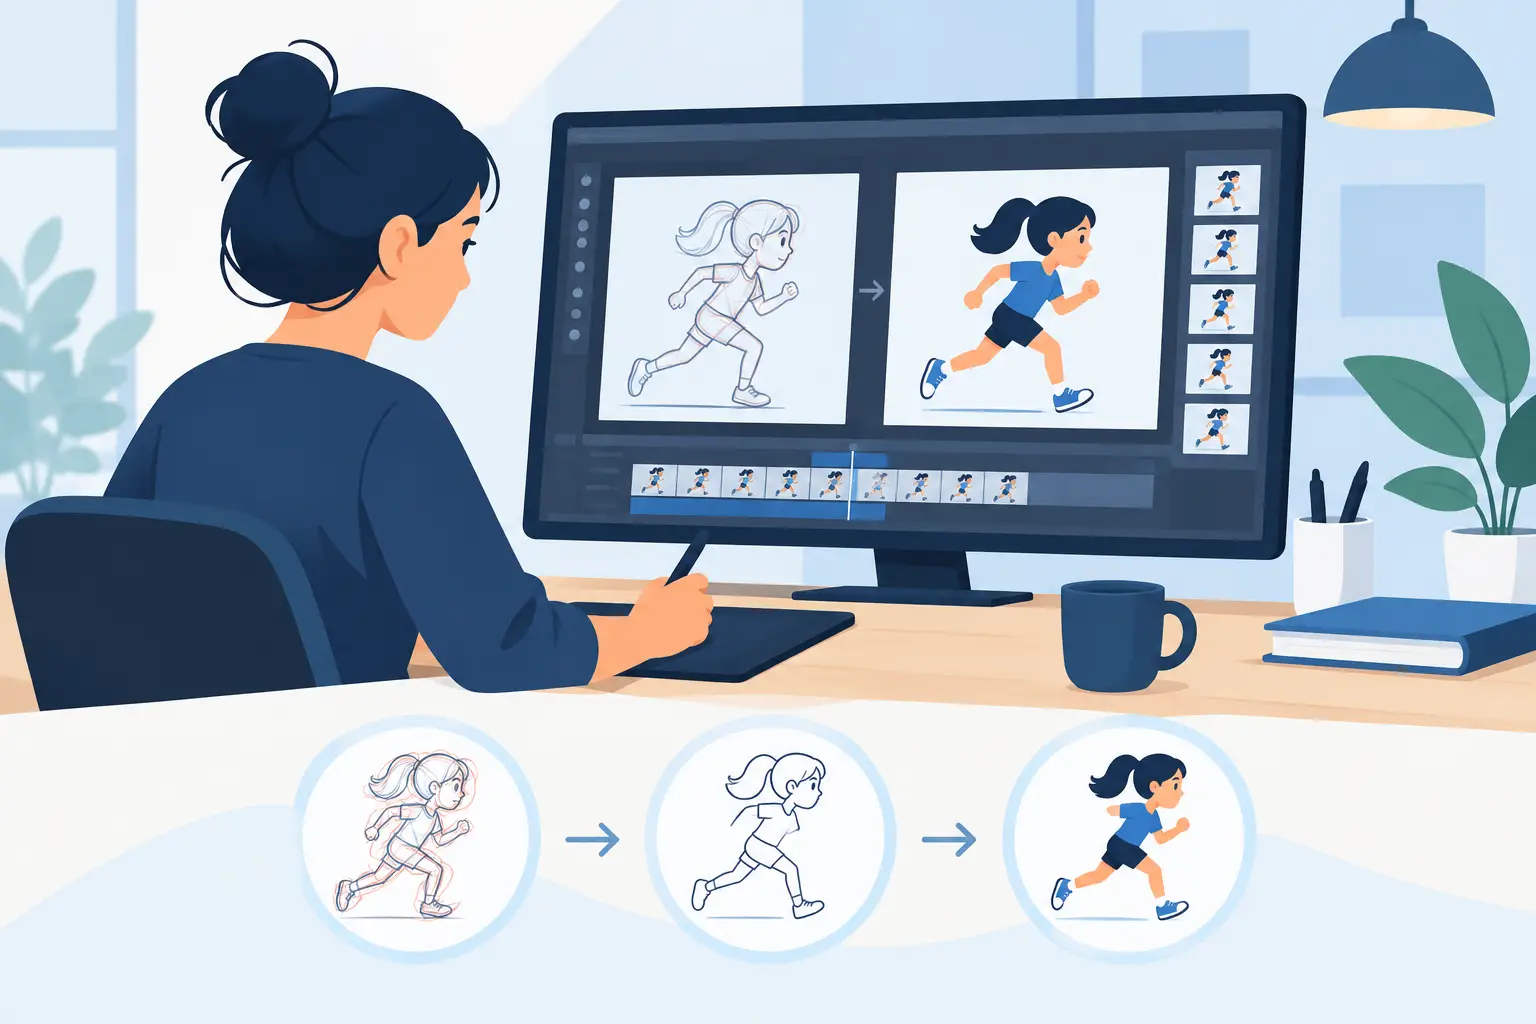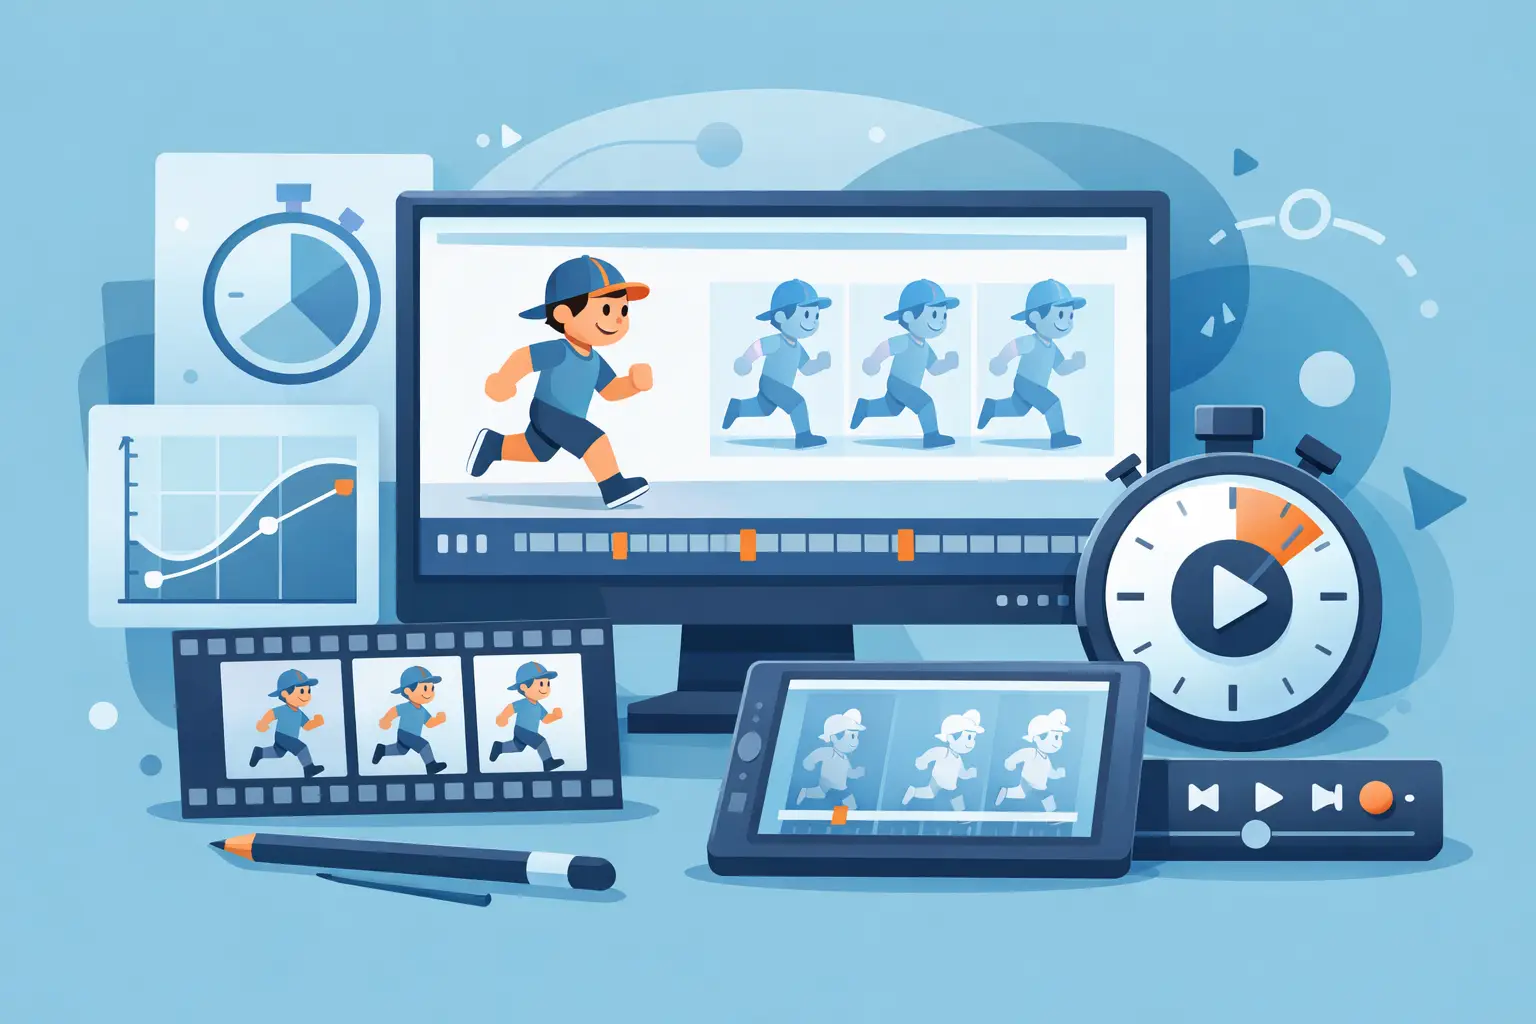
A scene can have strong drawings, appealing poses, and clean color, then still fall flat because the timing is wrong. That is why the top tools for frame timing are not simply the apps with a timeline. They are the ones that let an animator test a hold, shift an accent, add an inbetween, or remove a drawing without breaking concentration.
For hand-drawn animation, timing is not a clerical step at the end of the shot. It is where weight, thought, comedy, impact, and character all become visible. The right software should let you work as directly as you would with paper, exposure sheets, and a pencil test, while giving you the speed of digital playback.
What frame timing tools need to do
Frame timing begins with exposure. A drawing may hold for one frame, two frames, four frames, or longer. A fast action might need a single-frame drawing, while a character thinking through a line of dialogue may need a quiet hold before the next expression. Good timing tools make those choices easy to see and easy to change.
At minimum, a useful timing workflow needs clear frame numbering, reliable playback, frame-by-frame stepping, scrubbing, and a readable way to see which drawings are exposed. It should also make it simple to insert, delete, duplicate, and slide frames. If those basic jobs take several clicks or force you into a separate dialog box, the software is slowing down the animation process.
The strongest tools go further. They let you adjust timing while the scene plays, so you can hear the dialogue or music and feel the rhythm immediately. This matters because a pause that looks correct on a timeline can feel dead when the shot runs at speed. Timing has to be judged in motion.
Top tools for frame timing: what each does best
FlipBook for direct, real-time timing work
FlipBook is built around the traditional animator’s workflow: draw a scene, play it, scrub it, and adjust it until the action works. Its standout advantage is real-time timing editing. Rather than stopping playback, changing an exposure, and replaying the scene to check the result, you can make timing changes as the animation runs.
That difference is practical, not cosmetic. It keeps your attention on performance and rhythm instead of on software procedure. You can immediately tell whether a head turn needs another frame, whether a blink is too slow, or whether a hold before a reaction needs to be shorter. For rough animation, clean-up, and pencil-test-style work, that direct control is often the fastest path to a better scene.
It is especially well suited to animators who want to think in drawings and exposures rather than in layers, symbols, or automated motion. The trade-off is equally clear: artists who need a large compositing pipeline, extensive rigging, or complicated effects work may want a broader production package alongside their drawing tool.
TVPaint for drawing-centered production
TVPaint has long appealed to experienced 2D artists because its raster drawing workflow feels close to working on paper. Its timeline and exposure controls support traditional frame-by-frame animation well, including the kind of shot-by-shot planning used in independent films and studio production.
For timing, its strength is depth. You can organize elements, manage multiple layers, and work through detailed scenes without abandoning a hand-drawn approach. It is a serious choice for artists who want substantial painting capability within the animation application.
That flexibility comes with a denser interface and a learning curve. If your priority is getting students or new animators quickly into roughs, playback, and timing practice, a more focused application can be easier to teach and faster to operate.
Toon Boom Harmony for team pipelines
Toon Boom Harmony is widely used in professional production environments where multiple artists need to share scenes, follow a pipeline, and combine cutout, rigged, and hand-drawn animation. Its timeline gives production teams a great deal of control over exposures, layers, and scene organization.
Harmony makes sense when timing decisions need to live inside a larger studio system. A supervisor can review work, a clean-up artist can follow the rough animation, and a compositor can prepare the final scene in a connected workflow. For television production and structured teams, those capabilities are valuable.
But a large pipeline tool can feel heavy for an animator who simply needs to flip drawings, find the right spacing, and adjust a performance. More options do not automatically produce better timing. The best choice depends on whether your shot needs studio-scale management or immediate drawing-to-playback feedback.
Adobe Animate for vector-based work
Adobe Animate is a familiar option for web animation, educational projects, and vector-based character work. It supports keyframes, frame-by-frame animation, audio, and a timeline that many artists already know. For simple scenes and digital content that must fit into an Adobe-centered workflow, it can be a practical tool.
Its advantage is accessibility for artists who are already creating vector graphics or delivering animation for online use. Frame timing is straightforward enough for basic holds, cycles, and dialogue scenes.
The limitation is that its workflow can encourage symbol-based or tweened animation rather than the drawn, frame-by-frame thinking needed for nuanced traditional performance. You can create good hand-drawn work in it, but the tool does not place the same emphasis on the feel of a pencil test and rapid exposure adjustment.
Blender Grease Pencil for hybrid projects
Blender Grease Pencil is worth considering when a project crosses between 2D drawing and 3D staging. It can be useful for artists who want camera moves through dimensional sets, lighting, or a hybrid visual style. Timing tools are available through its animation system, and the application offers an enormous range of production possibilities.
The cost is complexity. Blender is not primarily a traditional 2D timing tool, so artists may spend more time managing a technical environment before they reach the simple question that matters: does this drawing appear on the right frame? For a hybrid short or experimental project, that trade-off can be worthwhile. For everyday hand-drawn scene work, it may be more machinery than the shot requires.
Choose the tool that protects your timing instincts
When comparing software, do not judge the timeline only by how many controls it contains. Test how quickly you can make a real timing decision. Create a short scene with a character looking, thinking, then reacting. Put the first pose on twos, try the reaction on ones, add a two-frame anticipation, and adjust the hold before the change of expression.
Then ask a direct question: how many interruptions did the program put between the idea and the preview? If you had to stop playback repeatedly, open menus, or hunt for the correct exposure control, the workflow is working against you.
Students should favor software that makes timing and spacing visible. A clear, frame-by-frame process teaches why a bouncing ball hangs at the top, why an impact needs a sharp change, and why a held drawing can carry more acting than extra motion. Independent animators should favor speed, dependable painting, and tools that do not turn a one-person production into a technical support job. Small studios should consider whether the application supports the handoff and scene organization their team actually uses, not the pipeline they imagine needing someday.
Build a faster timing pass
A productive timing pass starts before clean-up and color. Work from rough drawings first, with enough poses to establish the action and enough audio to judge the performance. Play the scene at full speed, then scrub through the critical moments: anticipations, accents, impacts, eye blinks, lip-sync changes, and the settle after an action.
Make timing changes in small groups. Tighten an entire reaction rather than changing random frames across the shot. If an action feels slow, first look for unnecessary holds. If it feels weak, check whether the key pose needs to arrive later or stay on screen longer. If it feels mechanical, vary the spacing instead of merely adding more drawings.
Do not confuse more frames with better animation. A strong two-frame hold can make a pose read. A single-frame accent can make a hit land. The goal is not a crowded timeline. The goal is a scene that gives every drawing the right amount of screen time.
Put your next pencil test through a simple challenge: make one timing change while watching it play, then decide whether the scene improved before your hand leaves the controls. That is the kind of feedback that keeps animation feeling alive.